Community – Display Name
In this tutorial, I'll show you how to easily customize the name display for your community members in Mentortools. You have various options—from displaying the full name, only the first name, to a freely selectable display name. This helps you create the perfect atmosphere for your community, whether formal or completely relaxed. Let's get started!
Last updated 9 months ago
How to access the Community Page?
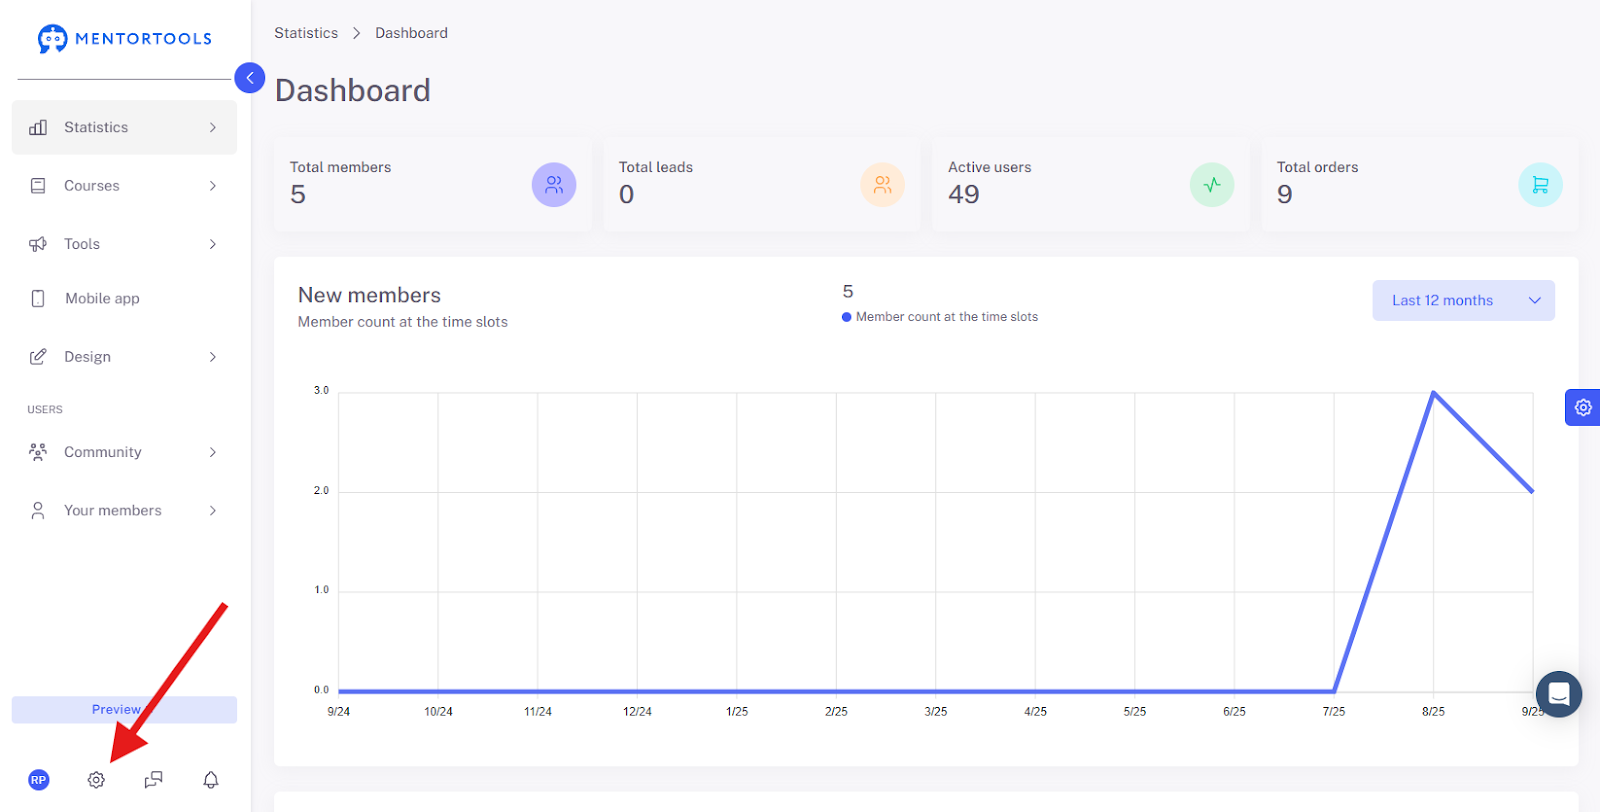
Open the Settings
Click on the gear icon in the bottom left menu bar.
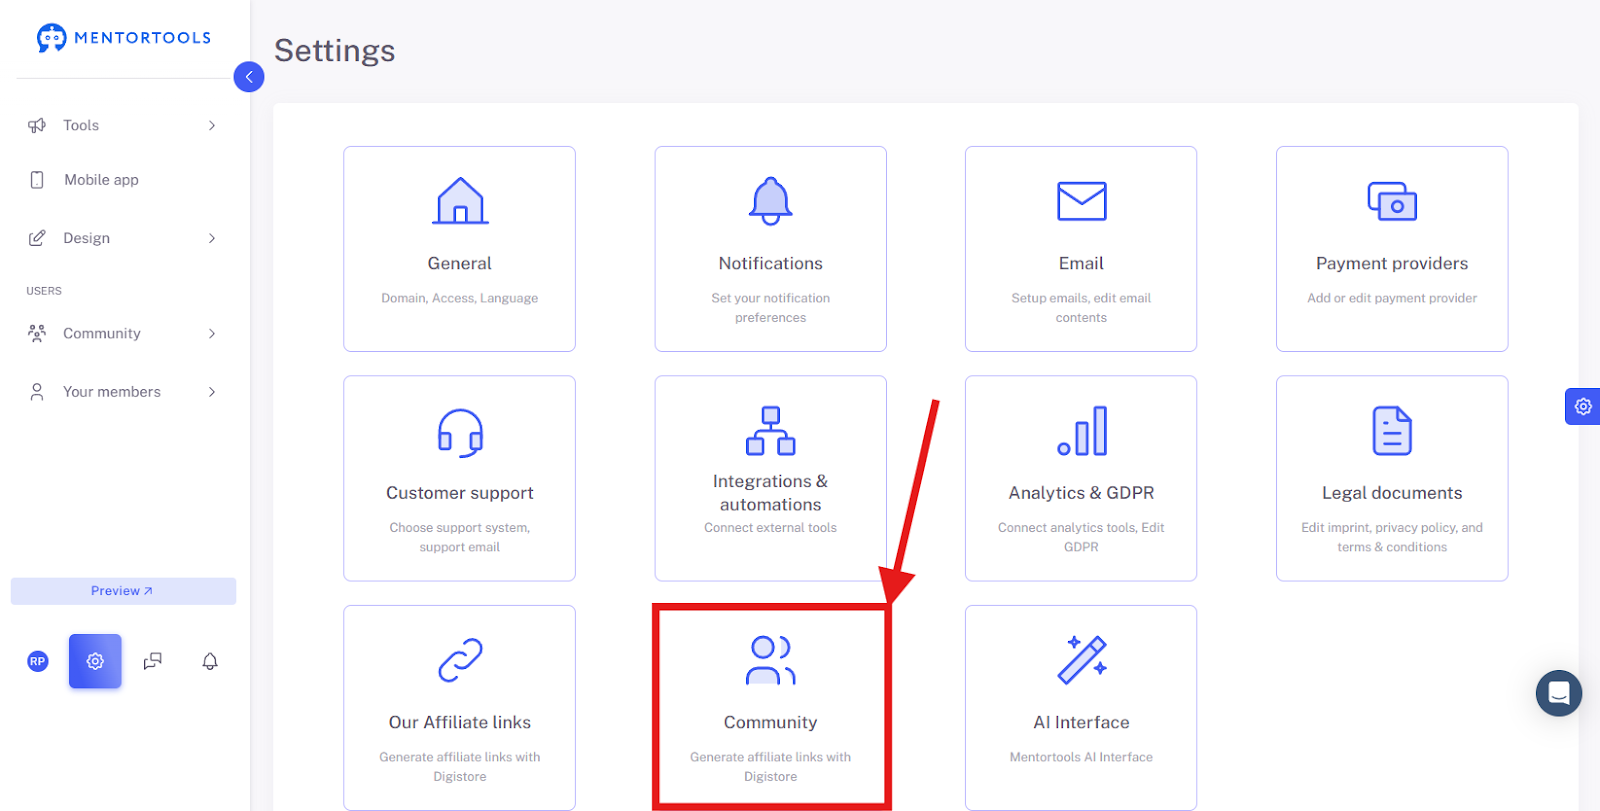
Click on "Community"
Switch to the area for Community Settings.
Select “Display Name”
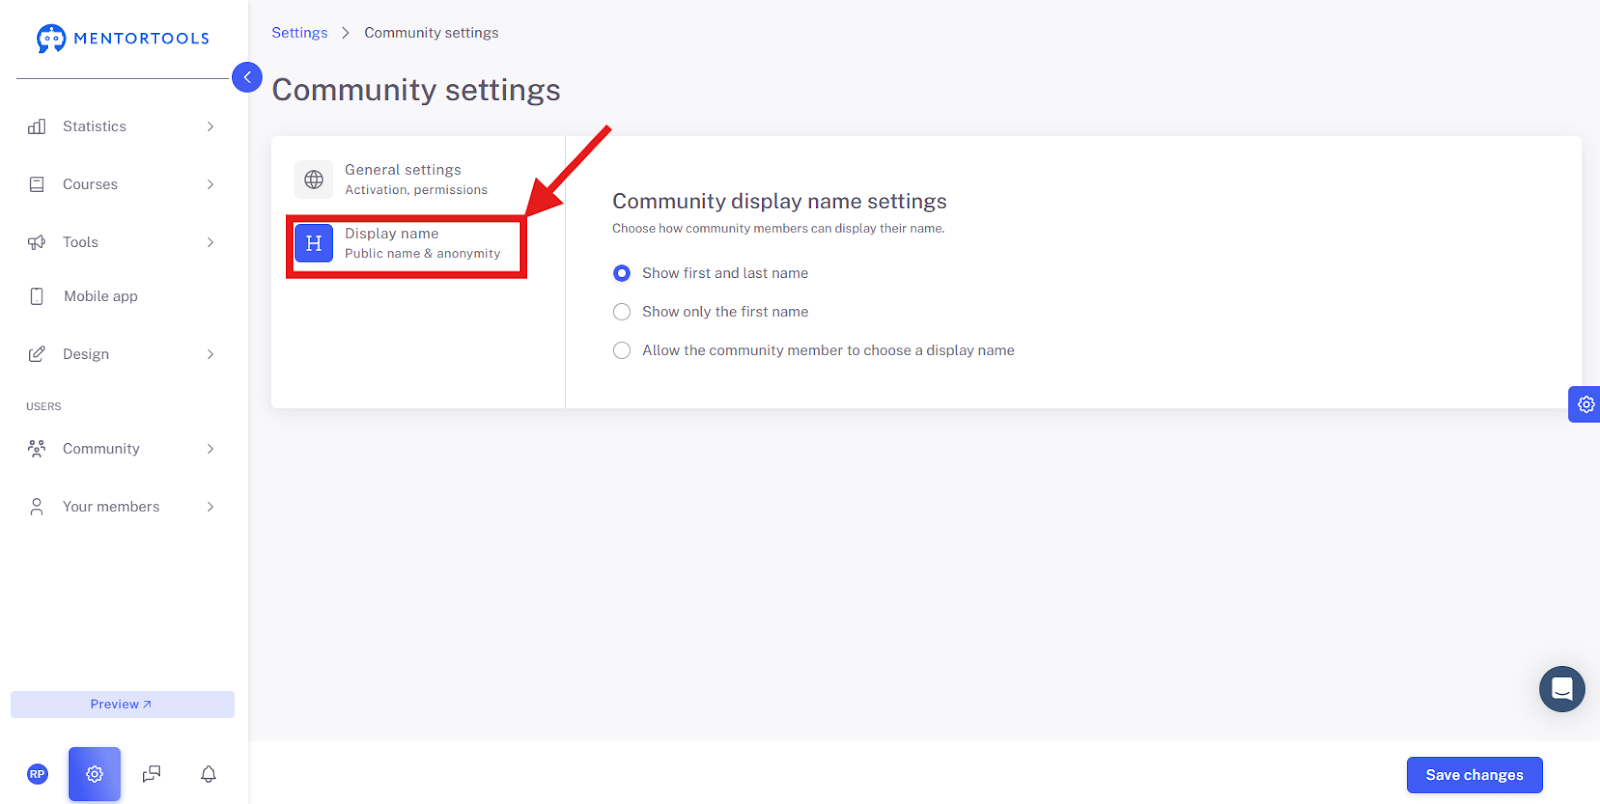
Display Name Overview
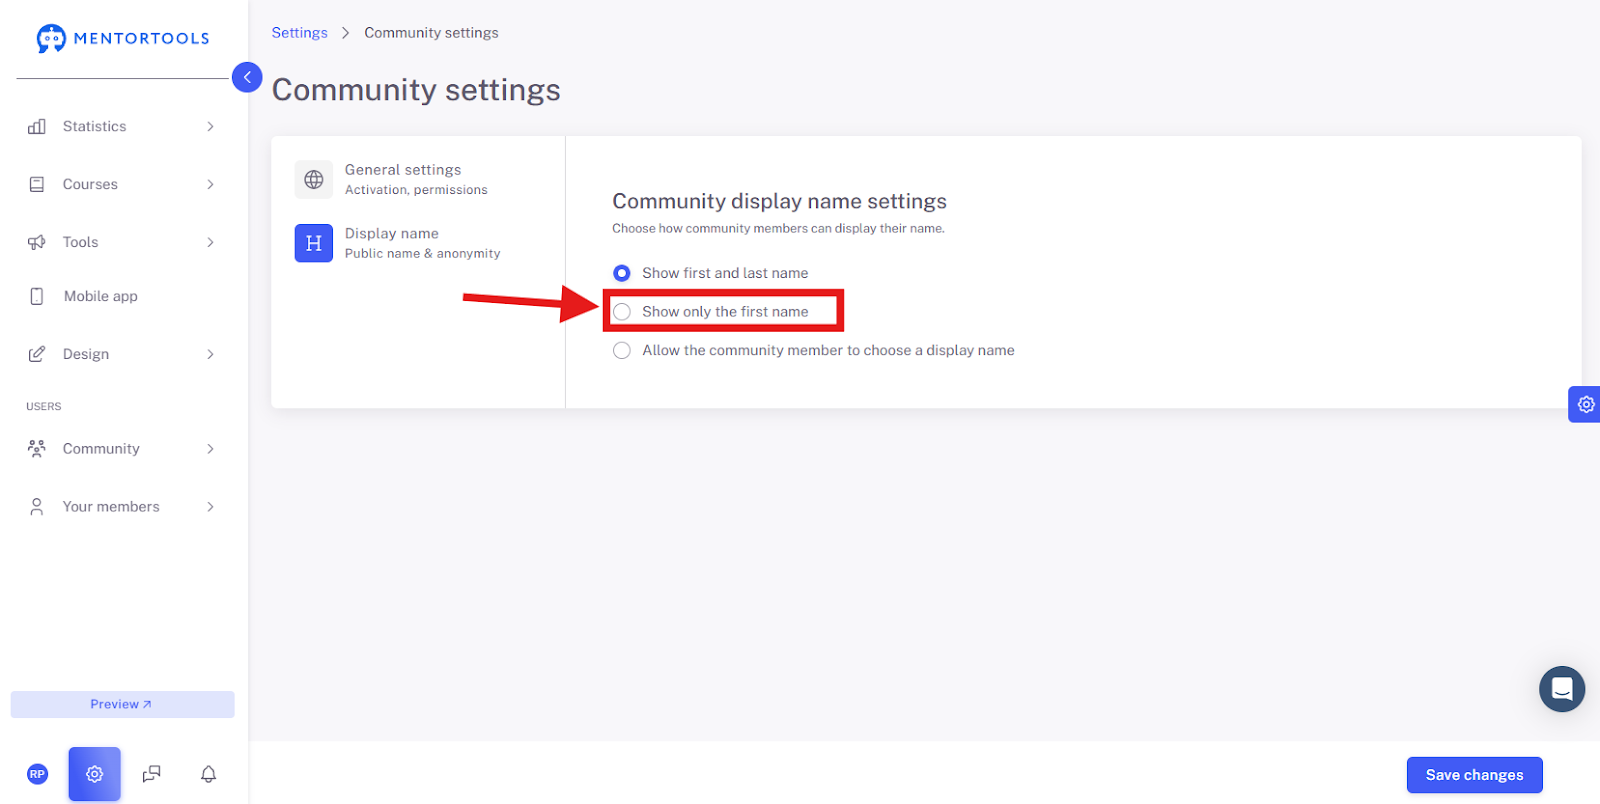
Here you can determine how member names are displayed in your community.
You have three options to choose from:
"Show first and last name": If you select this option, the first and last name of every community member will be displayed. This is the default setting.
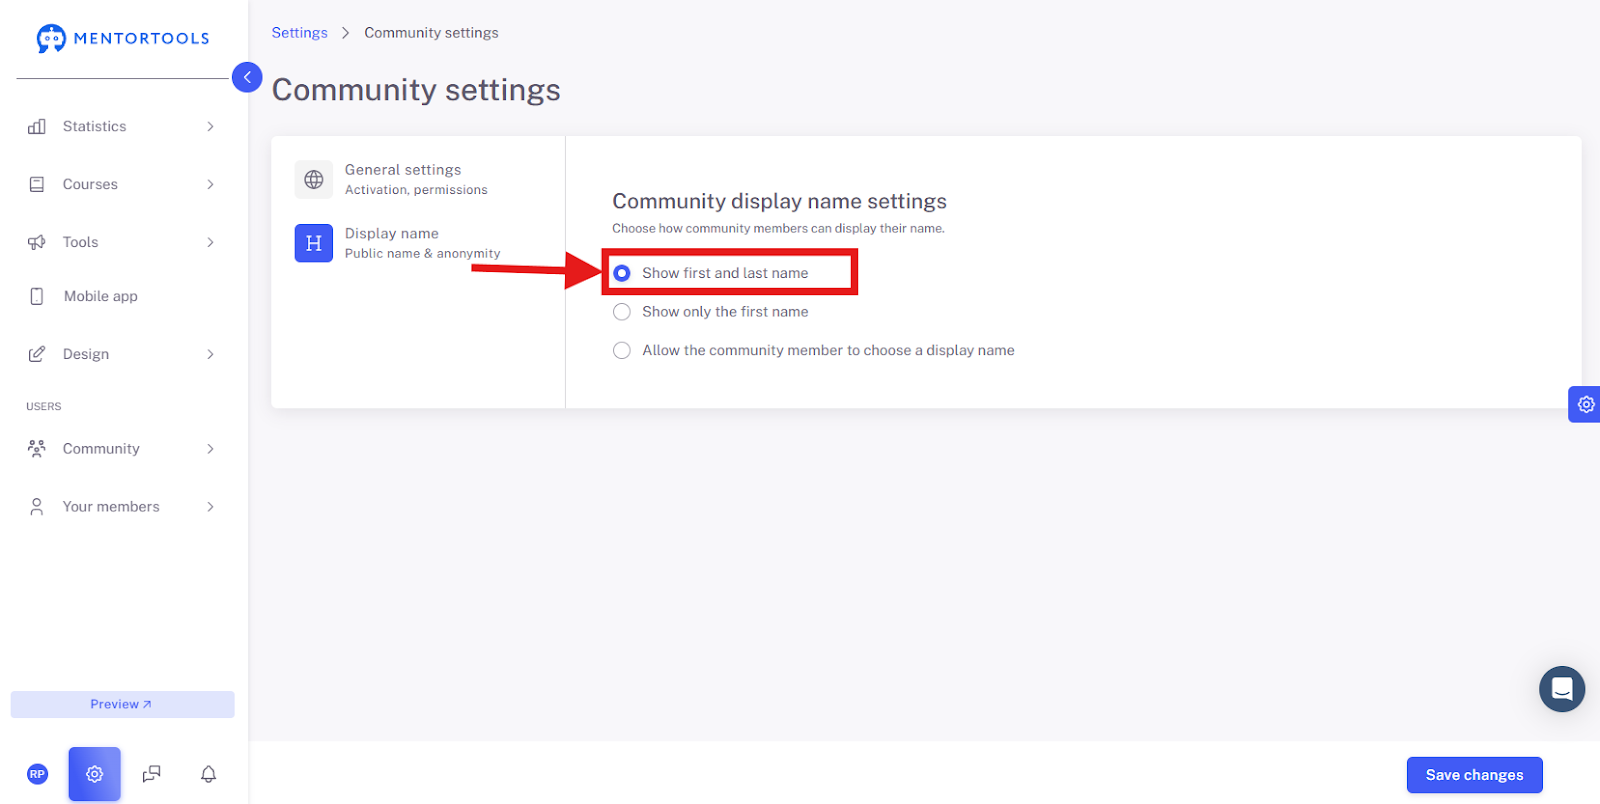
"Only show first name": If you want only the members' first names to be visible, choose this option. This can be useful for a more informal or anonymous environment.
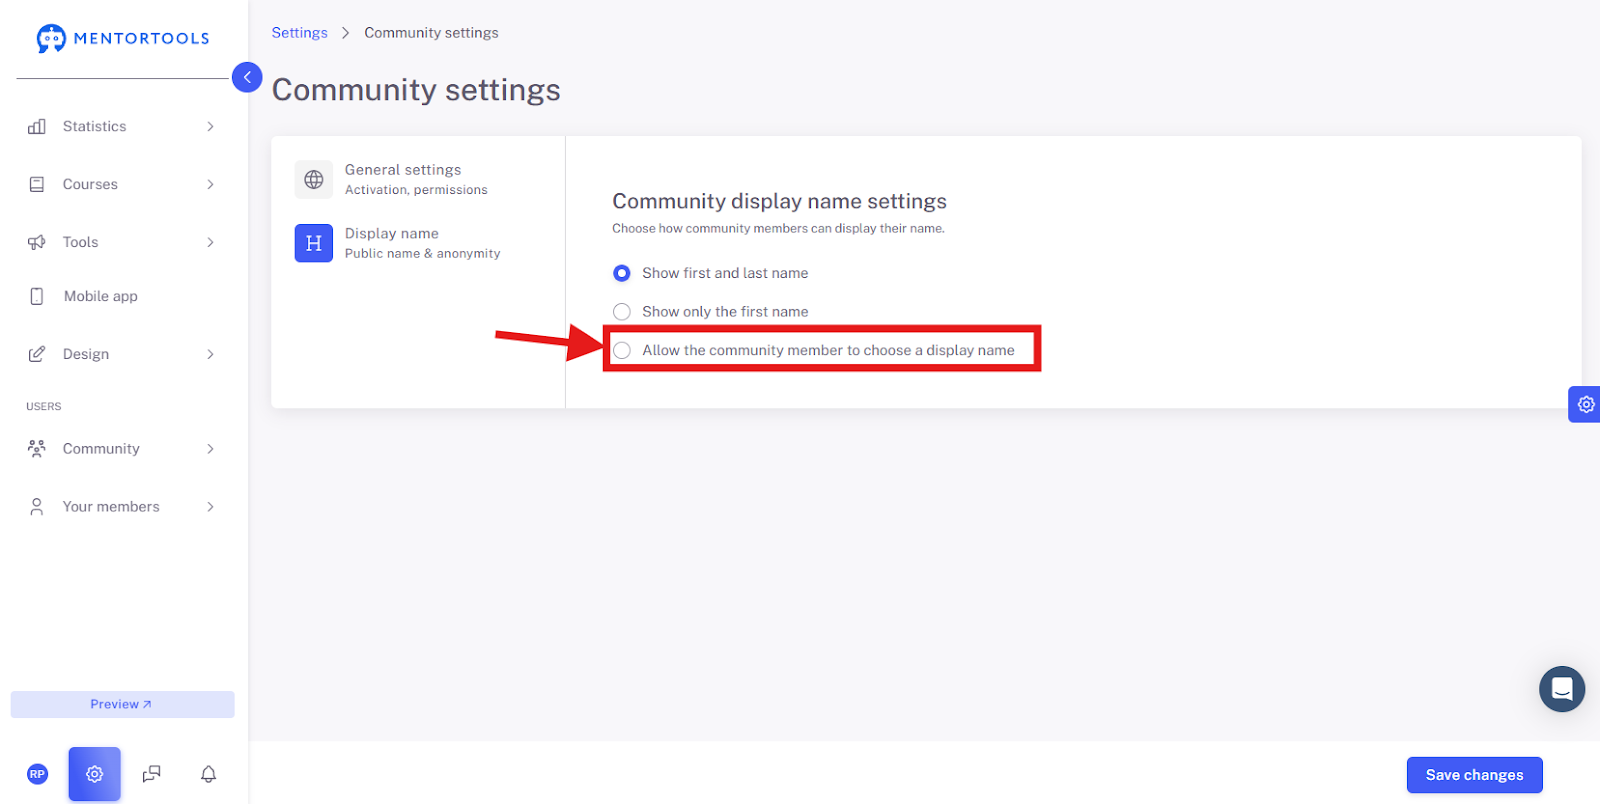
"Allow the community member to choose a display name": With this setting, you give members control over how they appear in the community. They can set their own display name, which is then shown instead of their real name.
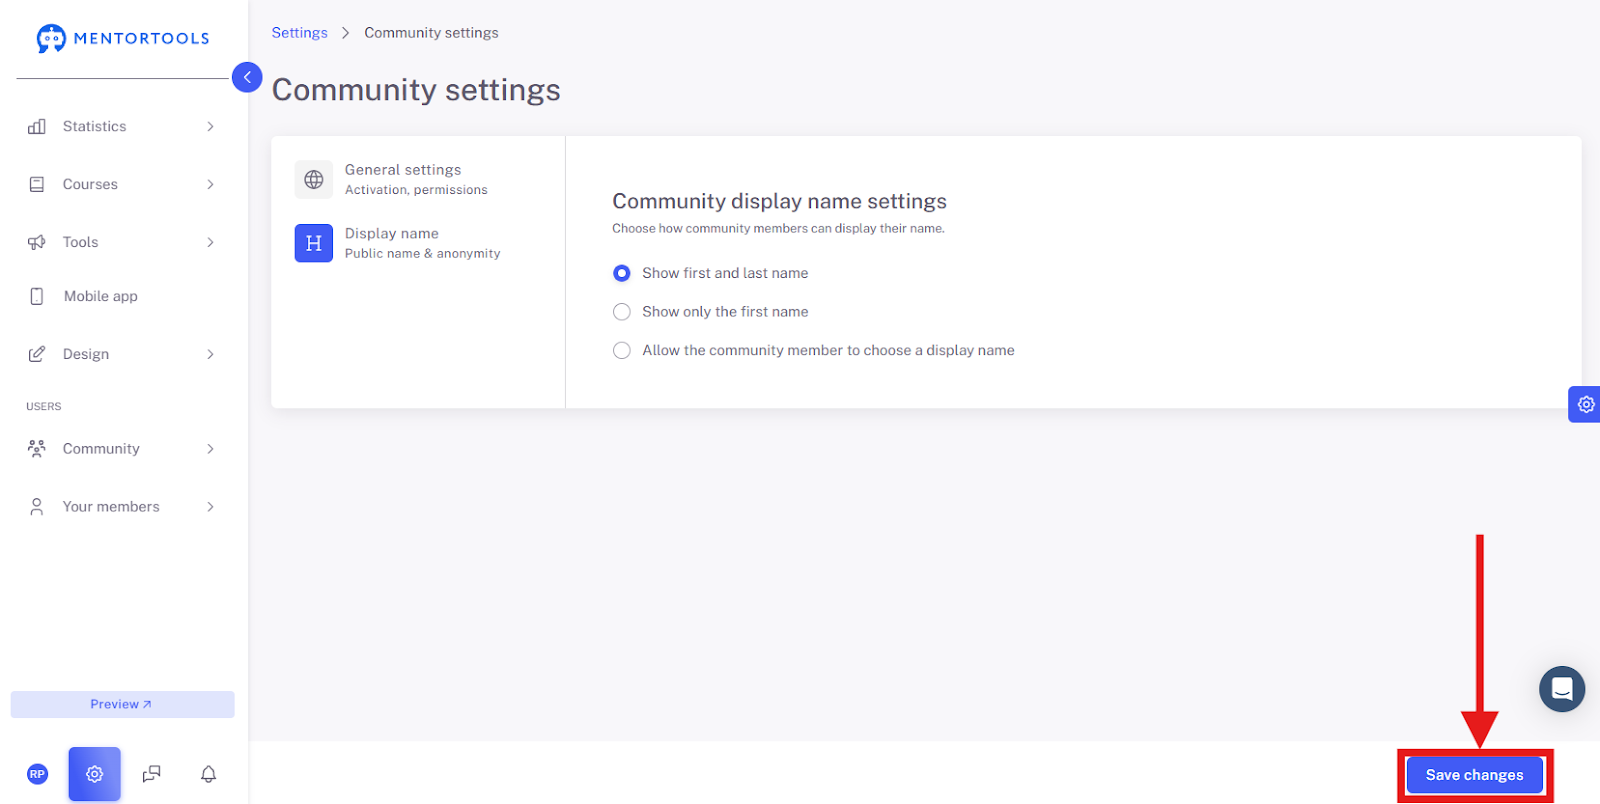
Save Changes
Save all changes so they are applied.
Summary
That's it! As you've seen, you can determine how your community members' names are displayed in just a few steps. Whether you choose the first and last name, just the first name, or a self-selected display name is entirely up to you. This setting helps you find the right balance of privacy and professionalism for your platform. Remember to always Save your changes!