General Settings – Access Settings
In this section, we will look at the access settings. Here you define how people can access your platform or course. Whether you want to control registration, share special links, or display course availability—here you have everything important at a glance. Let's get started and see how you can find and adjust these settings!
Last updated 10 months ago
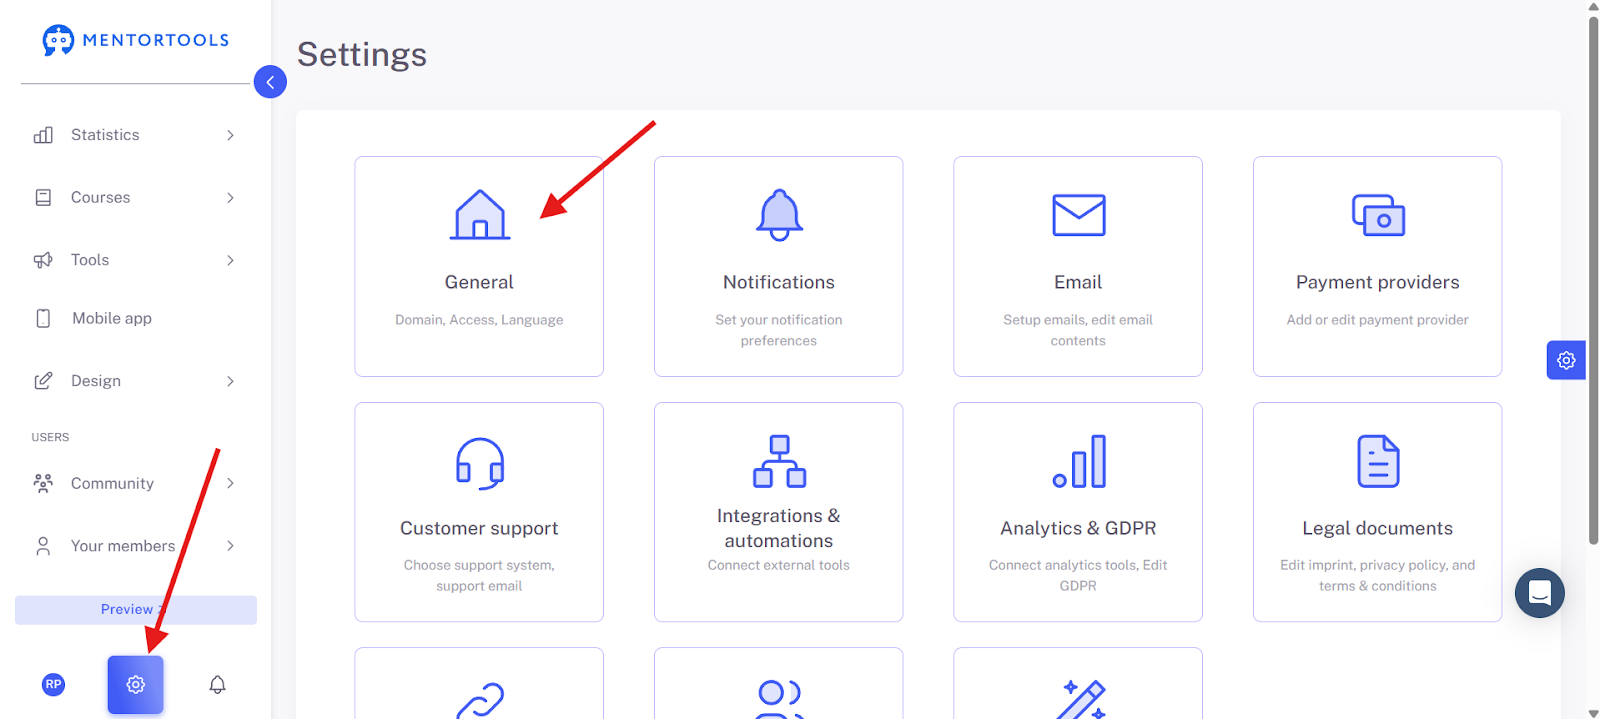
To get to the general settings, click on Settings on the "gear icon" at the very bottom left of the menu. Then click on "General."
Access Settings Overview
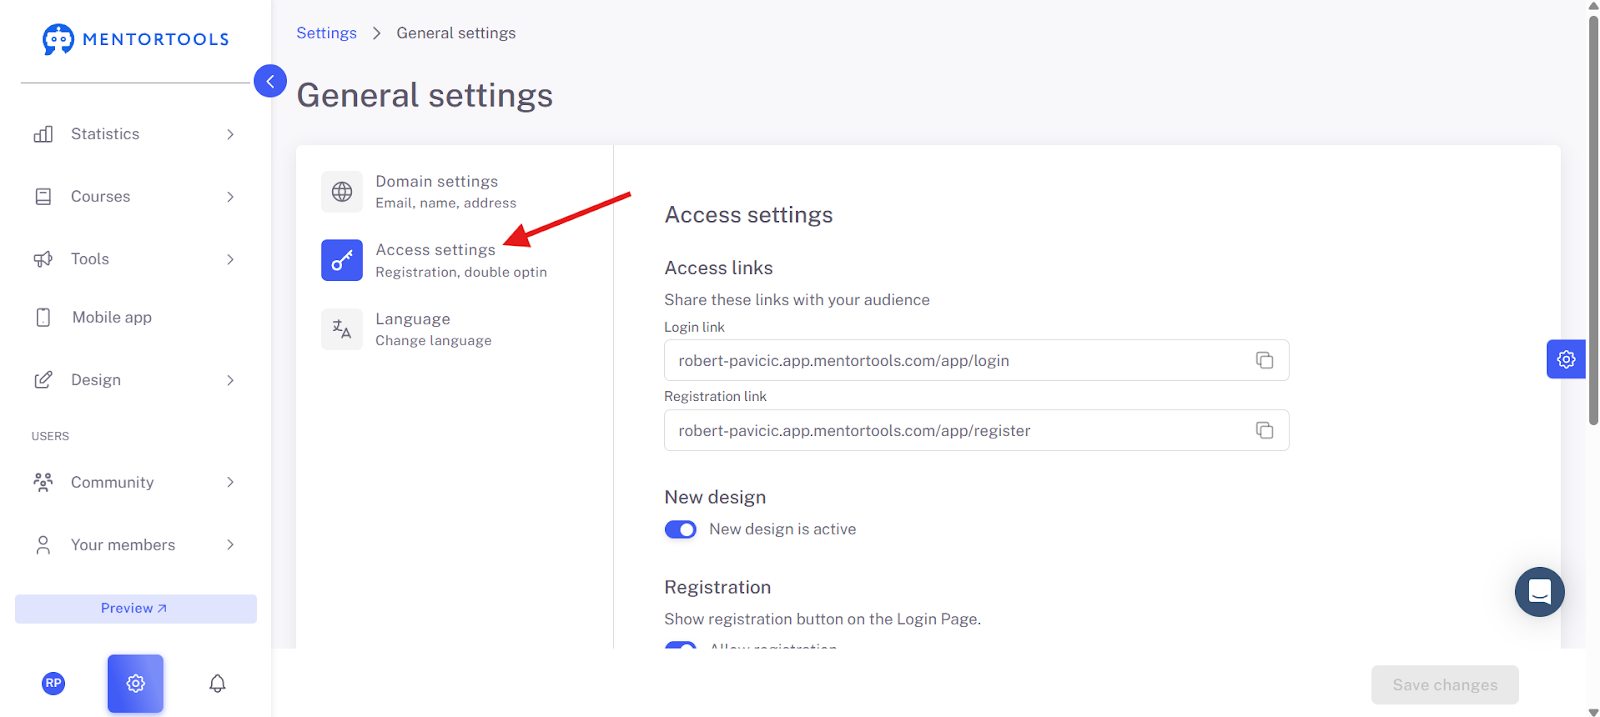
Click on "Access Settings" to view and change your access settings.
In this section, we will look at the access settings. Here you define how people can access your course or platform.
1. Access Links
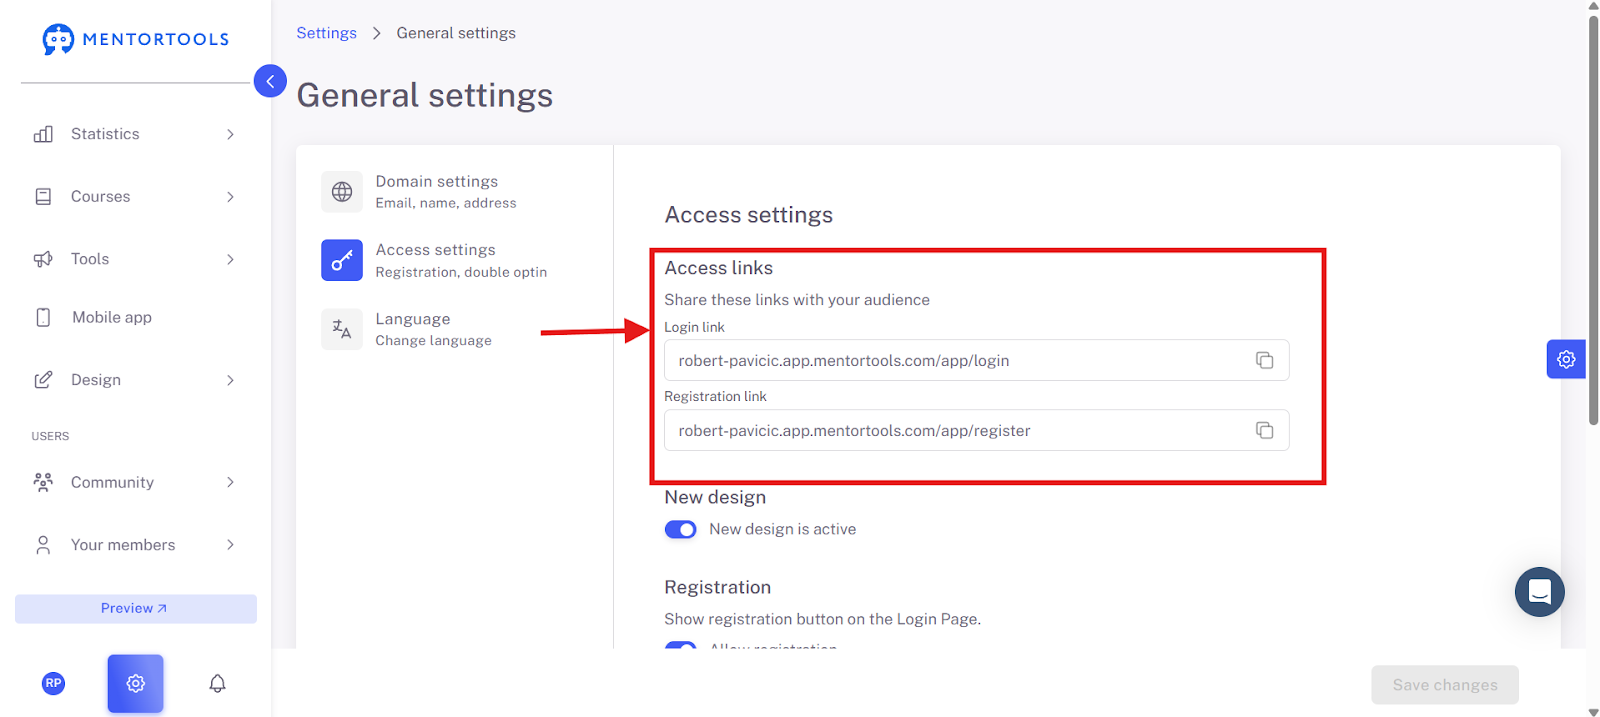
These are the most important links that you share with your target audience.
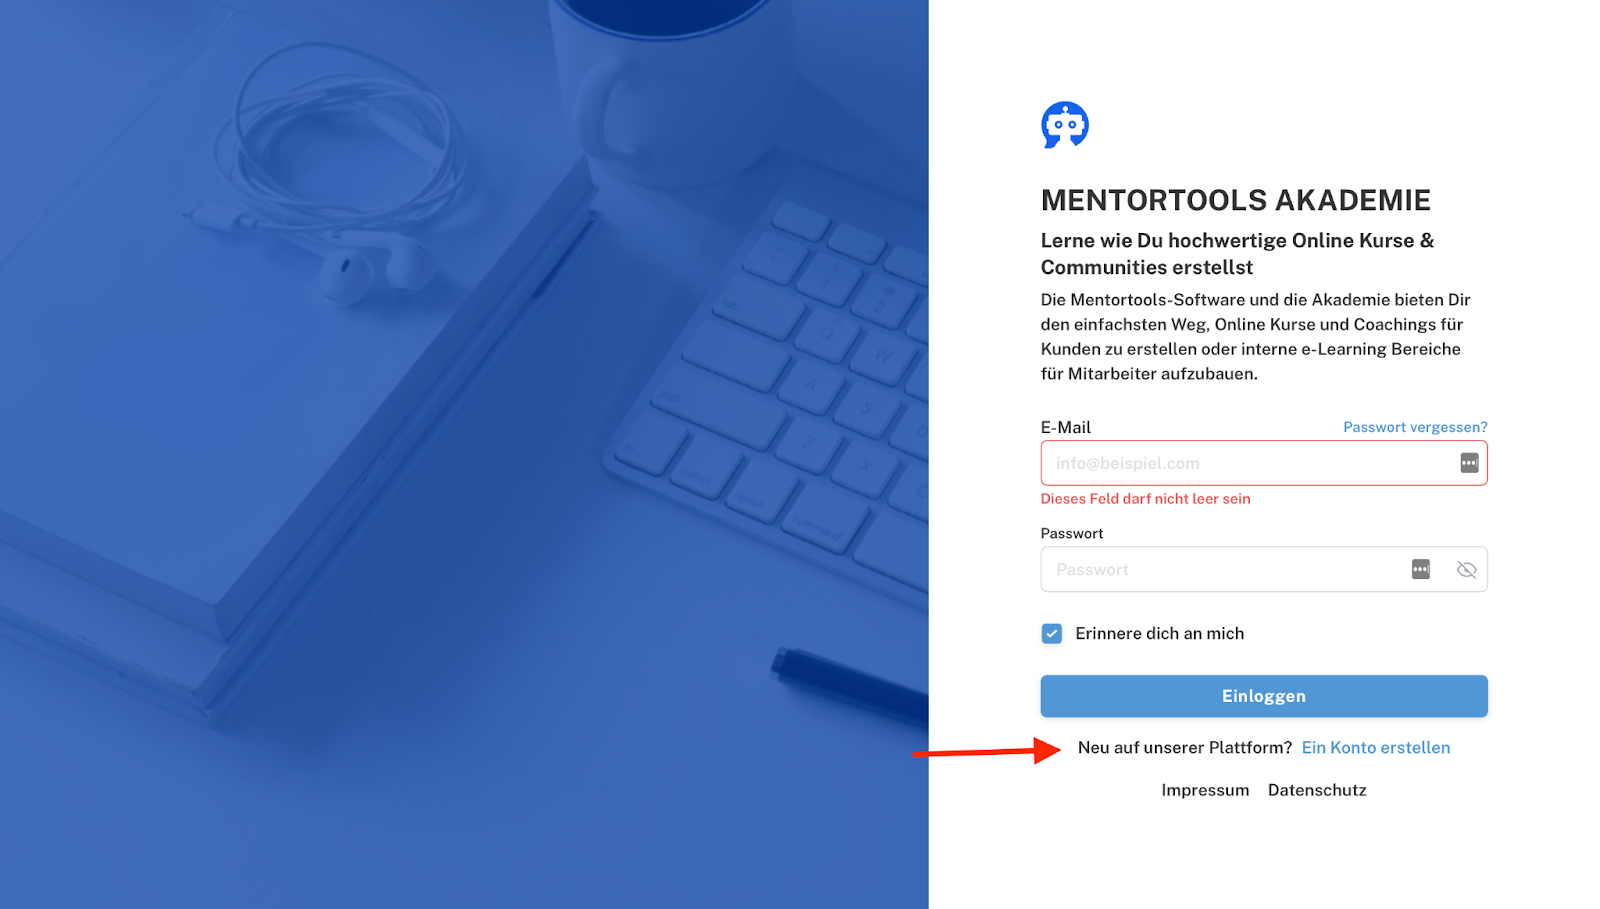
Login Link: You send this link to everyone who has already registered and now just needs to log in.
Registration Link: You share this link with everyone who should register with you for the first time.
2. New Design
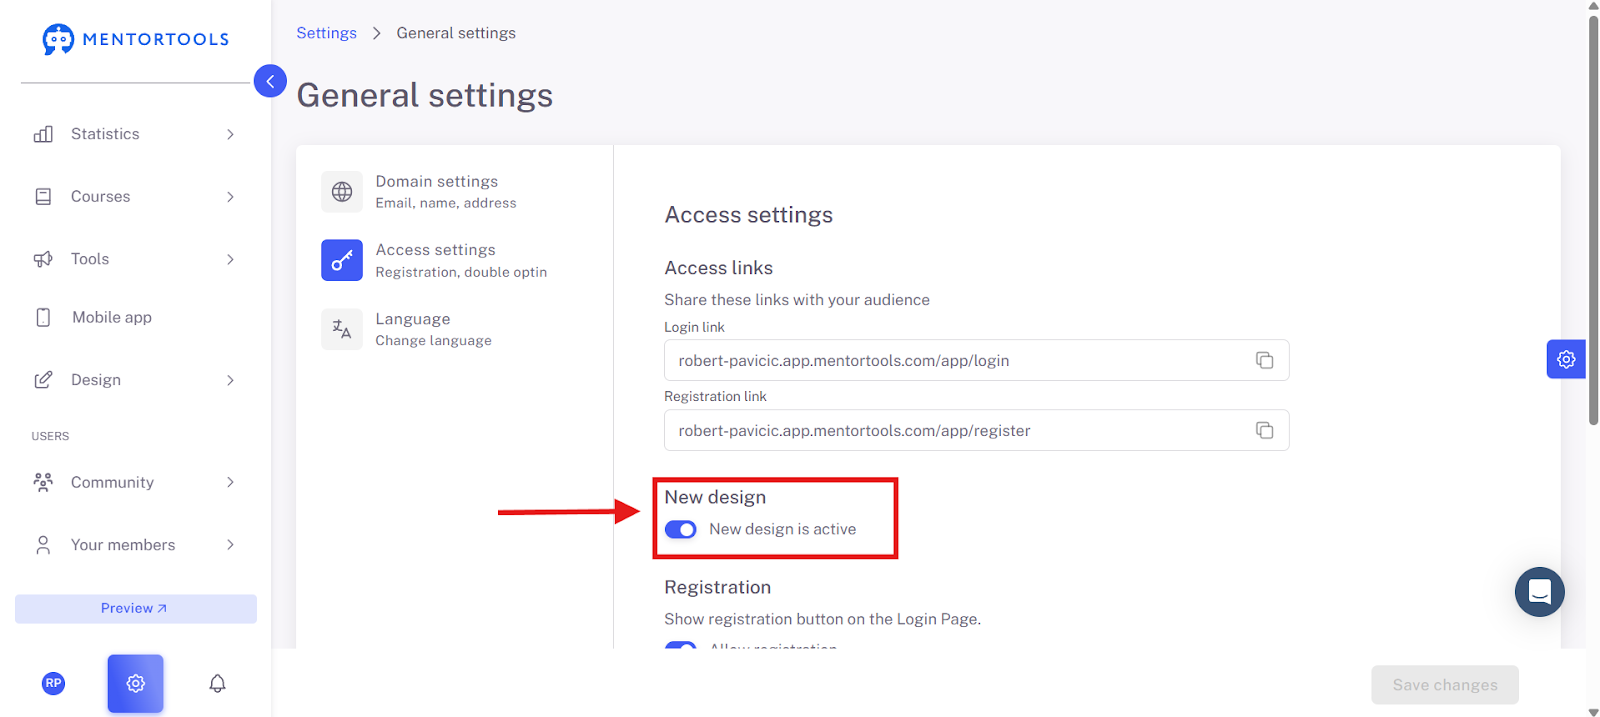
New Design: The "New Design" function is only there to show whether you have activated the "New Design." In early 2025, Mentortools launched a new design (the current one). This function is therefore only relevant for users who still have the old design from 2024 and before activated.
3. Registration
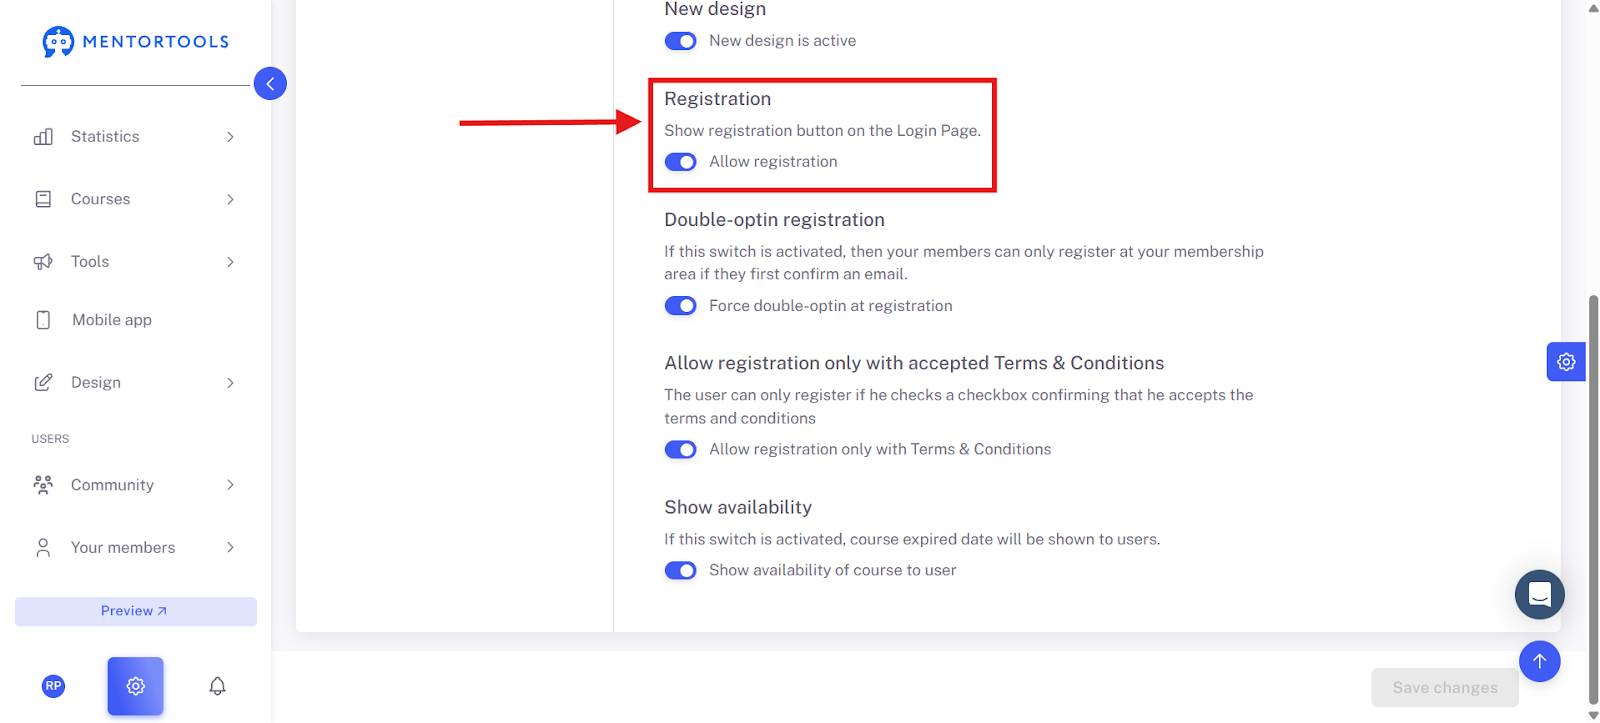
Here you control how the registration process works.
Show registration button on the login page: When this switch is on, users who come to the login page will also see a button that allows them to register directly. This prevents them from having to look for the special registration link first.
Allow registration: With this option, you generally allow new users to register. If you turn this off, no new registrations are possible, and the platform is only accessible to already registered members.
4. Allow registration only with accepted terms and conditions
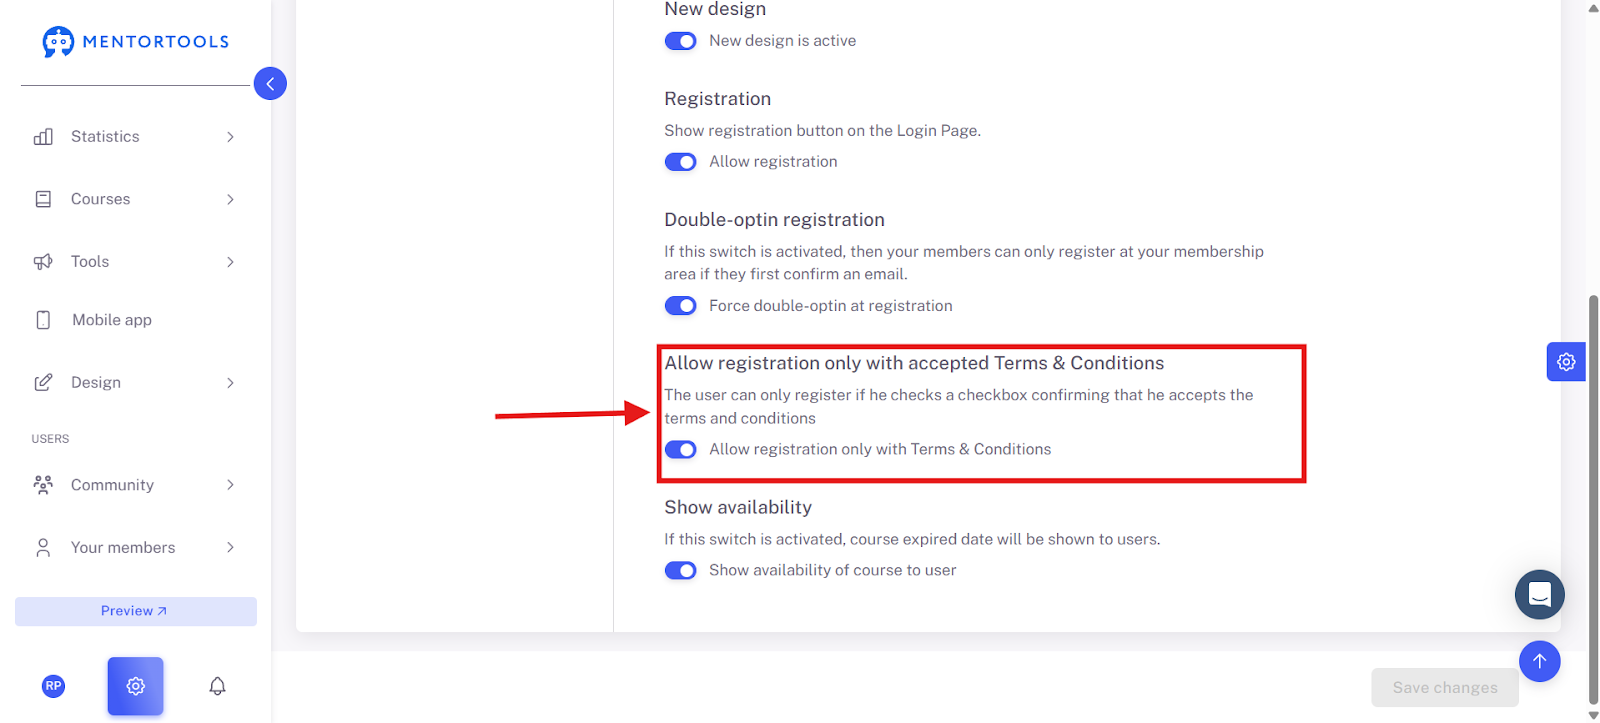
Allow registration only with T&Cs: If you activate this, new users must check a box during registration to confirm that they accept your General Terms and Conditions (T&Cs). This is often legally necessary.
5. Show availability
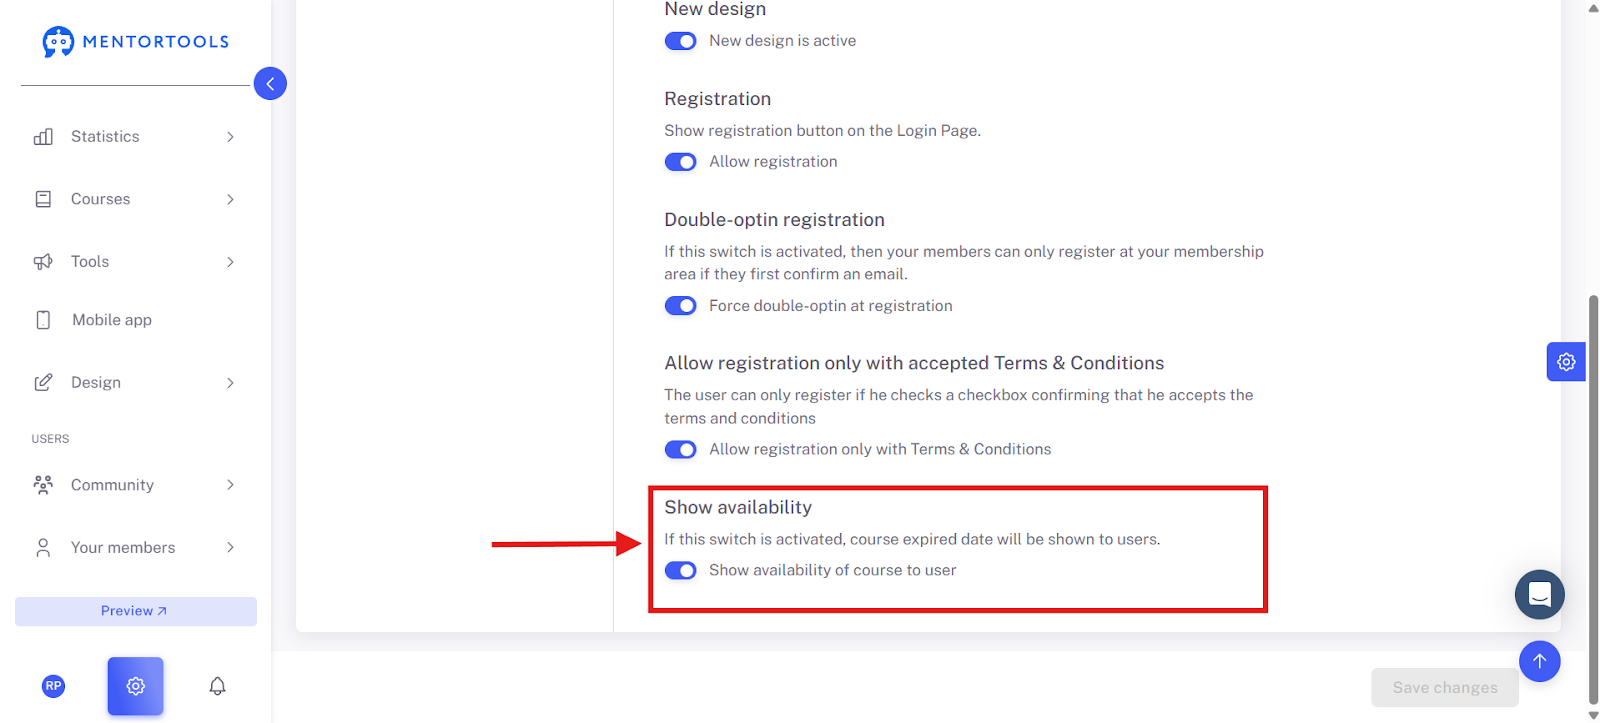
Show course availability to the user: If you turn this switch on, your users will see until when the course is available (e.g., an expiration date). This can be useful to create a certain sense of urgency or to clearly communicate how long access will last.
With these settings, you have full control over who can access your content, when, and how.
6. Save Changes
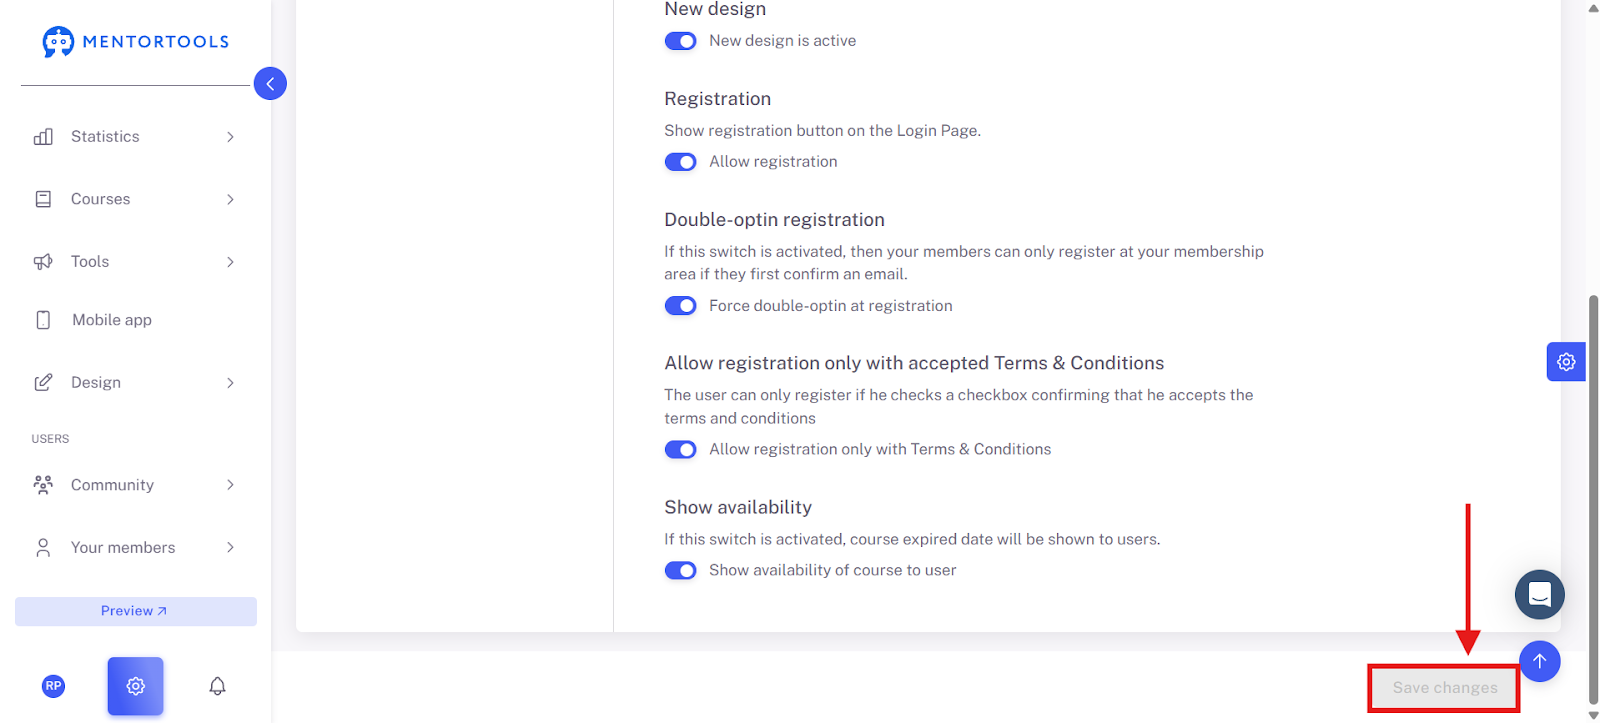
When you are satisfied with your settings, click on "Save Changes" in the bottom left to apply them.
Summary
The access settings are the central place to manage access. Here you will find the direct links for your users to log in and register. You can also easily activate or deactivate registration with a switch. Other useful functions include double opt-in registration for email verification, the option to make T&C acceptance mandatory, and the ability to display course availability. Once you have made all the changes, remember to click on "Save Changes" in the bottom left.