What does your membership area look like?
The Mentortools membership area is clearly structured, professionally designed, and provides your participants with an optimal learning experience on all devices. Here you can find out how your membership area is structured and what unique advantages you can expect.
Last updated 10 months ago
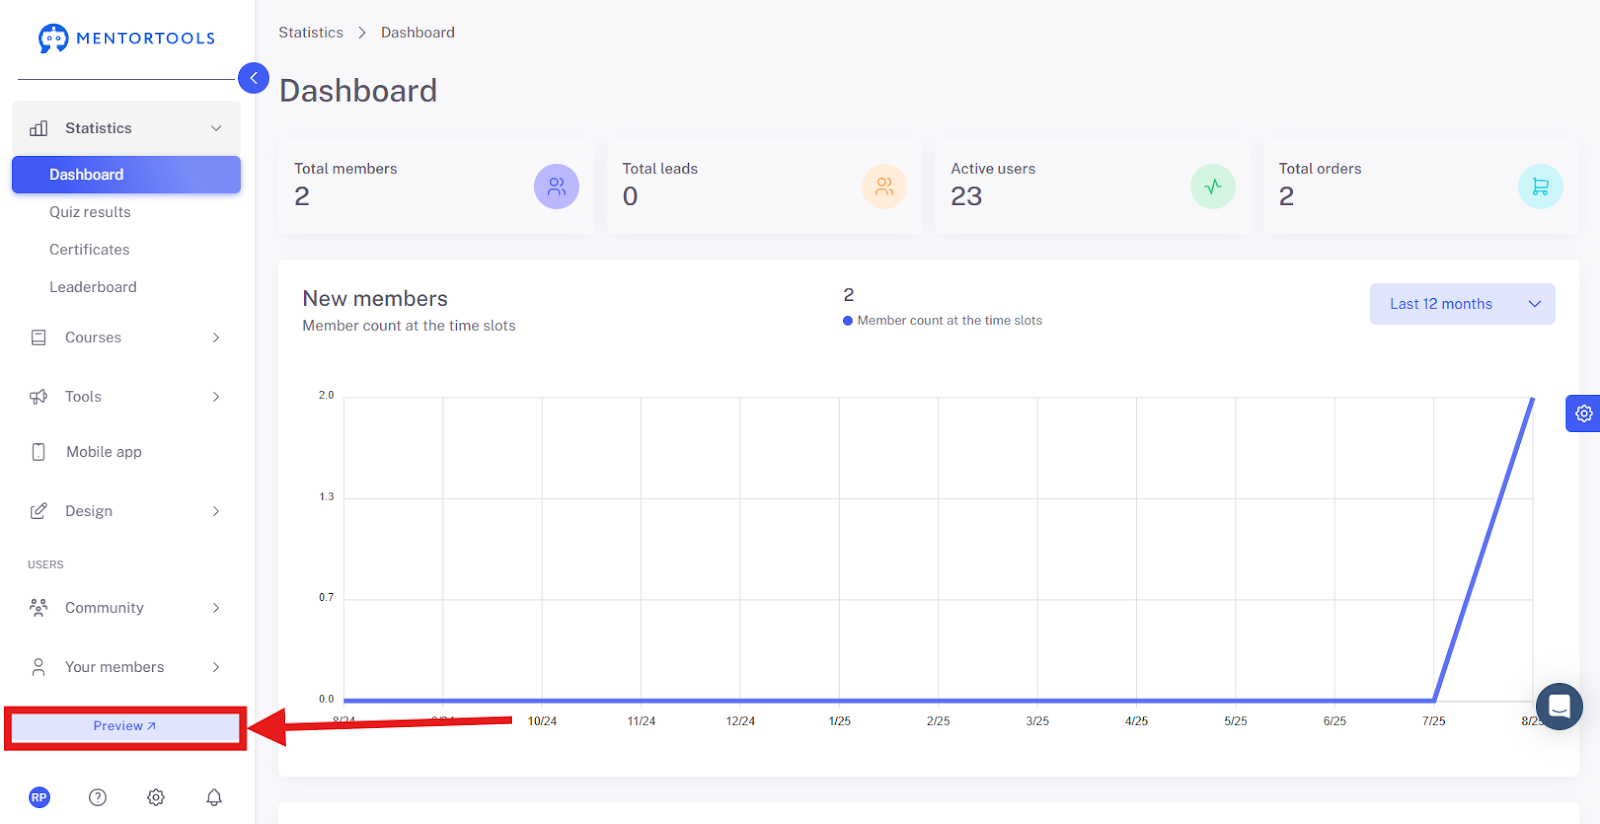
1. Open Preview
Go to https://app.mentortools.com.
Click on "Preview" to view your membership area.
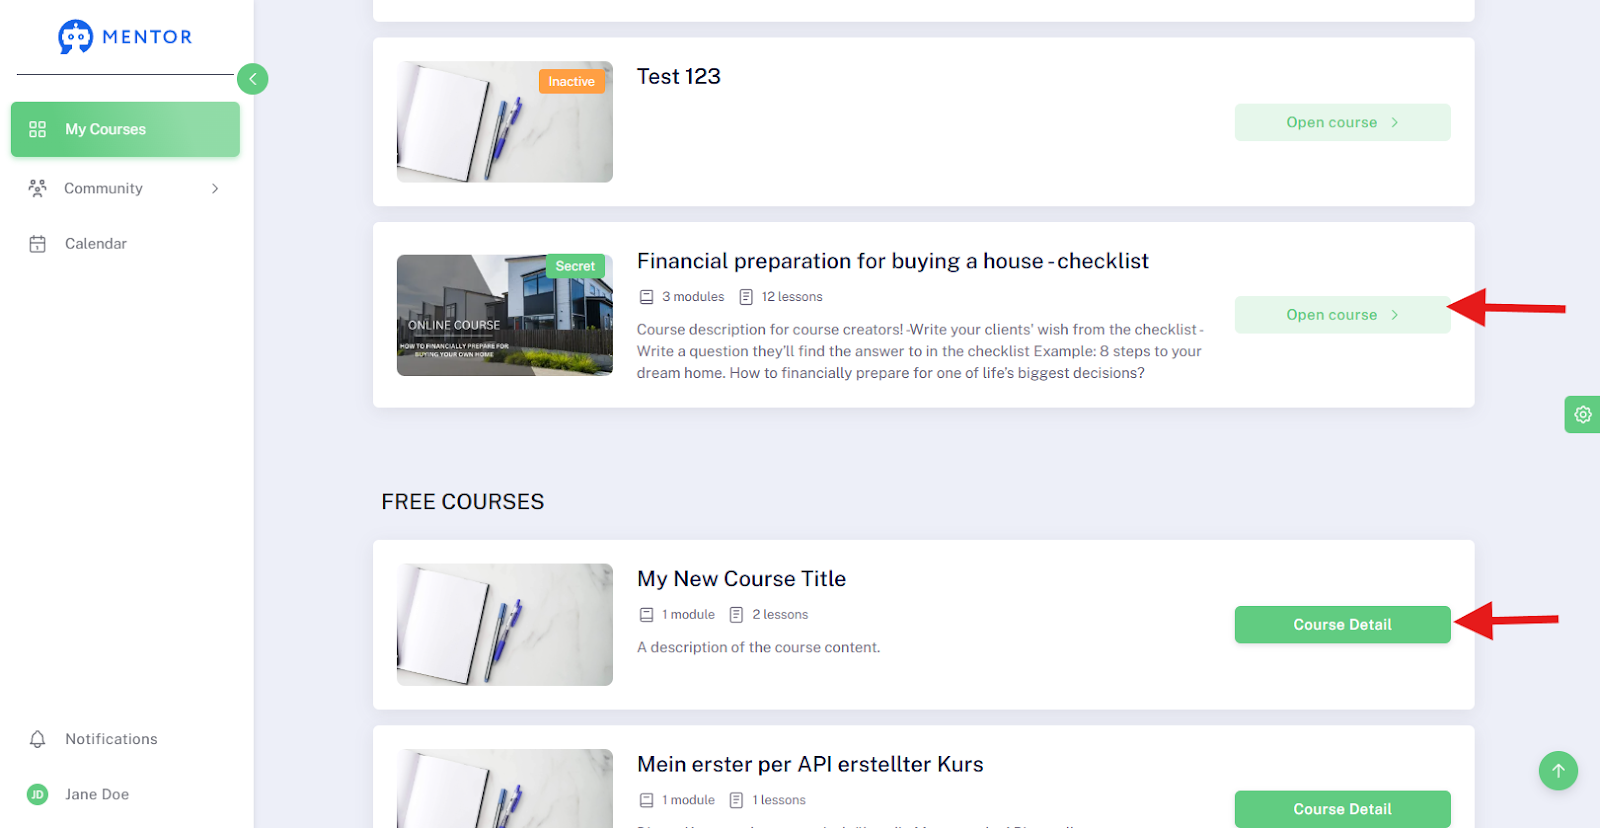
2. Open Course Overview
By clicking on the "My Courses" button, all of your online courses within your online academy will be displayed.
3. Open Course Details
By clicking on the "More Information" button under the course in the preview area, you will be taken to the sales landing page (or the order form), where you can find information about the course and have the option to purchase it.
By clicking on the "Open Course" button under the course in the preview area, you will be taken to the detailed view of the respective course.
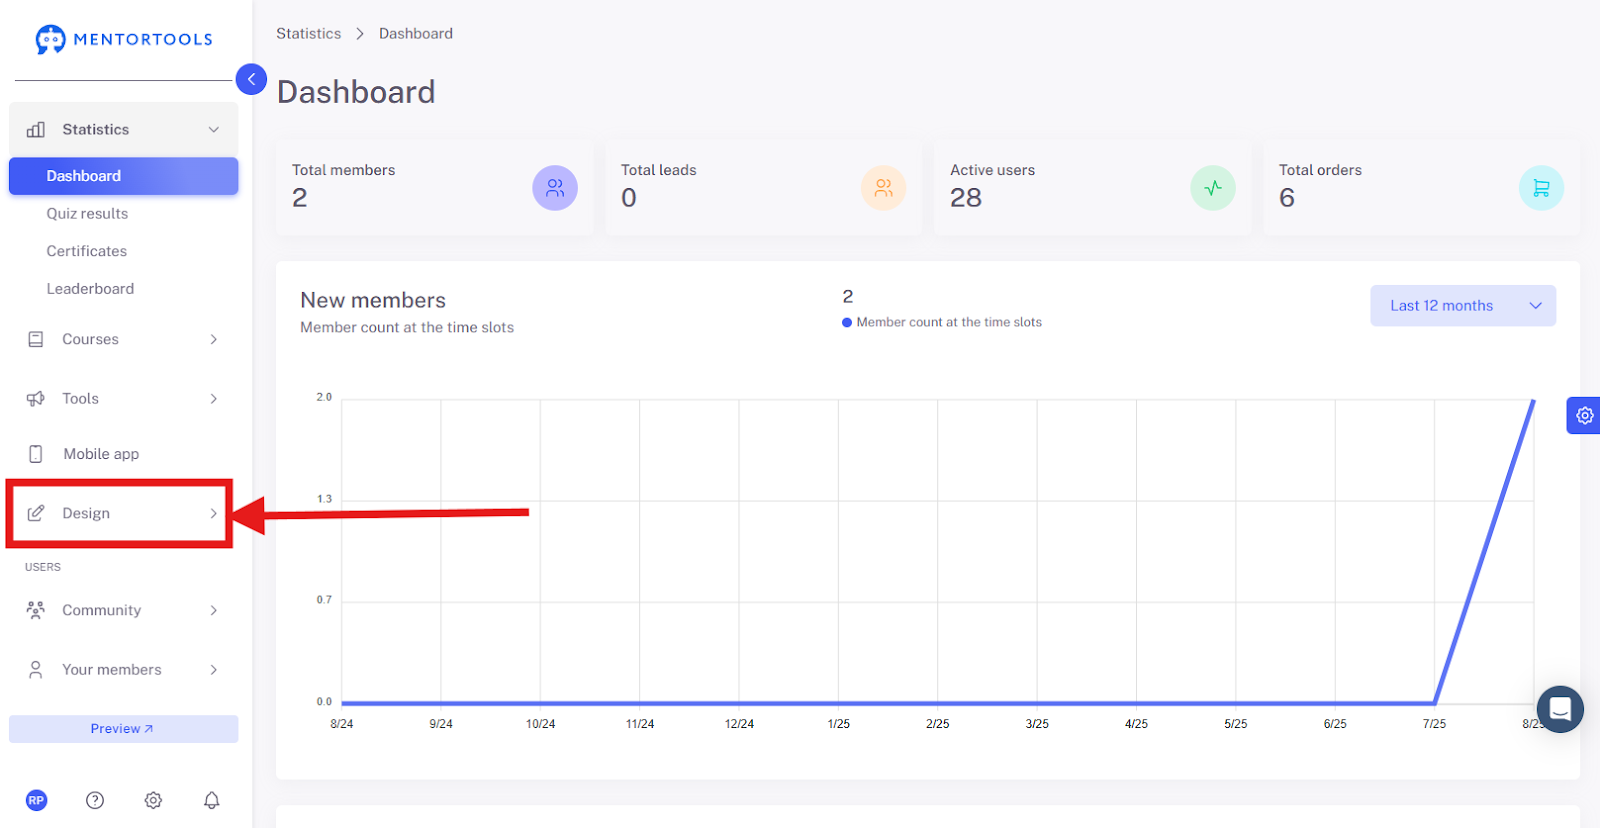
2. Open Design Settings
In the menu, click on "Design".
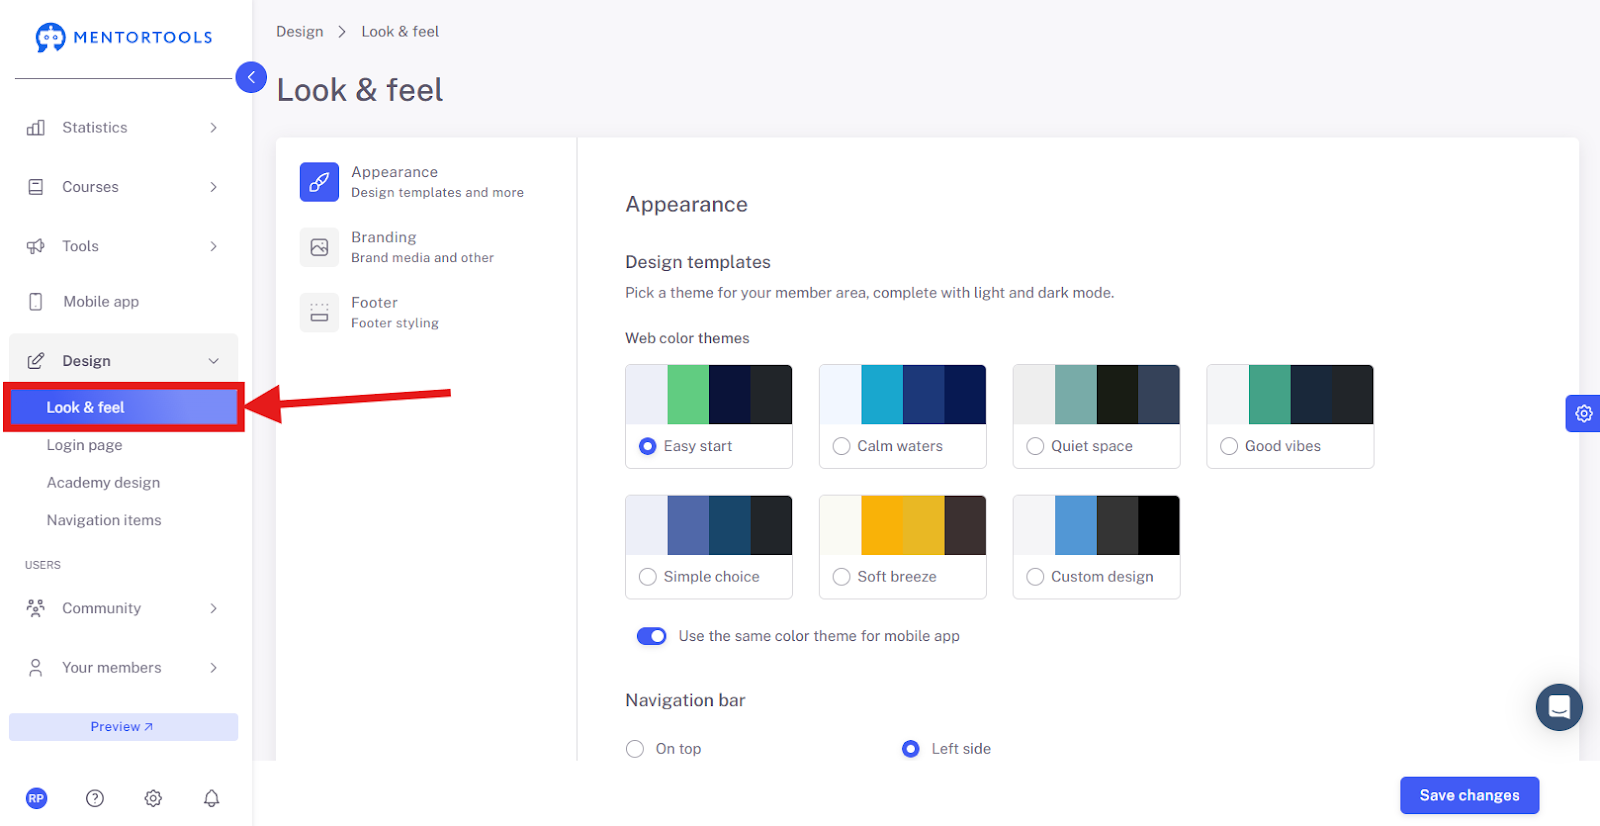
3. Adjust Look & Feel
Click on "Look & Feel" to define colors and layouts.
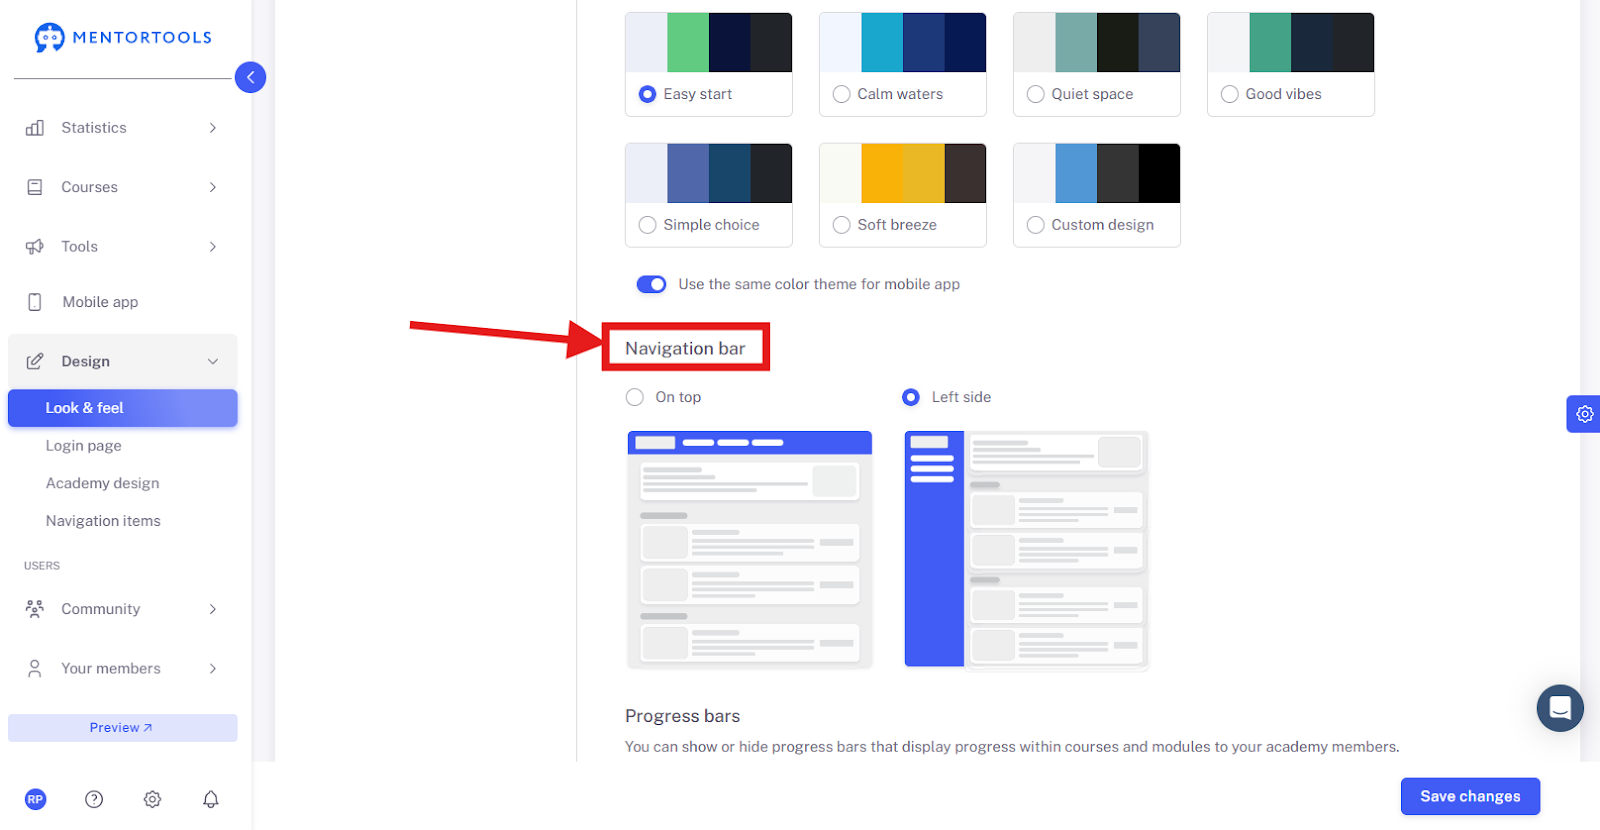
4. Edit Navigation Bar
Open the "Navigation Bar" section.
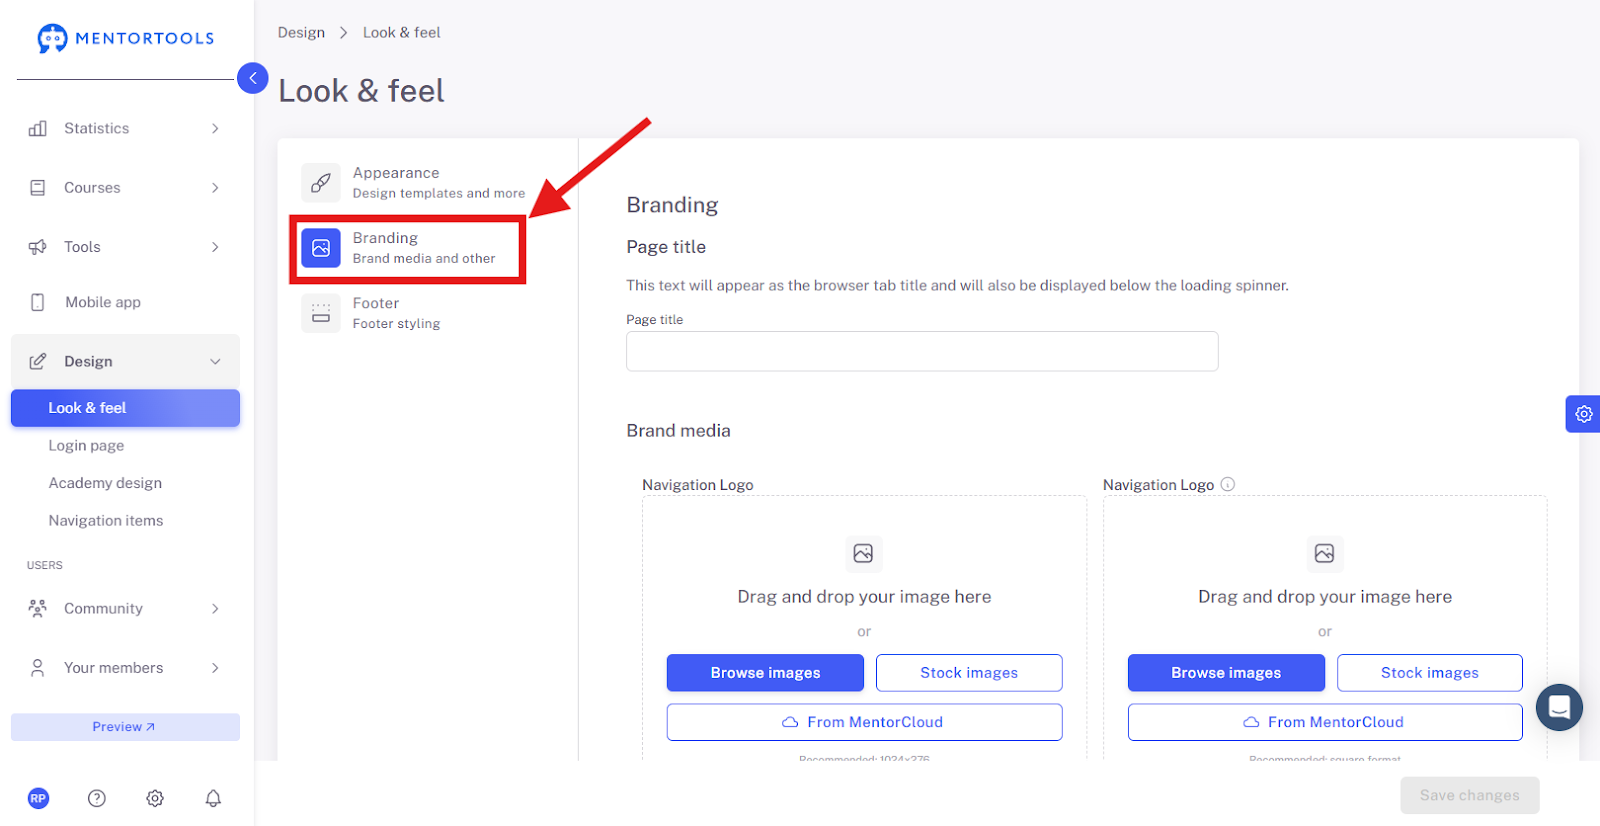
5. Add Branding
Open the "Branding" section.
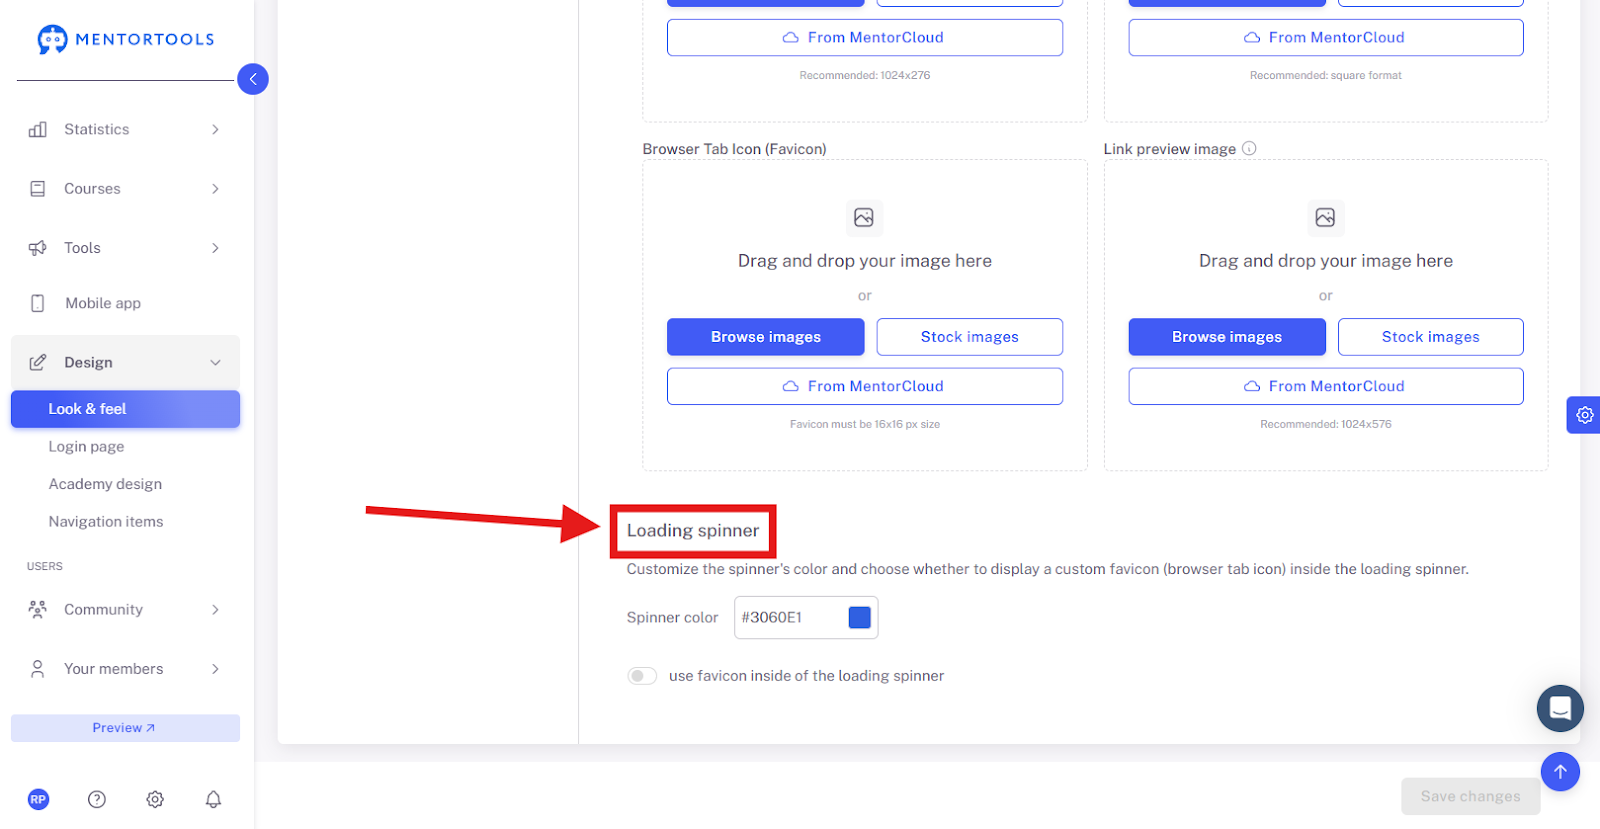
6. Customize Loading Spinner
Design the loading indicator to your liking.
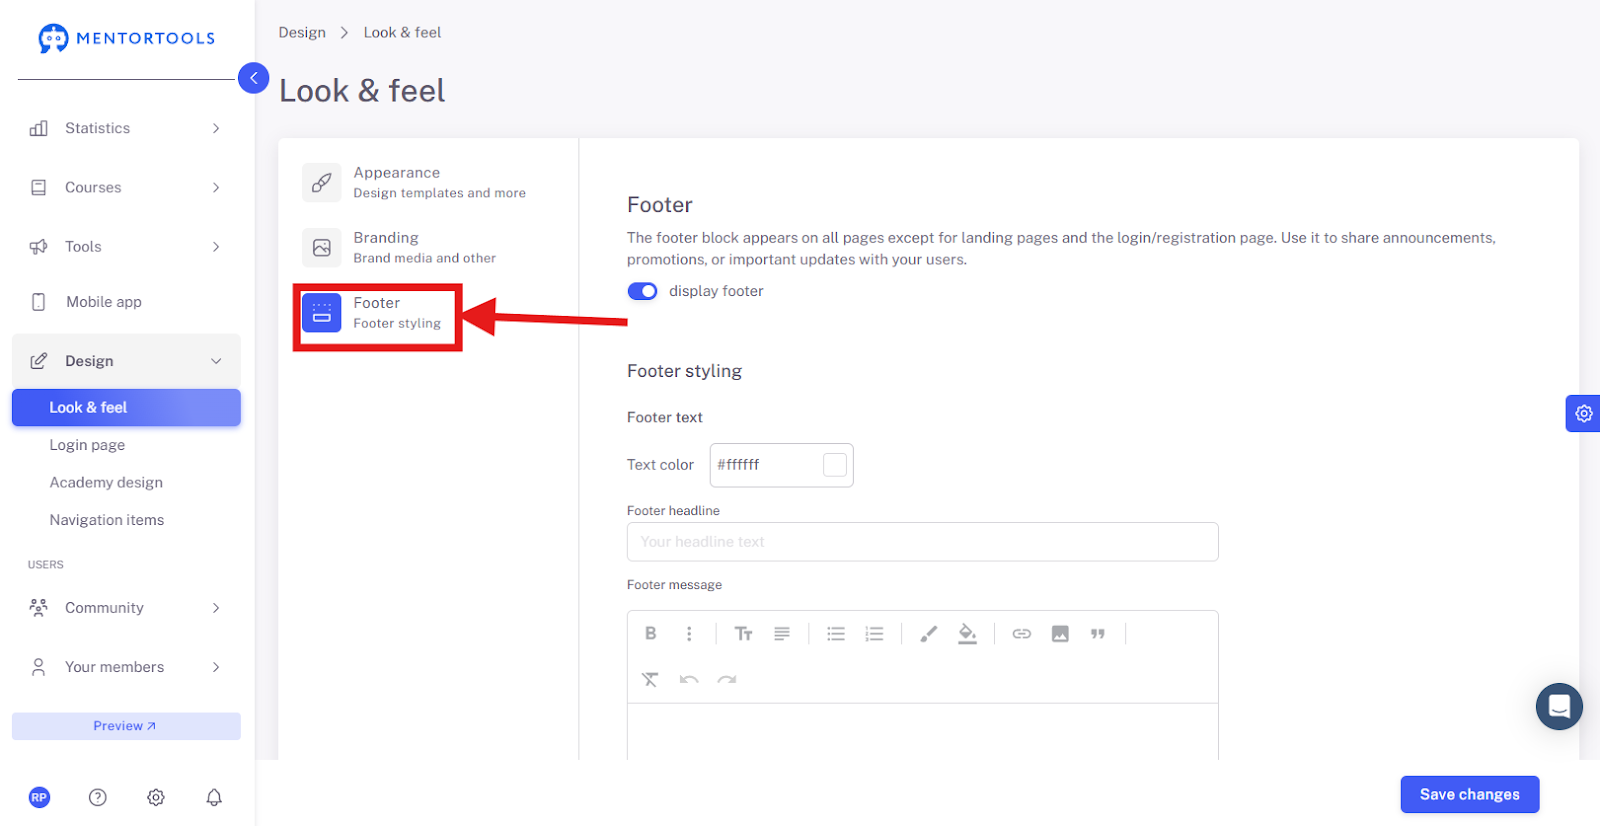
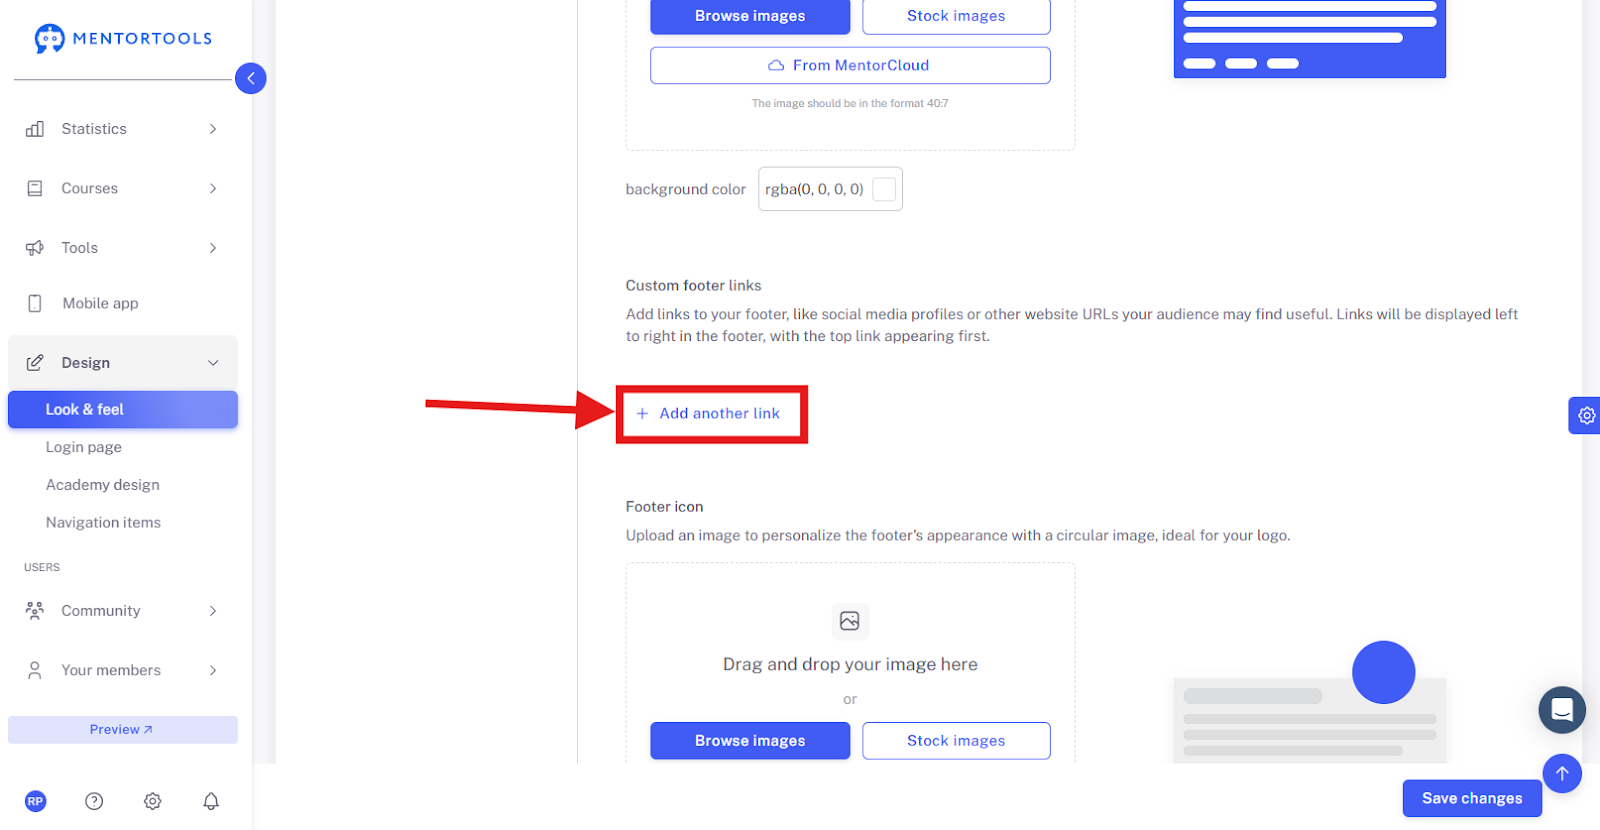
7. Edit Footer
Edit the content and layout of your footer.
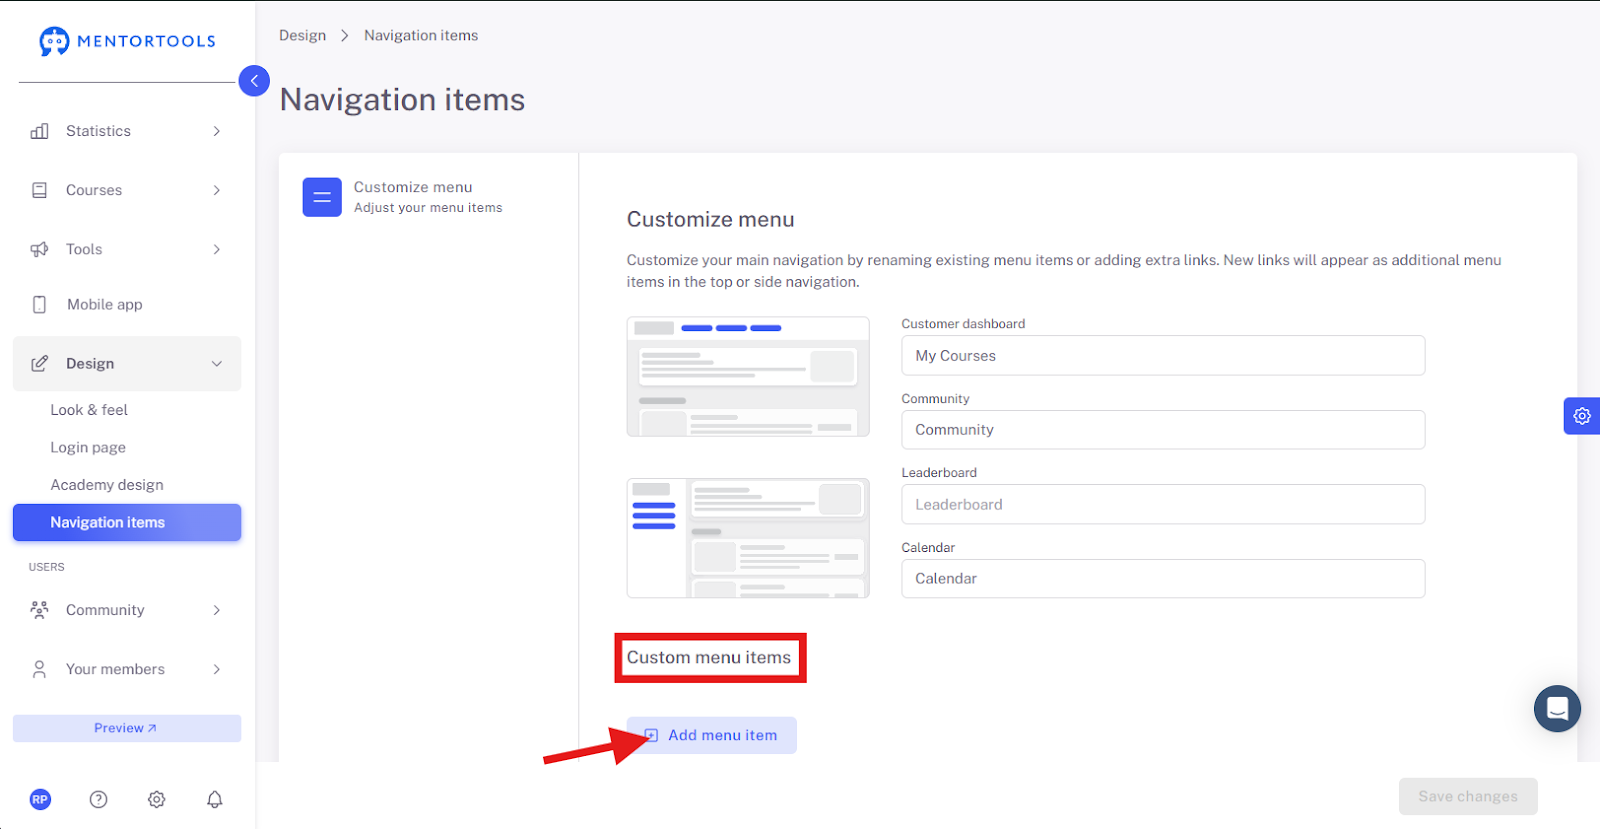
8. Add a Link in the Footer
Click on "Add another link".
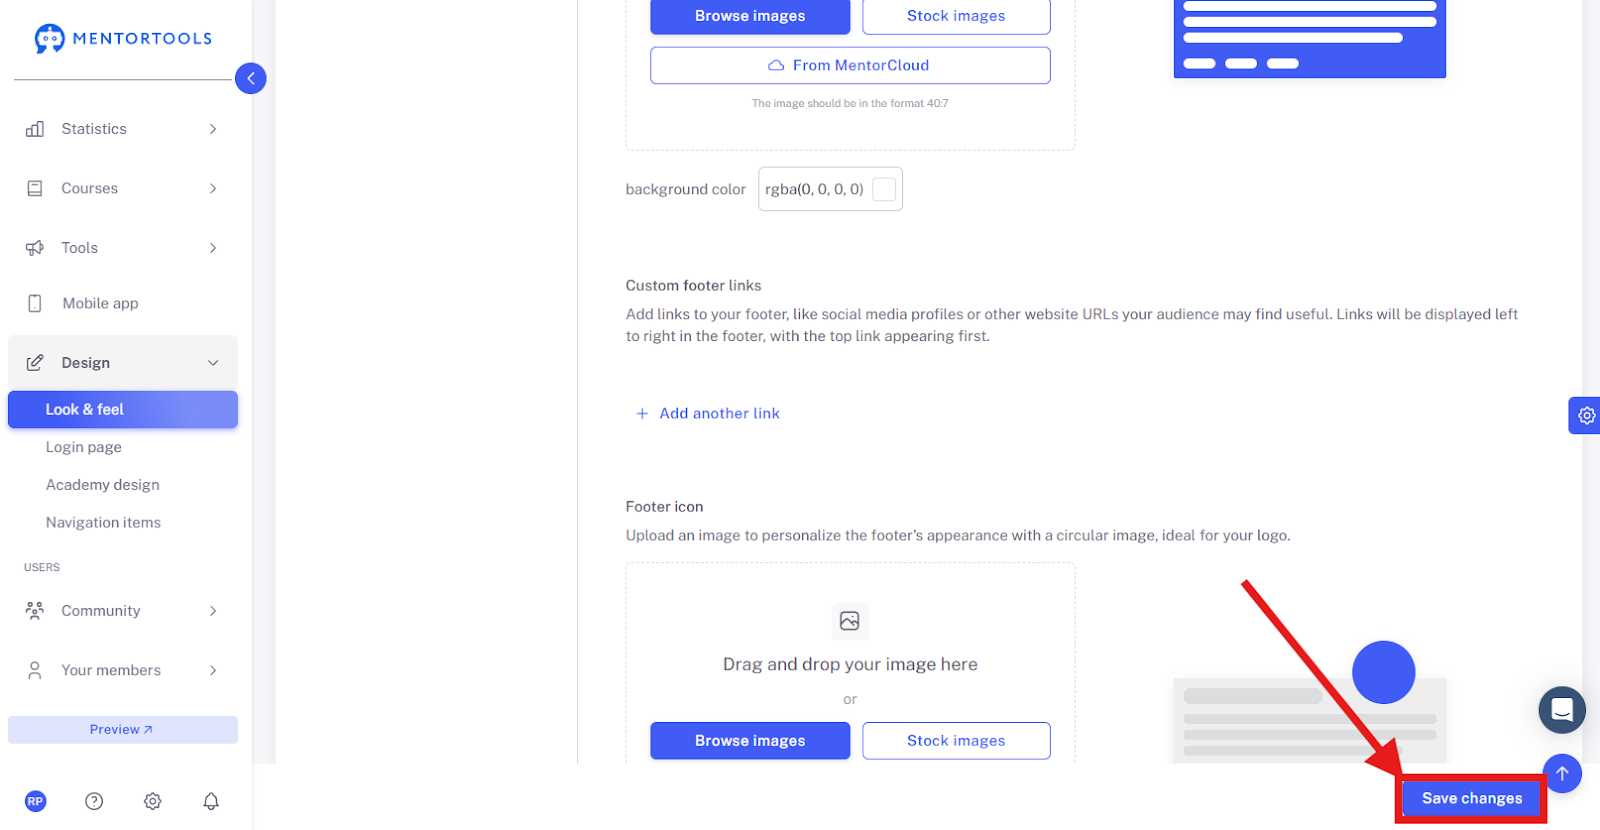
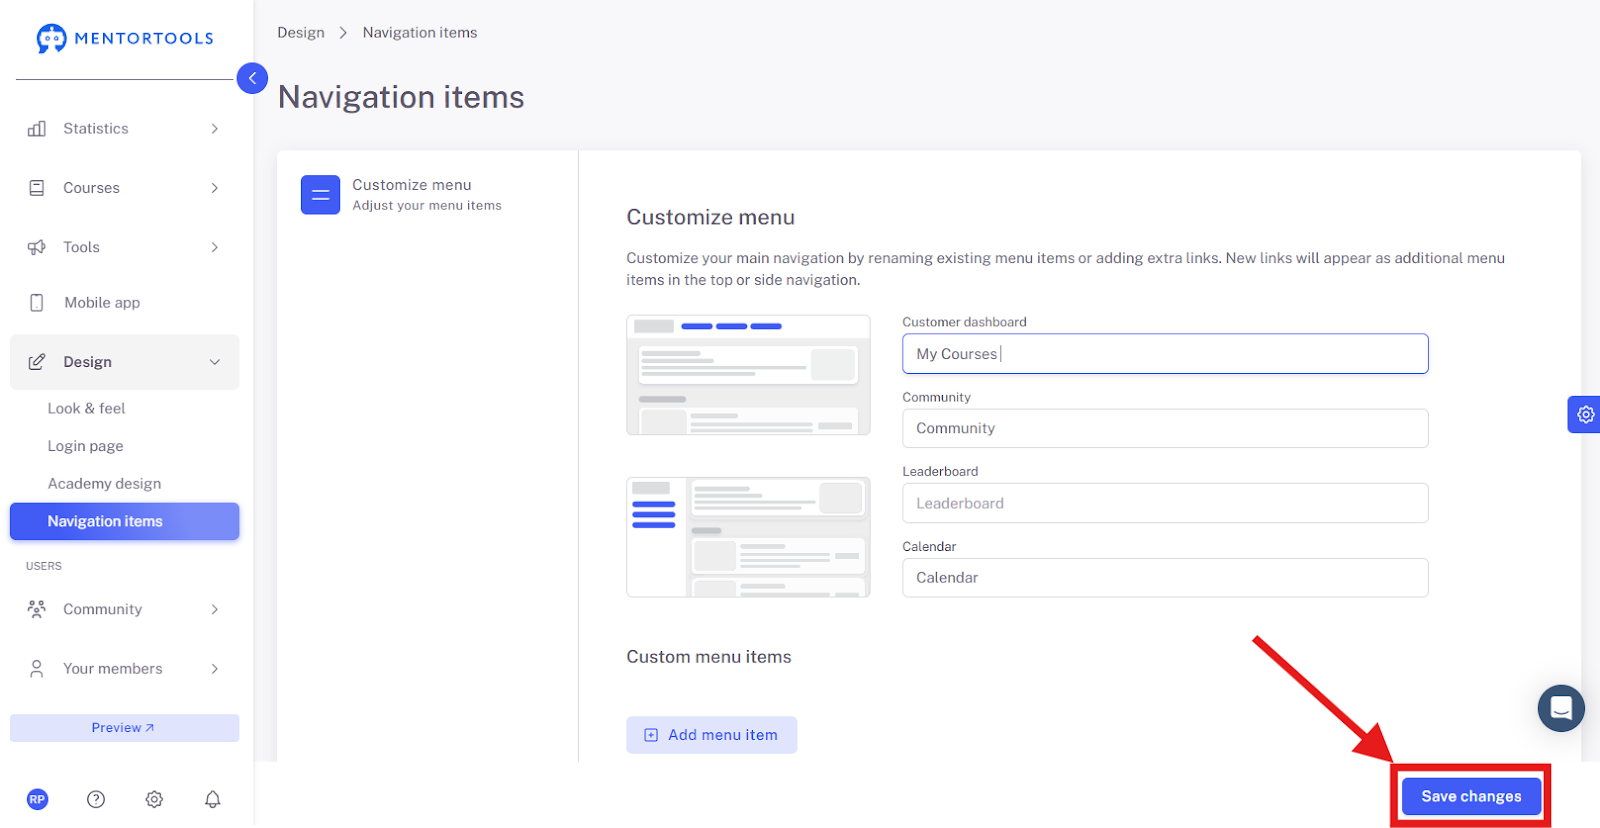
9. Save Changes
Save your changes using the button at the bottom.
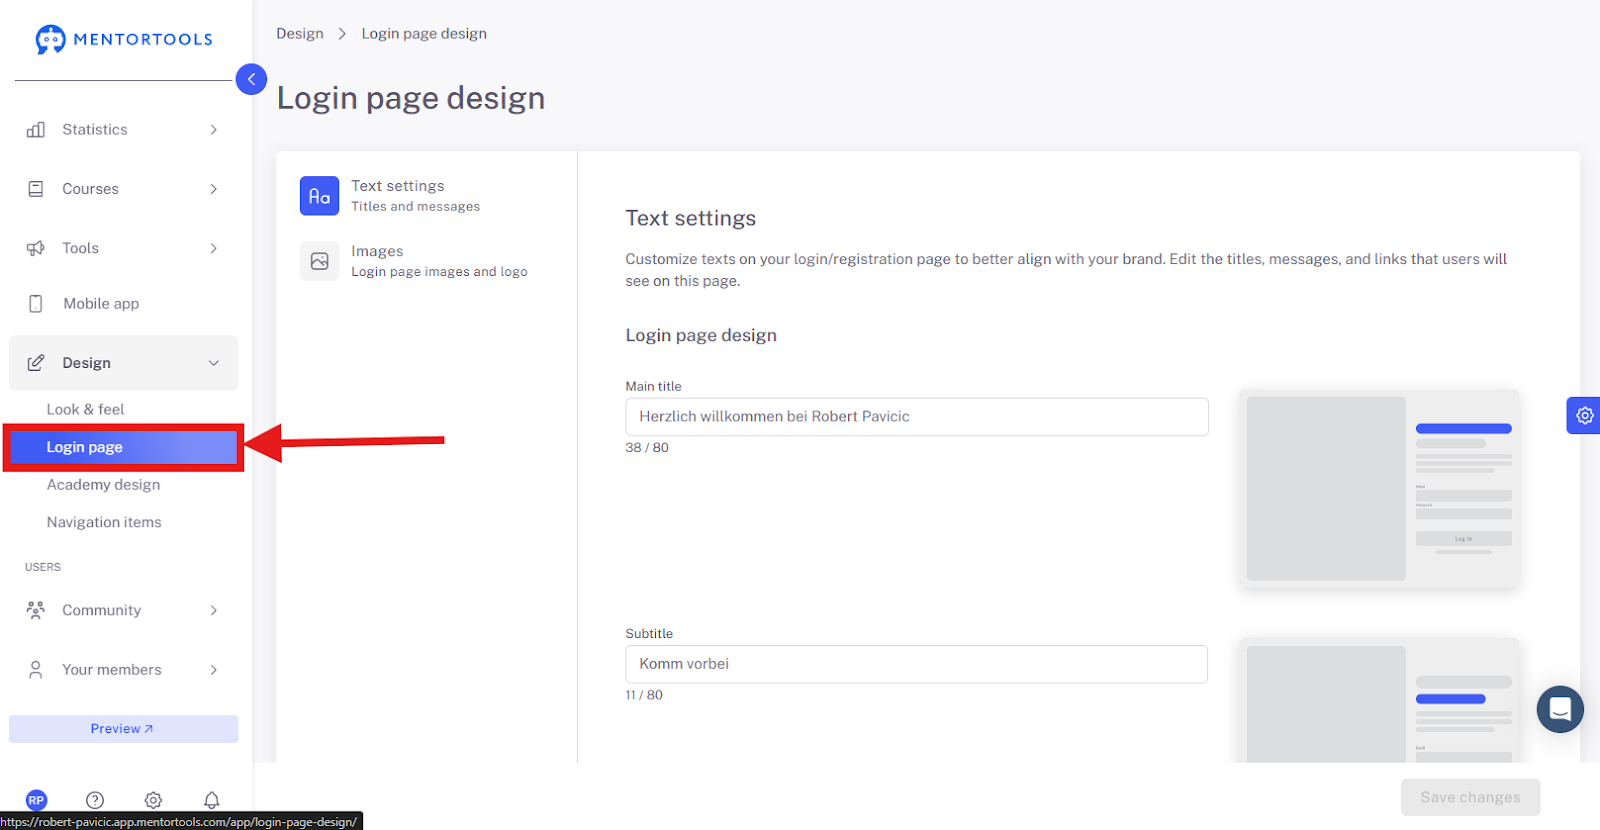
10. Open Login Page
Navigate to the login page to edit its layout.
11. Adjust Texts on the Login Page
Edit individual text blocks on the login page.

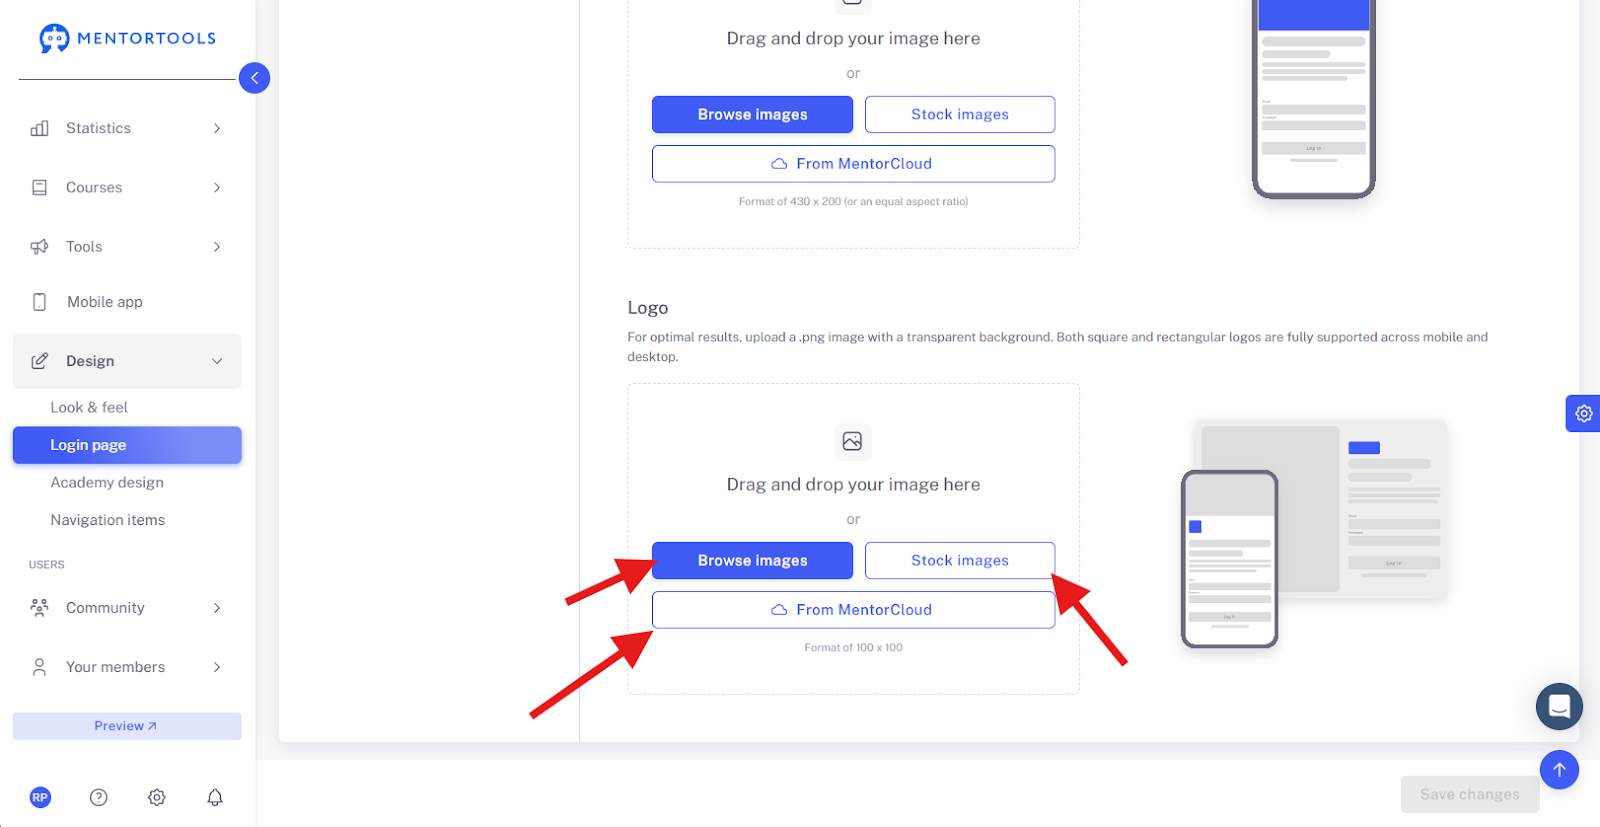
12. Add Logo & Images
Customize the visual elements of your login page.
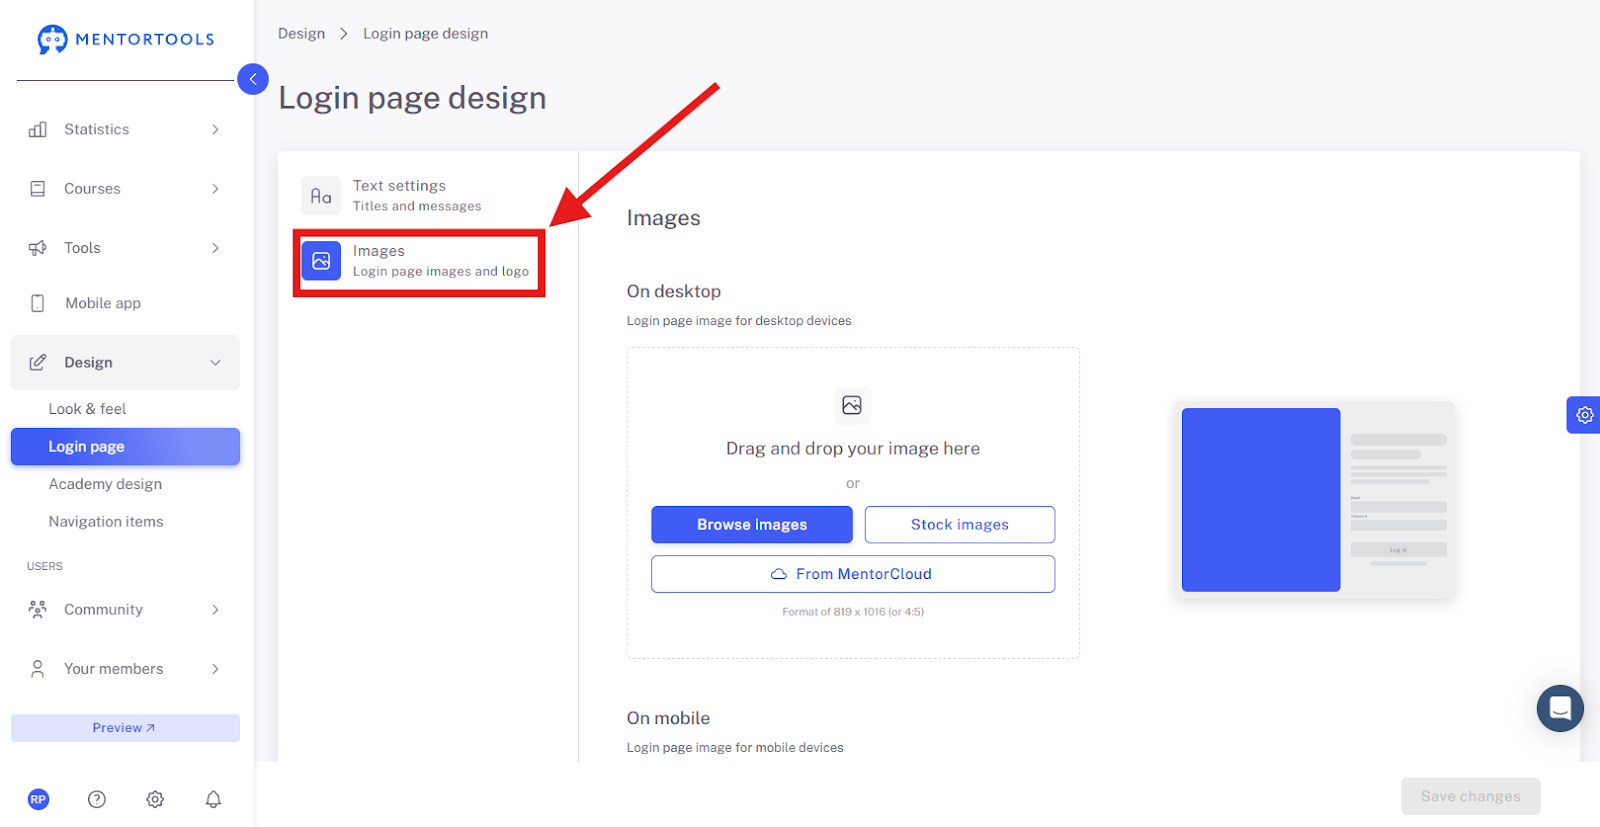
13. Upload Images
Drag images into the designated field or select them from the cloud.
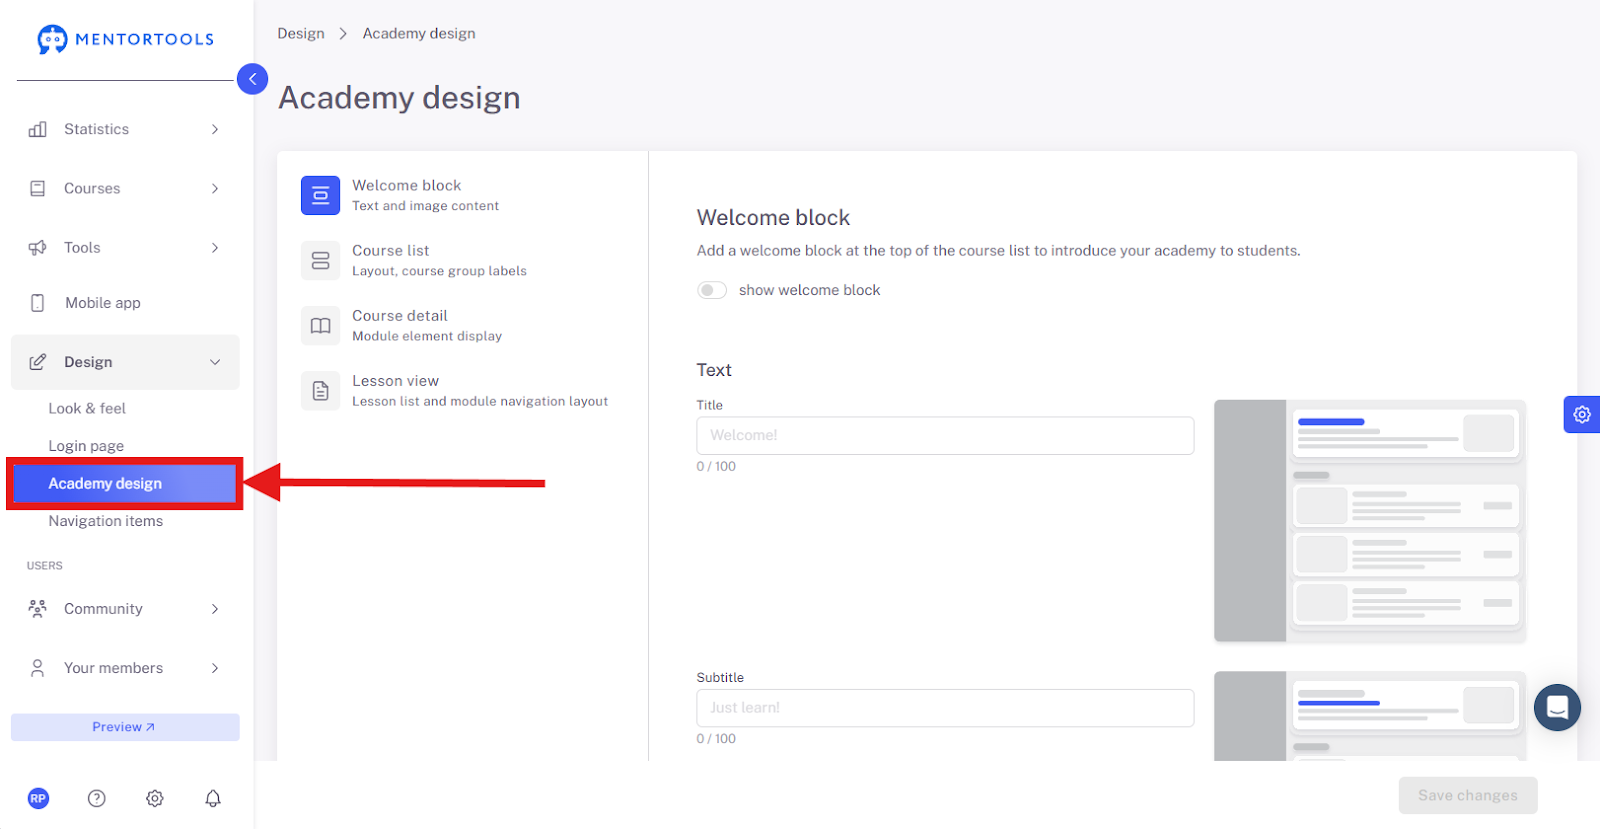
14. Open Academy Design
Design the header and platform layout of your academy.
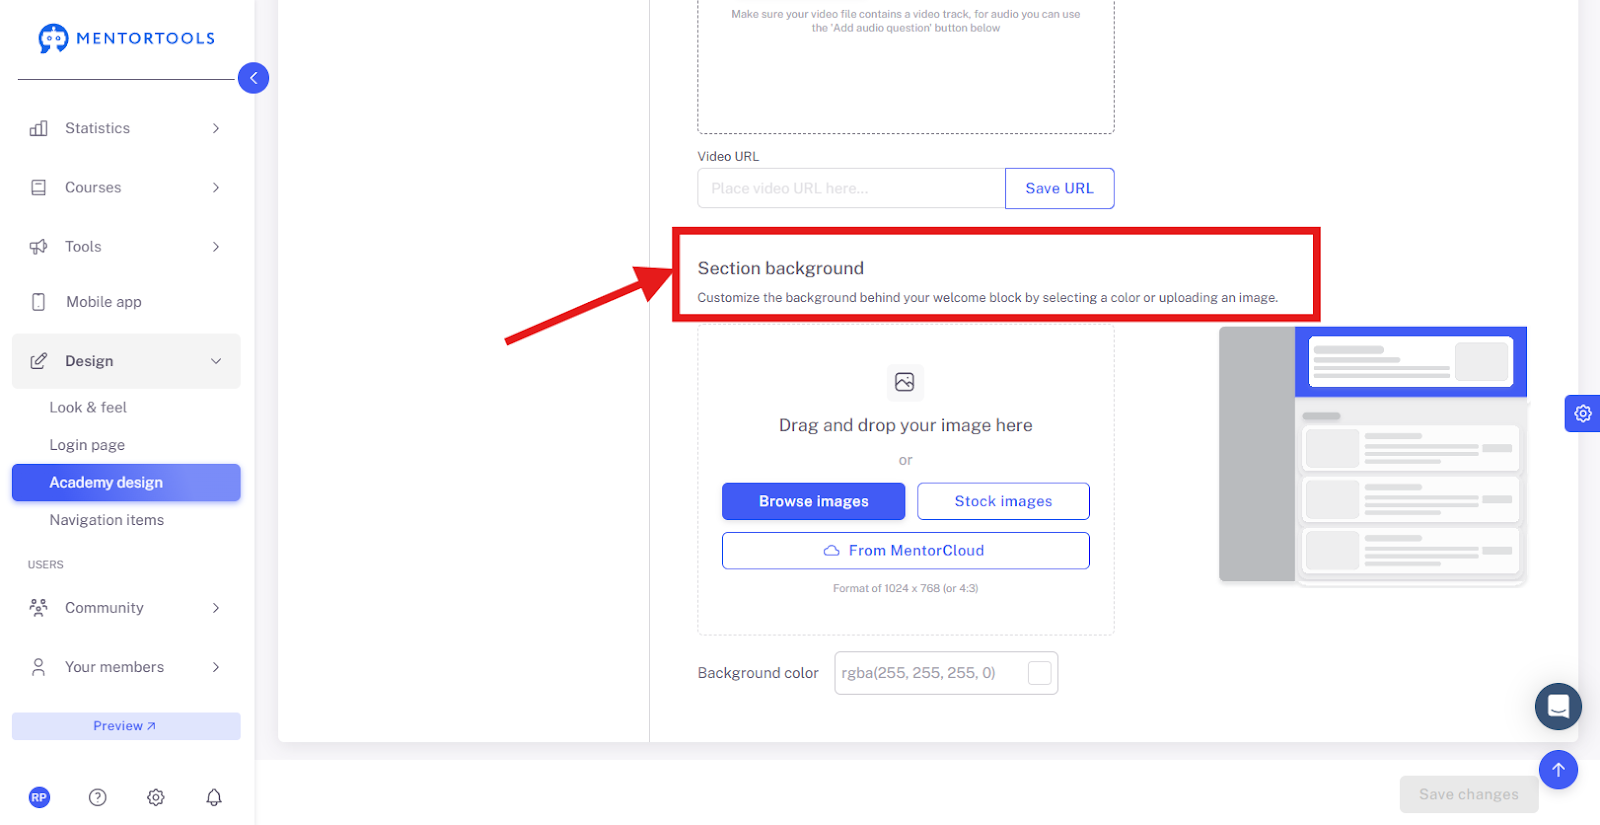
15. Adjust Section Background
Upload a custom image or select a color.
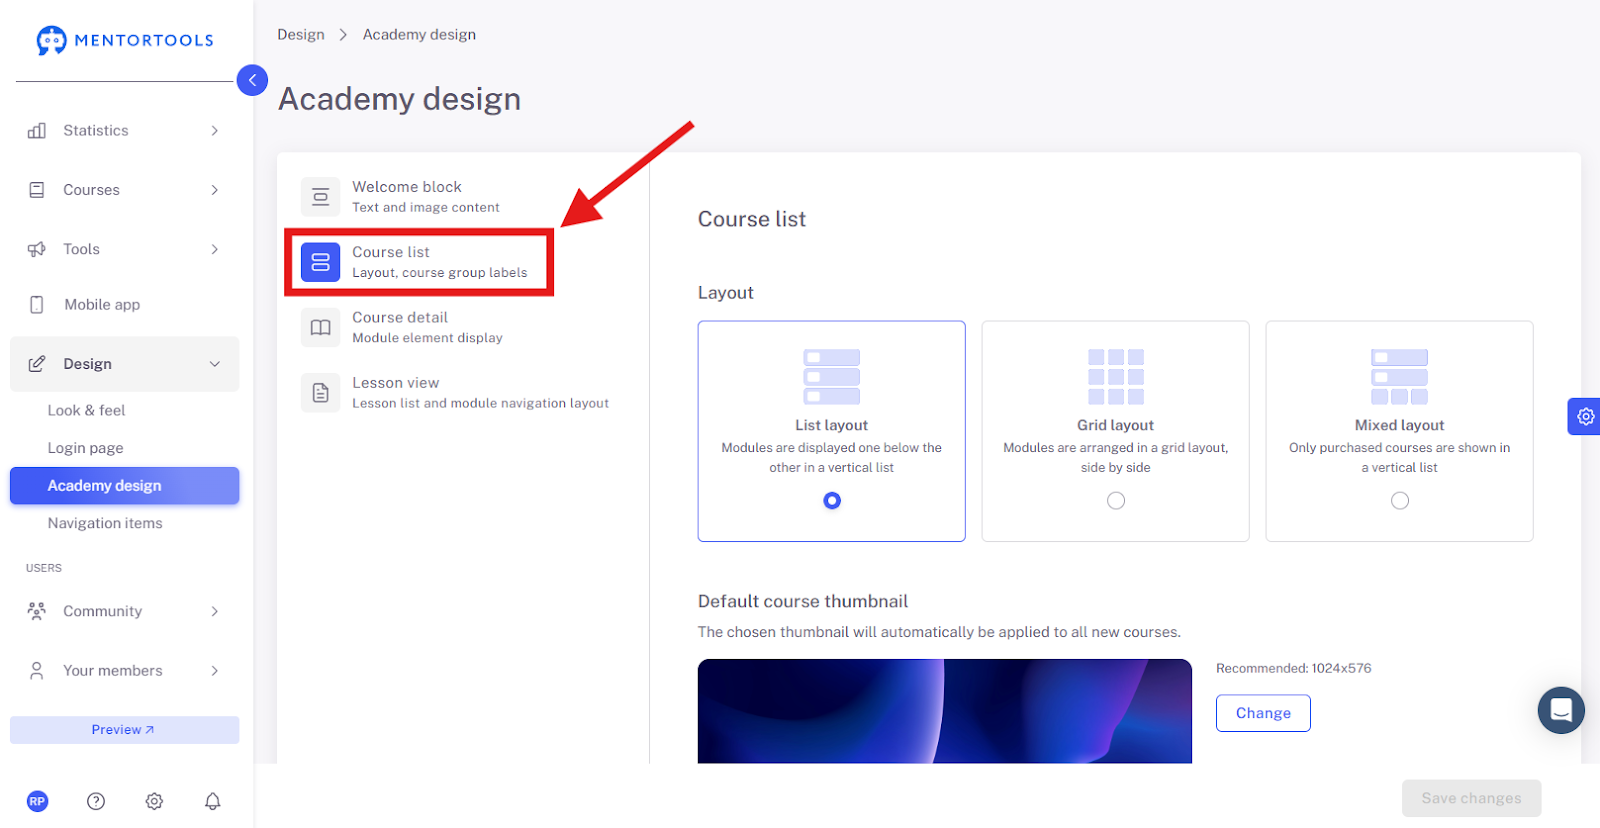
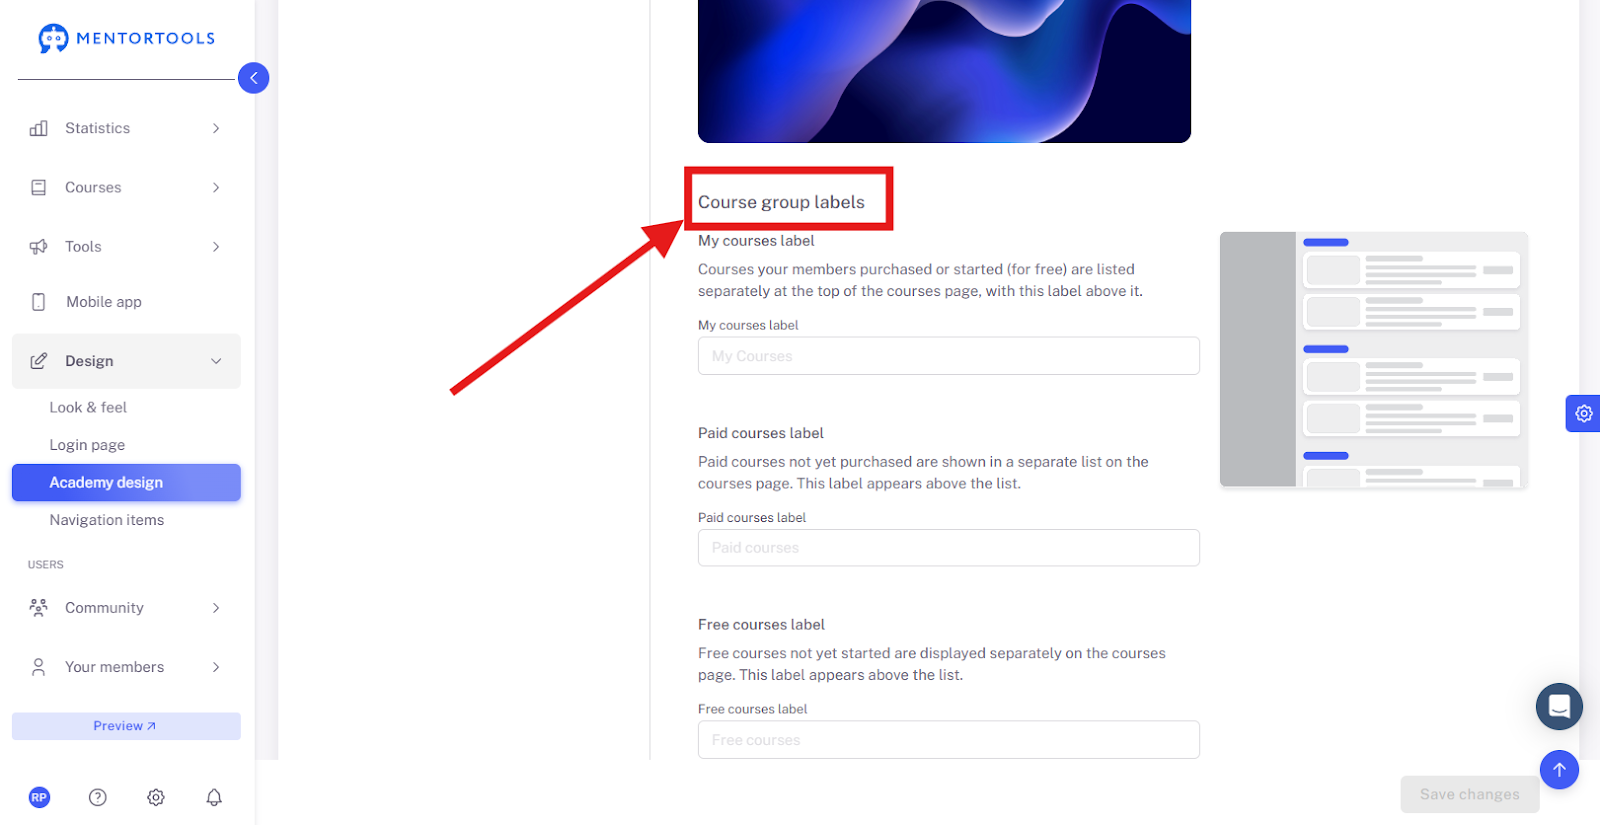
16. Layout and Course Group Labels
Open the "Layout, Course Group Labels" section to configure how your course overview appears.
17. Display Free Courses
Edit the display of free courses on your homepage.
18. Open Course Details
Here you can open the detailed view of a course.

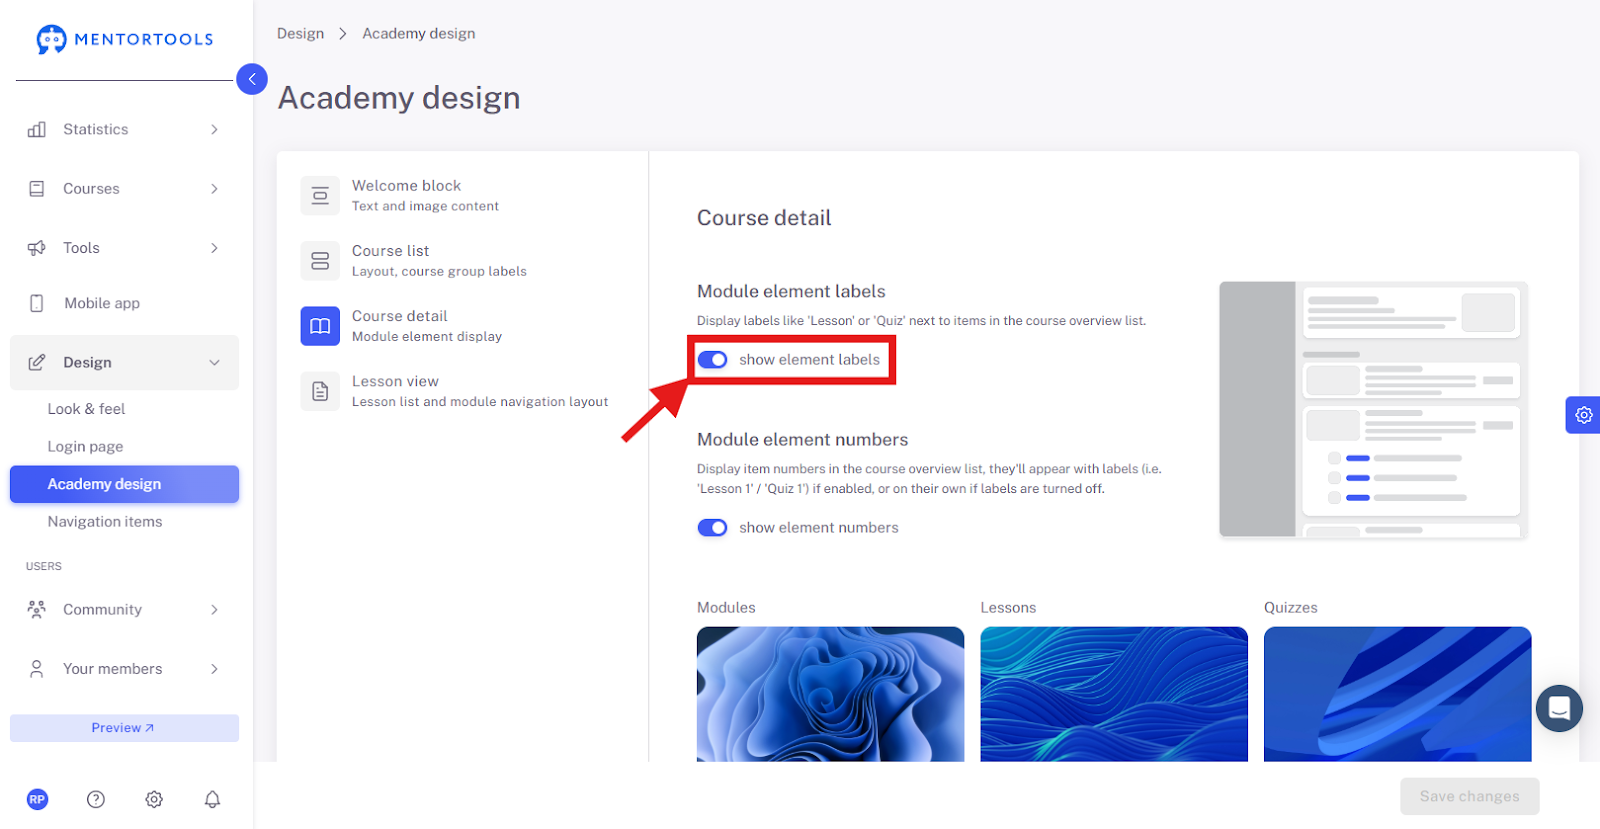
19. Display Element Numbers
Show the internal element numbers for a better overview.

20. Set Display Option to "on"
Make sure relevant options are enabled.
21. Layout of Lessons and Modules
Adjust the layout of the learning content—for example, with or without a progress bar.
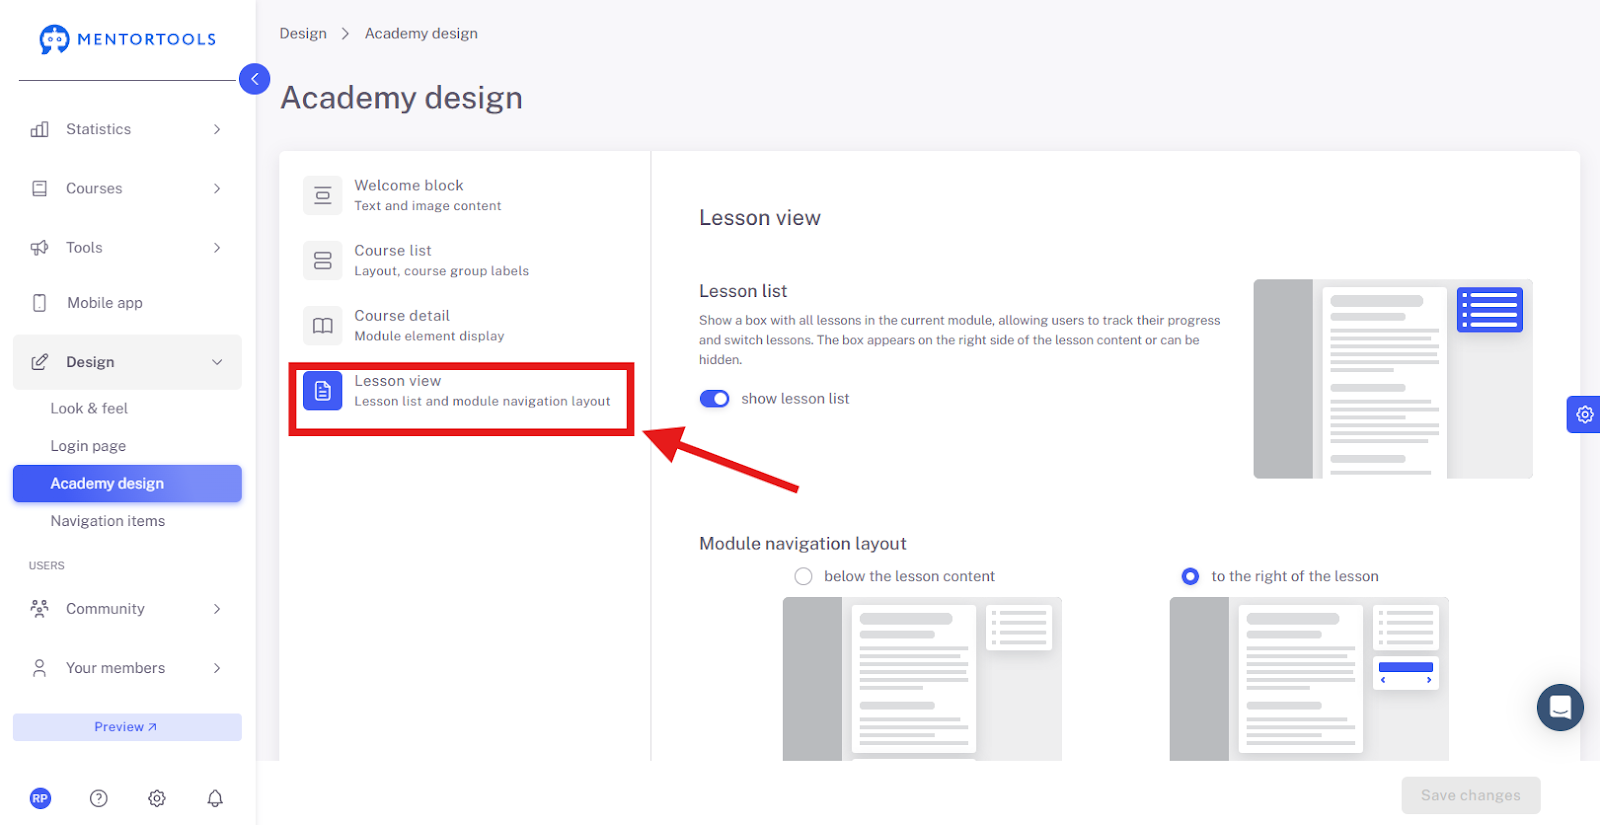
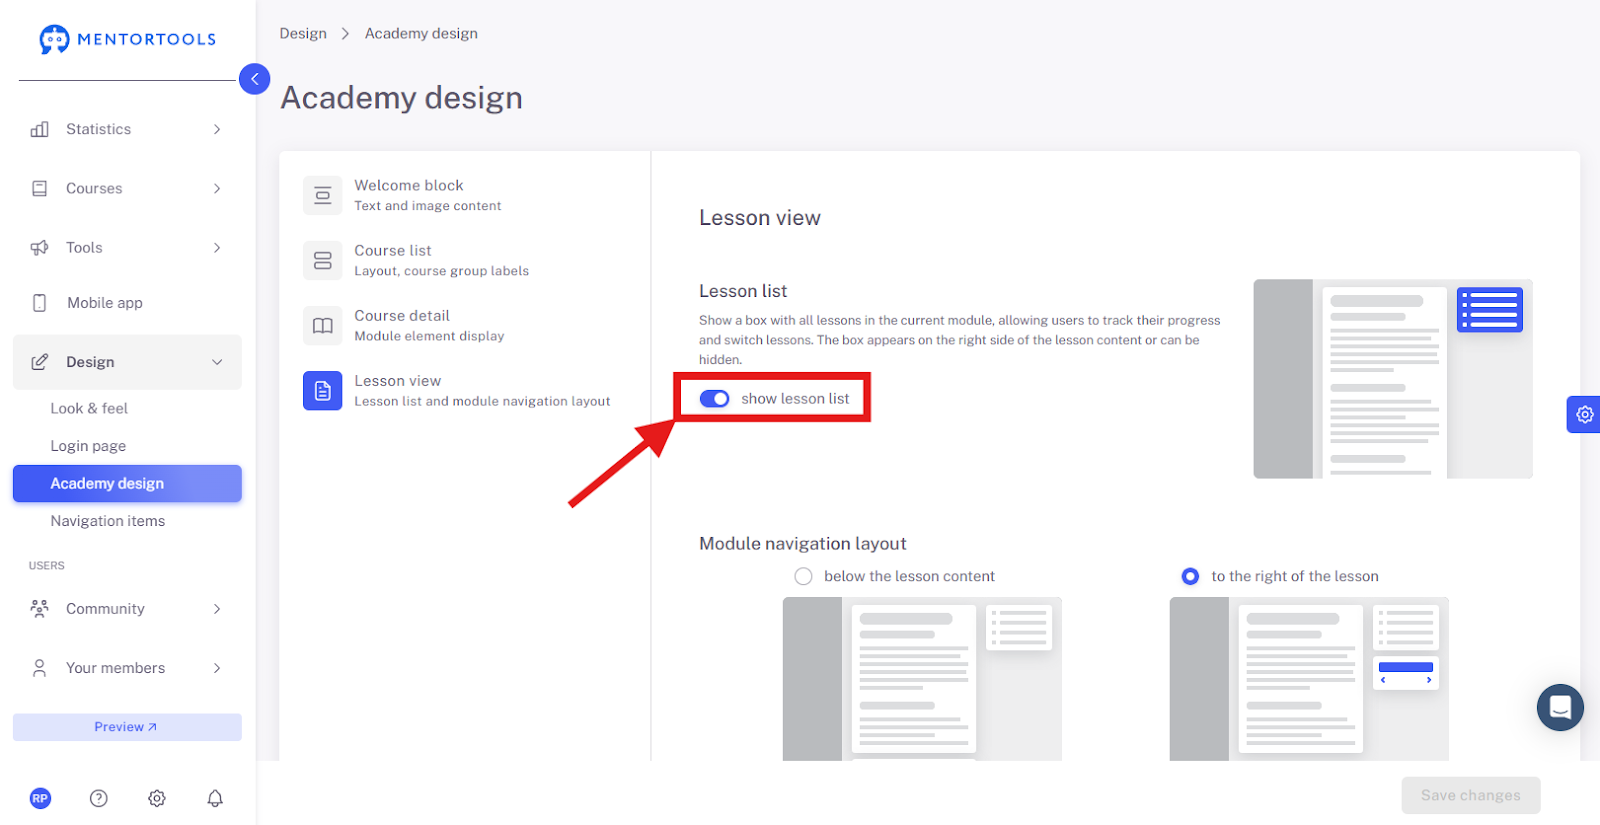
22. Display Lesson List
Show the lessons of a module as a list in the sidebar.
23. Edit Navigation items
Switch to the "Navigation items" section to design your main navigation.
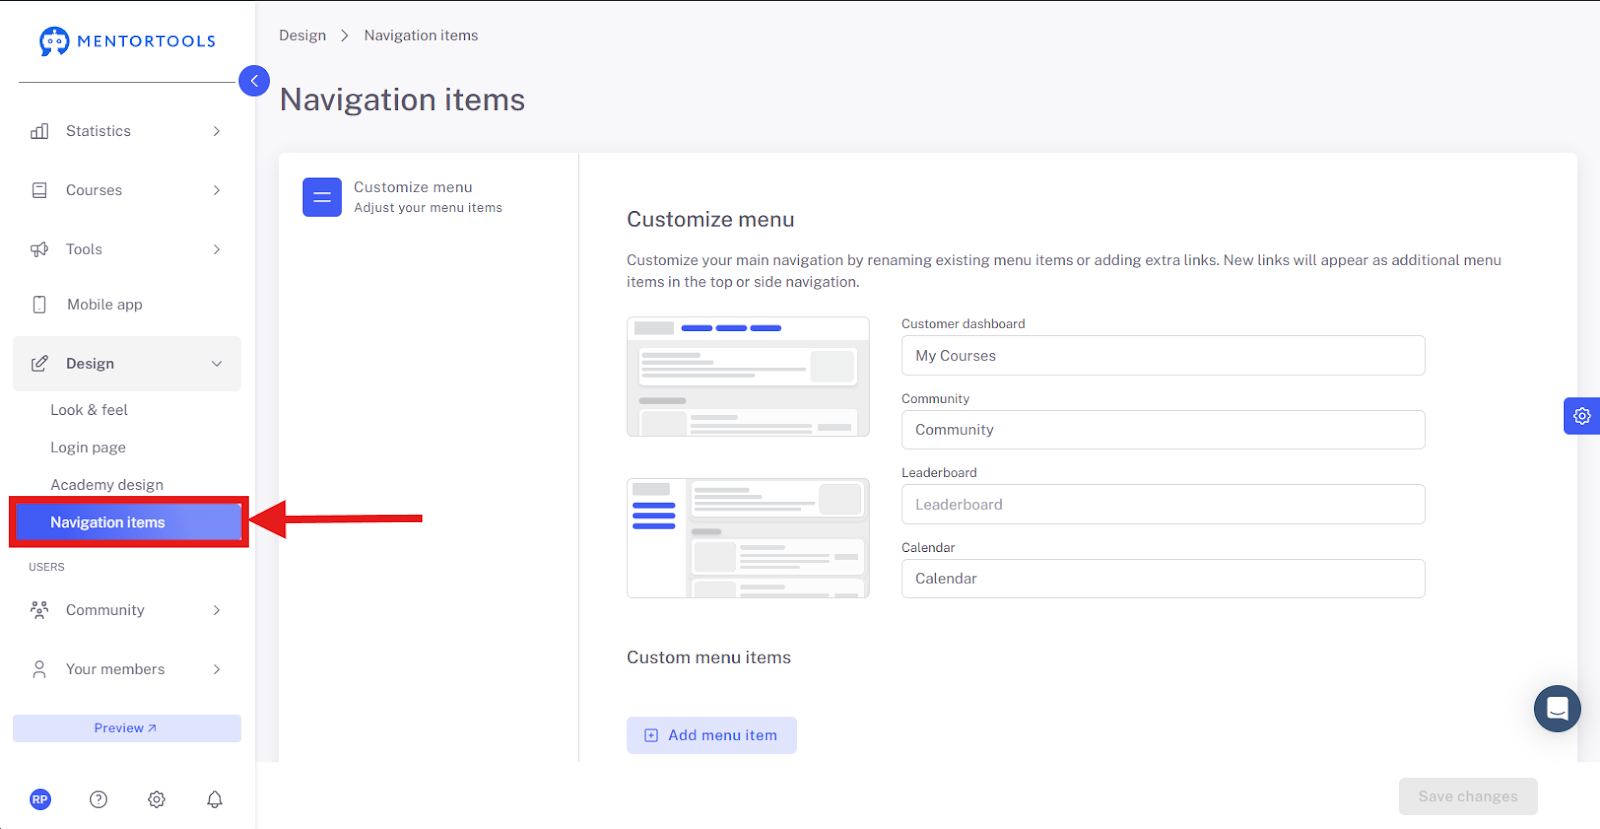
24. Customize Navigation
Individually customize the main navigation—for example, by renaming or adding extra links.
25. Save Changes
Don't forget to save your final changes.
Why is the Mentortools Membership Area Unique?
Extremely easy and fast course creation: Thanks to AI support, you save time and present your content in a professional layout.
All-in-one complete solution: No external tools are needed—community, content, communication, and marketing are centralized on one platform.
Best value for money: Unlimited features for a fair fixed price.
Professional appearance: You can design the membership area completely individually and visually appealingly according to your ideas.
Your own app for more engagement: Your members have access to a personalized app, which significantly increases activity.
Conclusion
With these options, you can completely customize your Mentortools membership area—from branding and navigation to course display and the login page. A consistent and professional appearance is therefore very easy to implement.