Course – Basic information
In Mentortools, you can quickly and easily set important basic information for each course to offer your participants a clear overview and present your offering professionally. Here you can find out what basic information you can set and how to use it optimally.
Last updated 10 months ago
1. Click on "Courses"
In your online academy, go to "Courses" in the side panel.

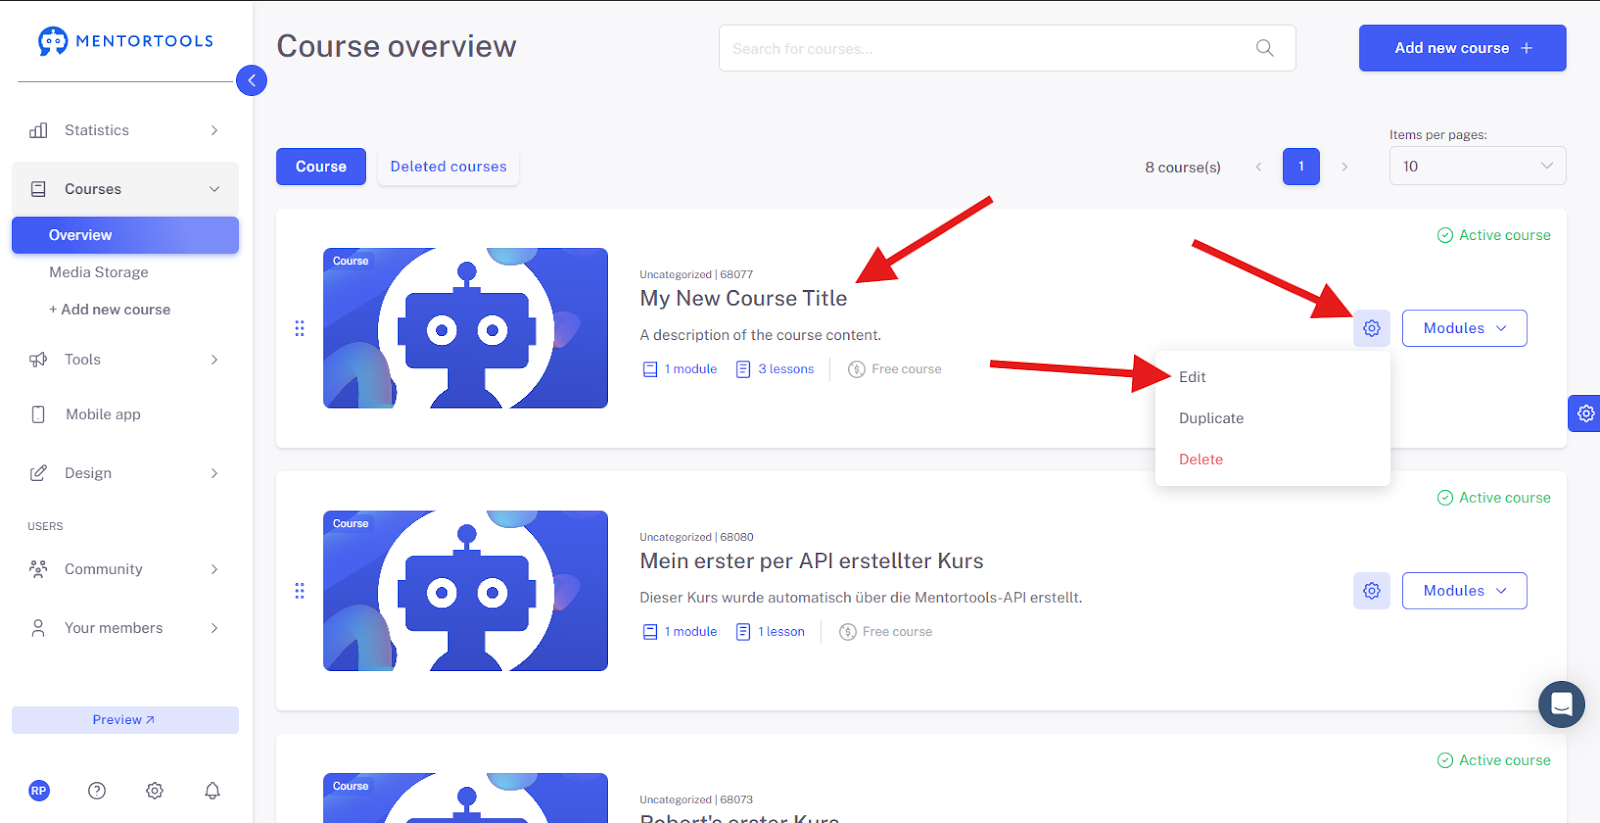
2. Go to "Overview"
To display the list of all your courses, then go to "Overview".

3. Select a Specific Course
To view the settings for a specific course, click on the title of one of the courses in your list. (Or click on the gear icon next to the course title and then select the "Edit" option.)
The individual settings for this online course will then be displayed. The settings for "Main Information" are shown first.
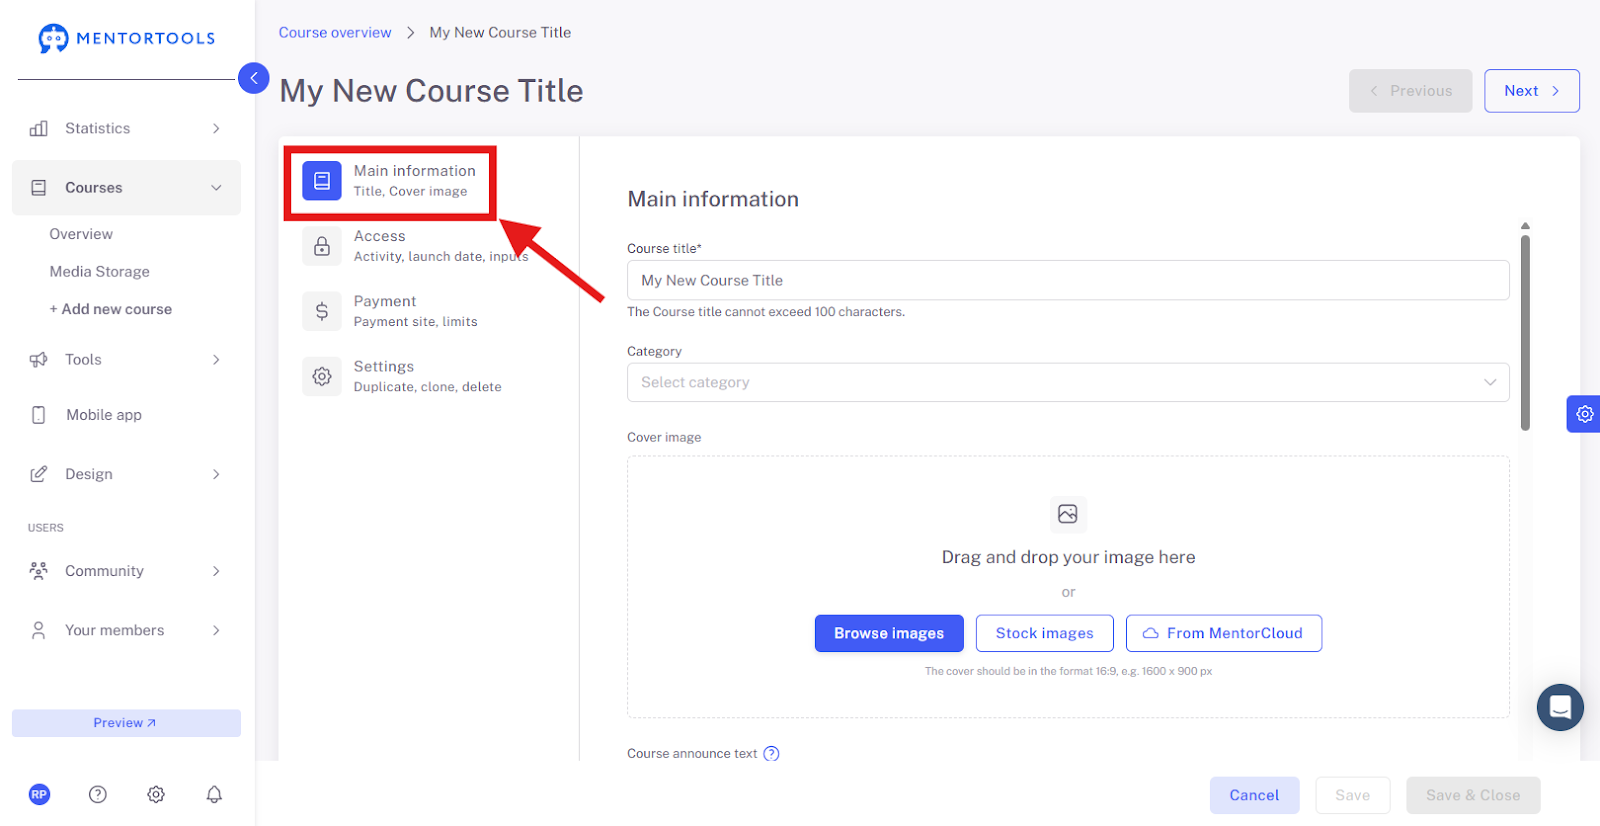
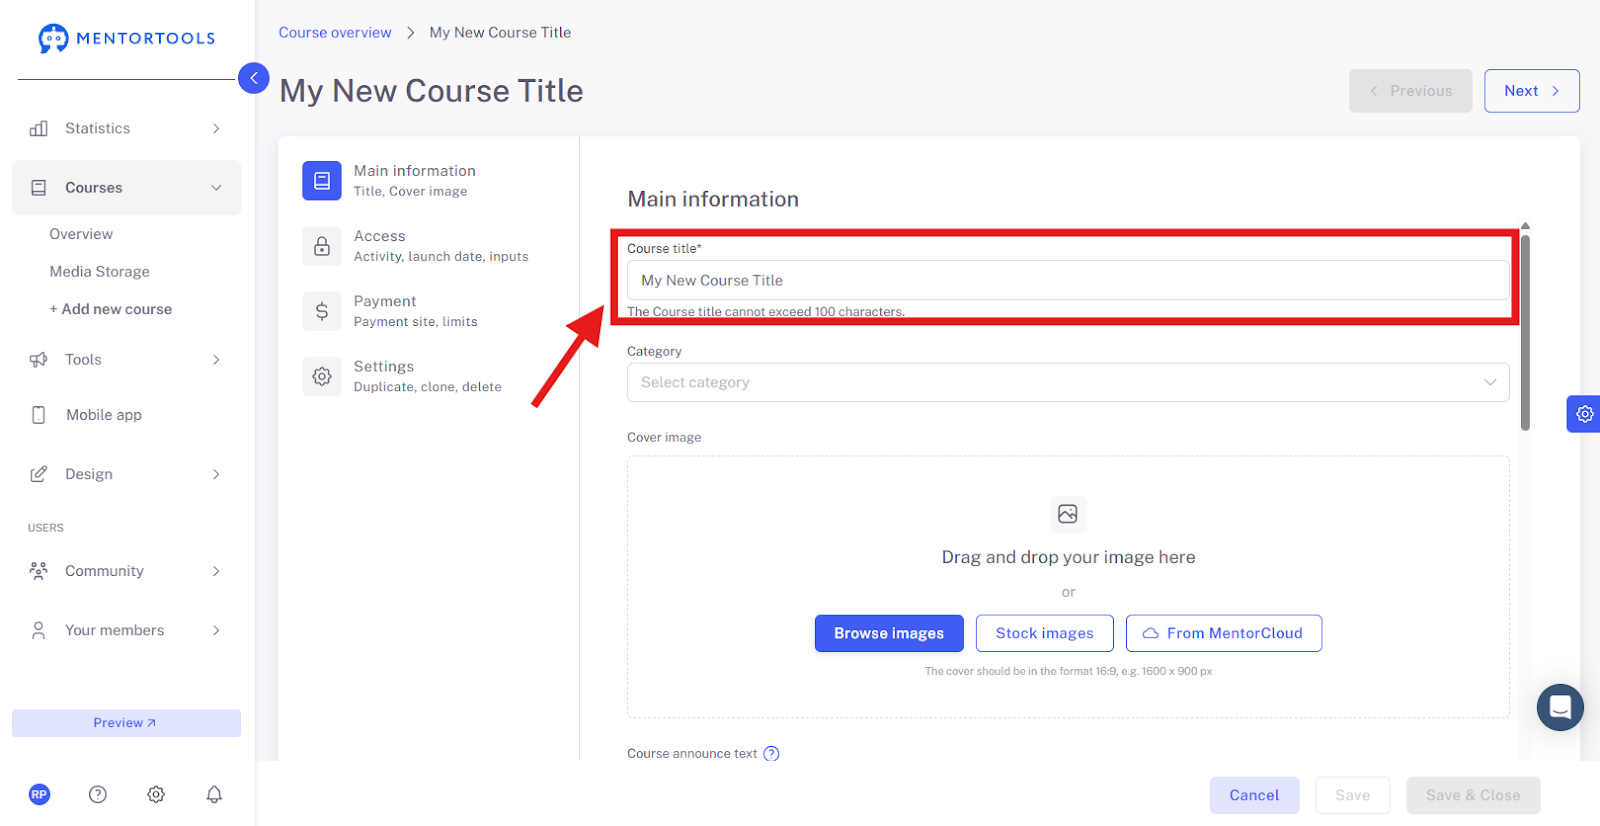
4. Course Title
First, you can edit the course title. The course title is the publicly visible name of the course. You can edit or change the course title at any time.
5. Course Category
In this section, you can set the category for your course. You can choose from categories you have already created or add a new category.
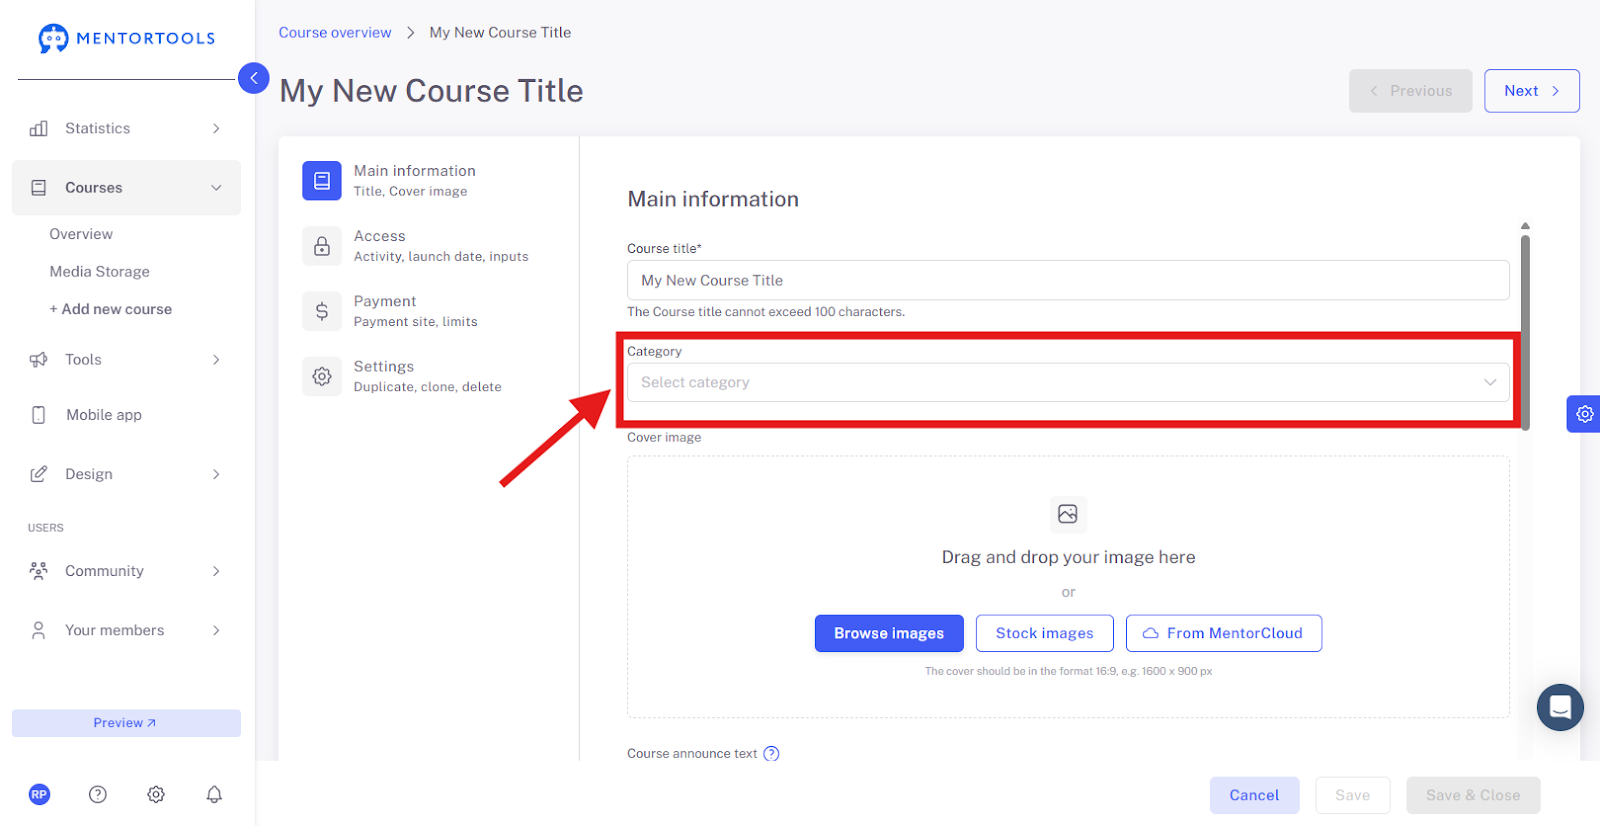
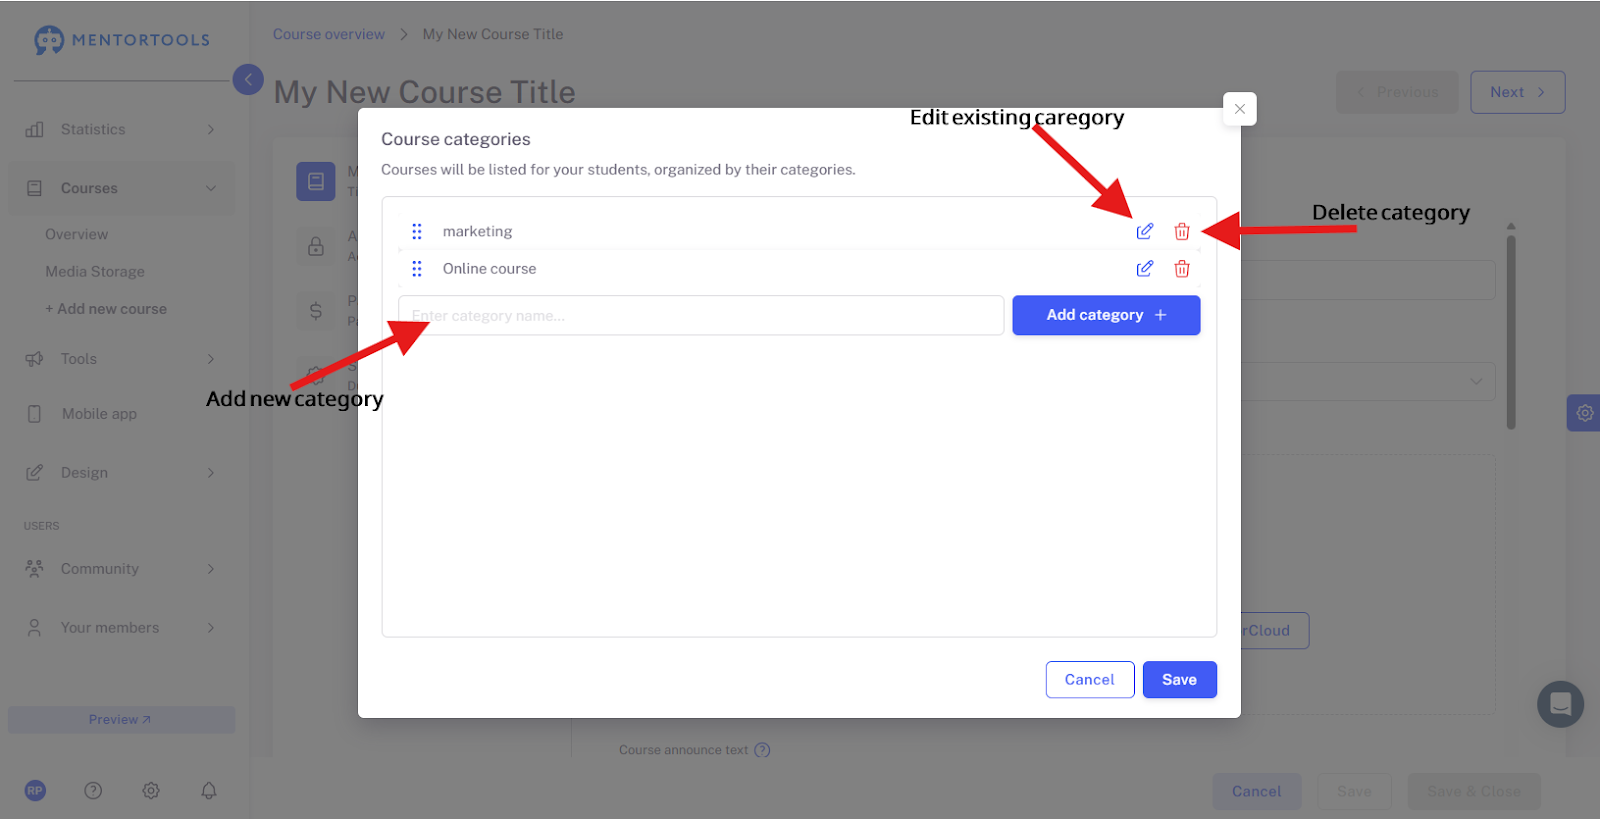
You add a new category by clicking on "Edit categories" at the end of the category list and creating a new category. This way, you can also edit or delete existing categories.
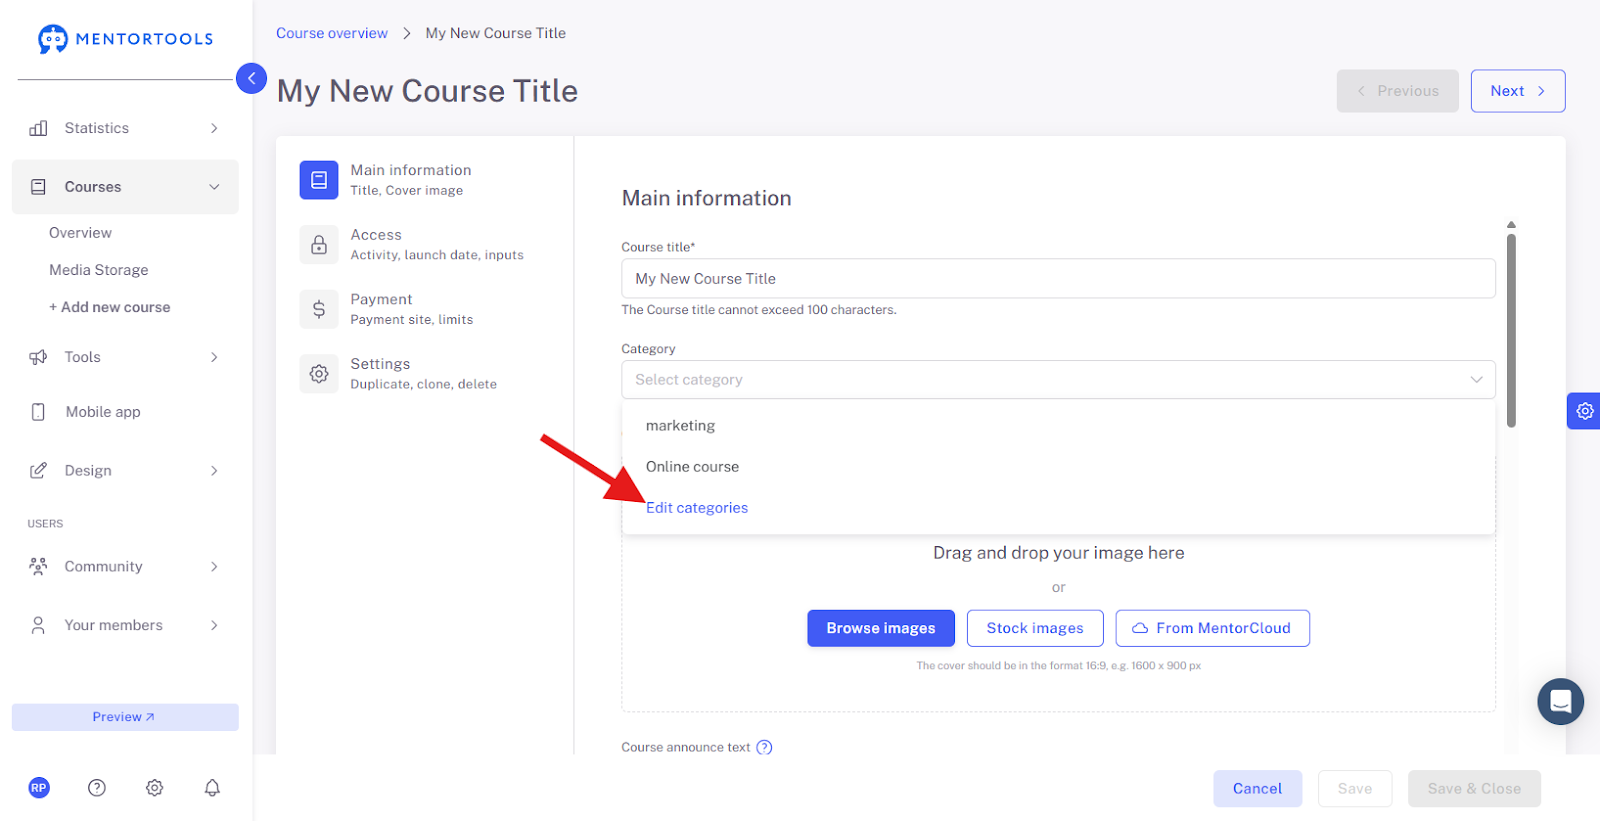
The category is additional information for the course that you can use to classify your courses. You can enter any text—e.g., Online Courses / Mini-Courses / E-Books...
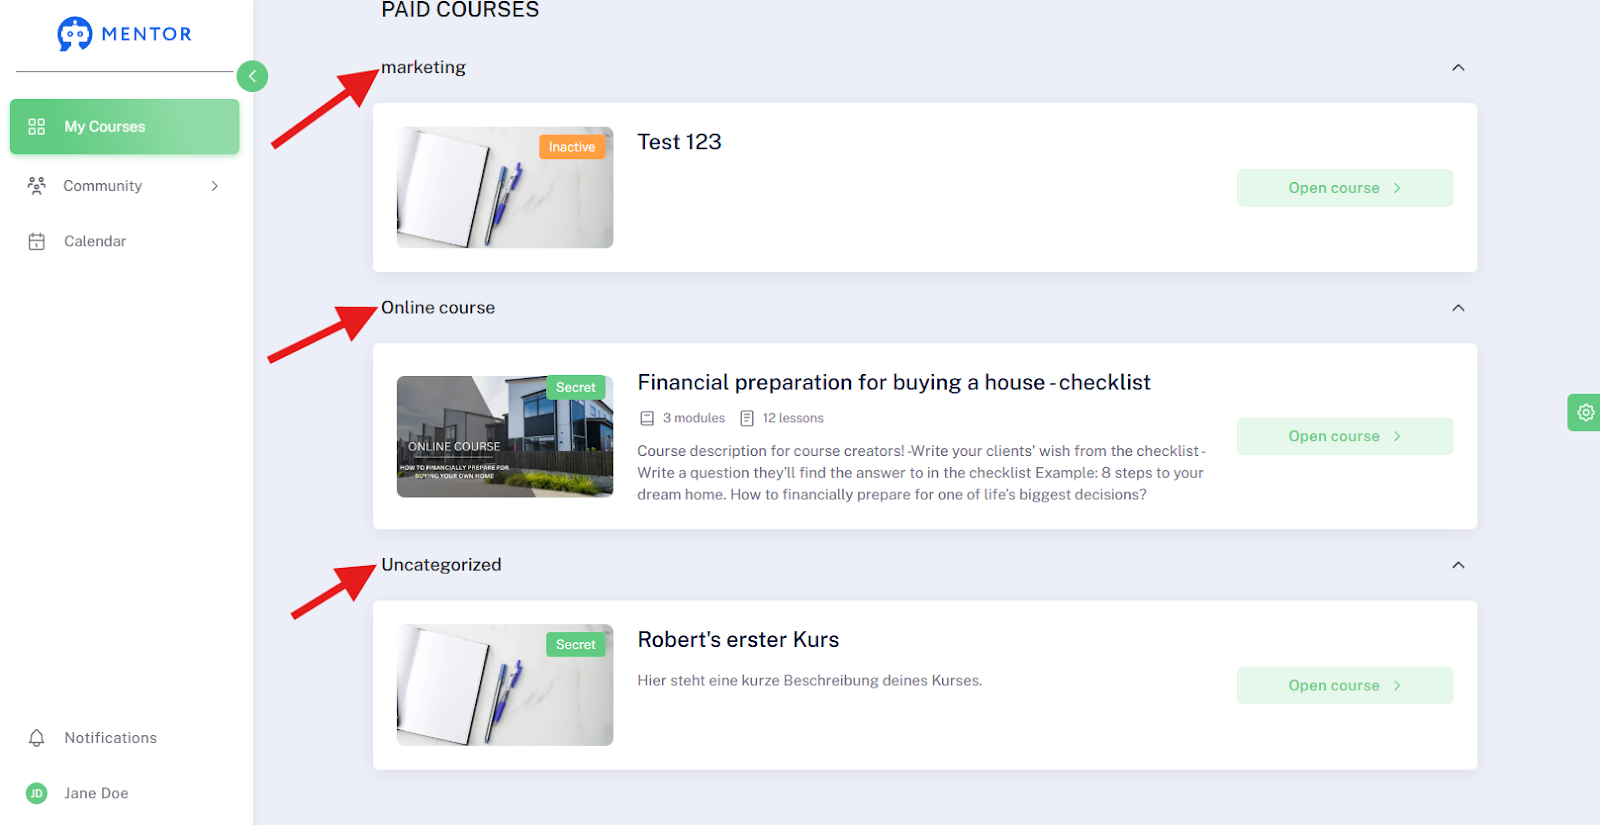
If you activate the option to "Group by Category" in "Design -> Academy Design -> Course List," your courses will subsequently be divided into different groups—categories—in the course list. Example for different categories:
"Online Courses"
"Webinars"
"E-books"
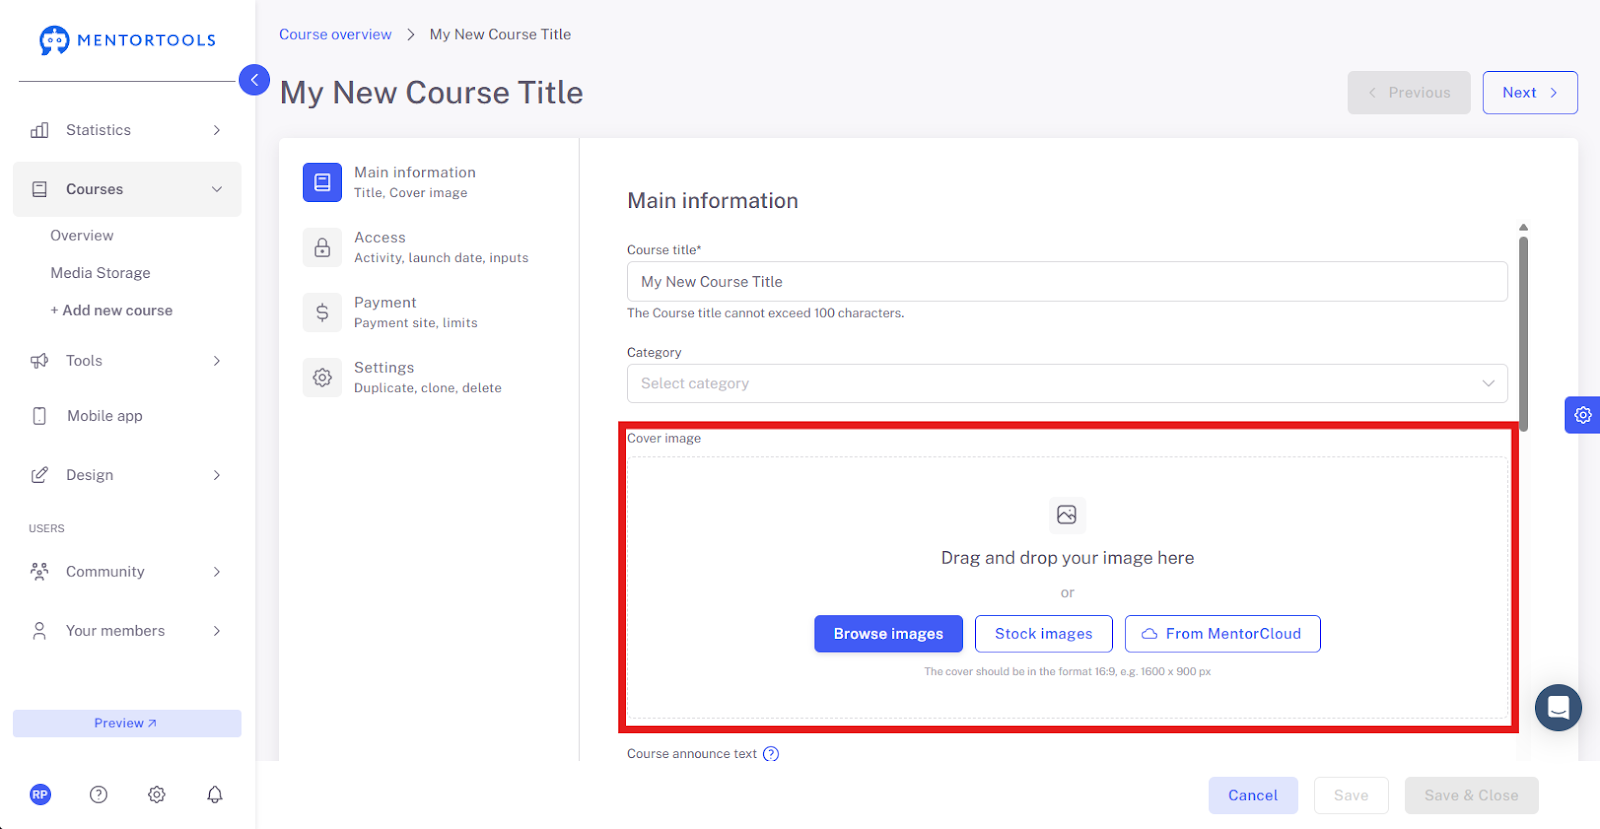
6. Course Cover Image
The course cover image is the publicly visible image of your online course, which is displayed in the course list for customers and in the detailed view of the course for customers. You can easily upload the image—drag a new file from your computer into the image field, select an image from the templates, or upload an image from the media storage.
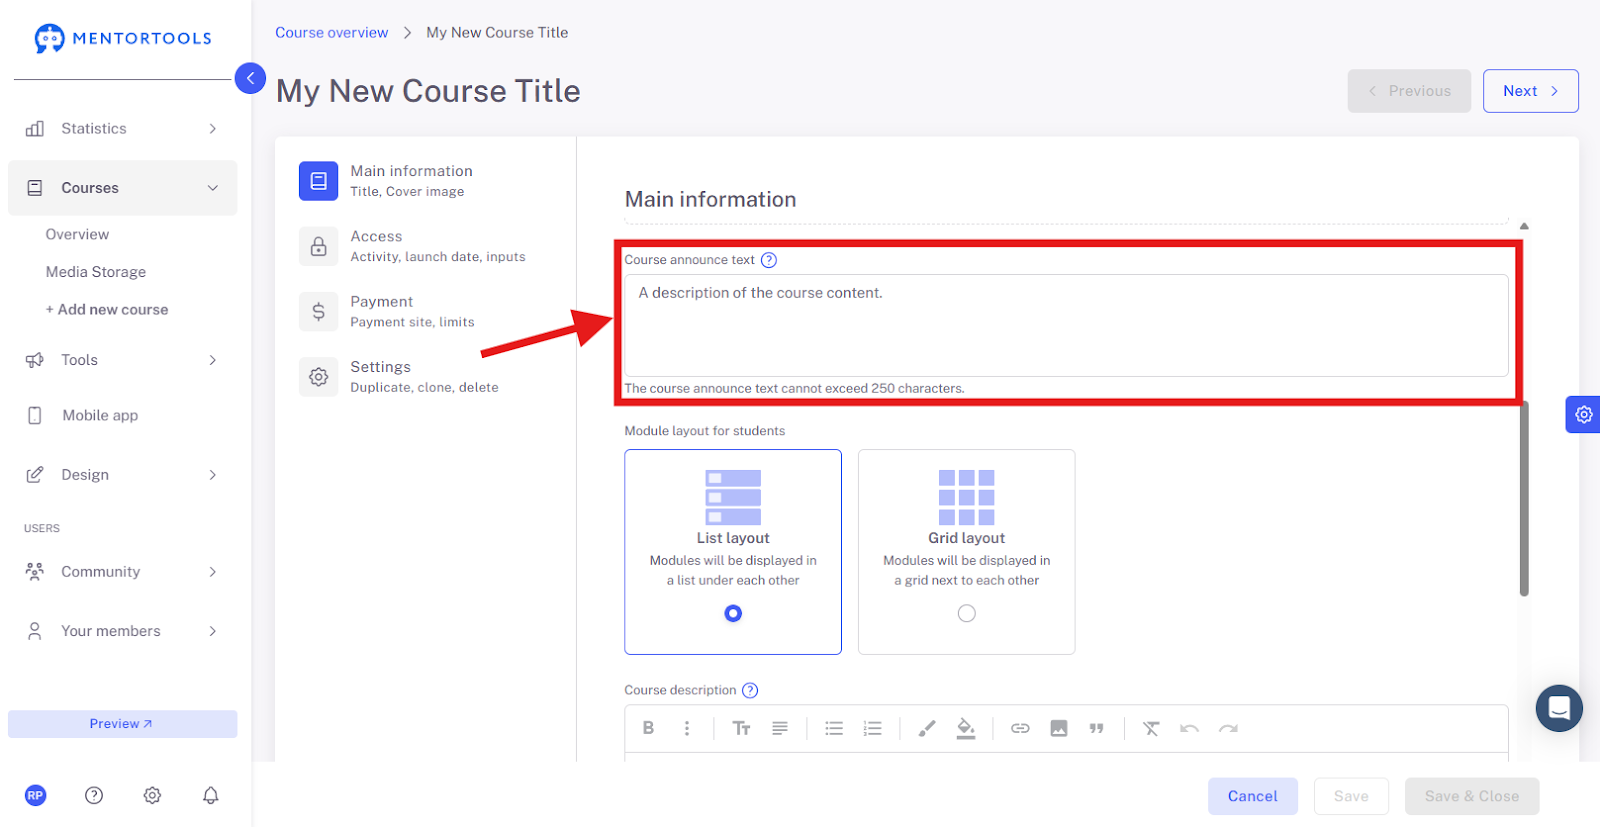
7. Course Announcement Text
The short description of your course is visible in the course list.
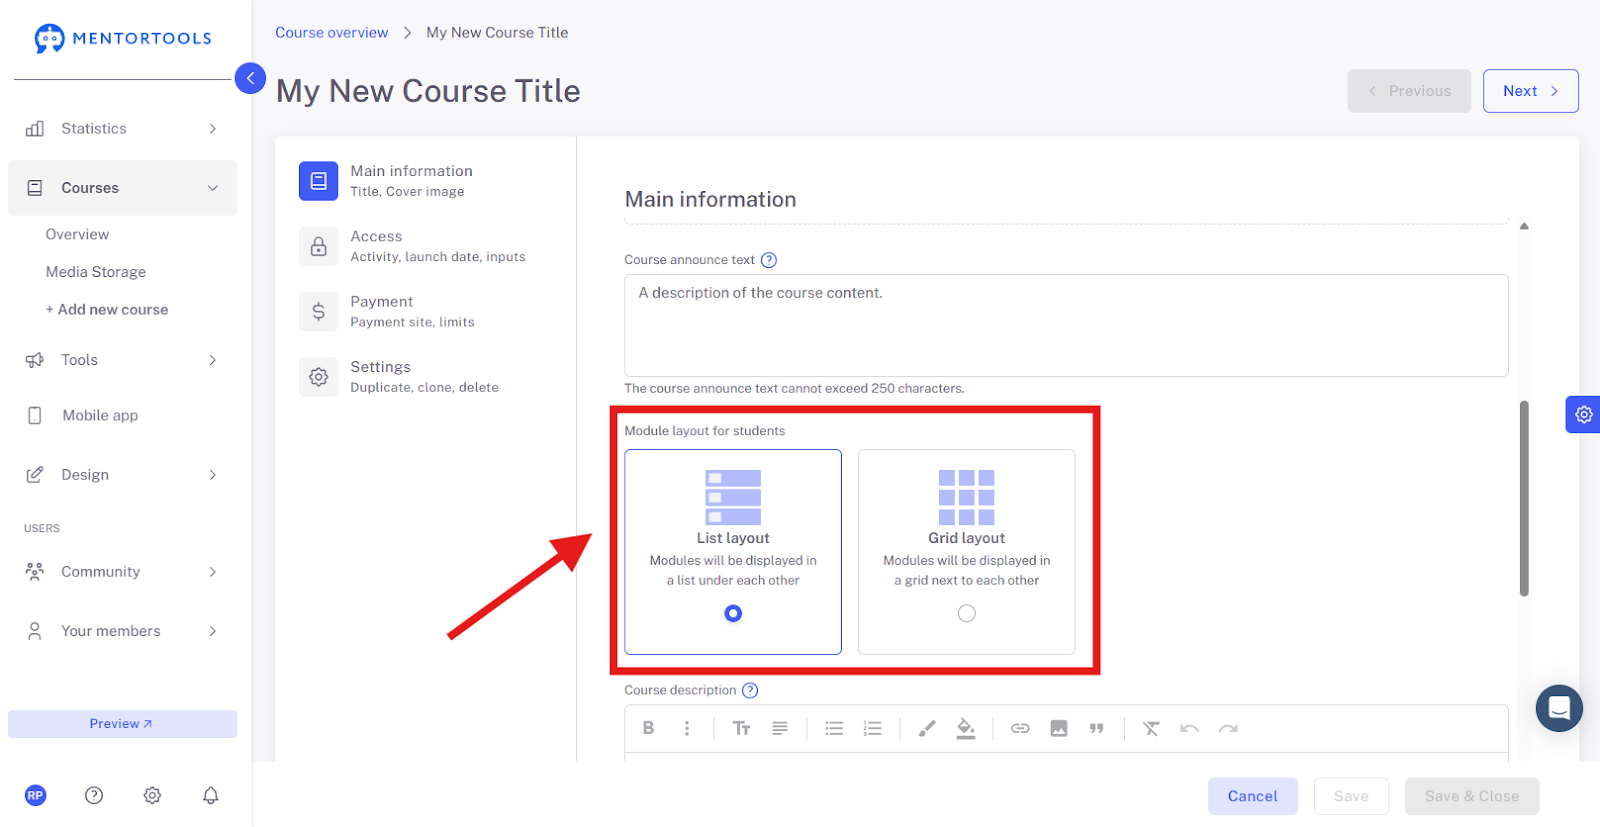
8. Module Structure for Members
Here you can choose how the module structure is displayed for your customers in your course. You can choose between a list layout (the modules are displayed one below the other) or a grid layout (the modules are displayed side by side).
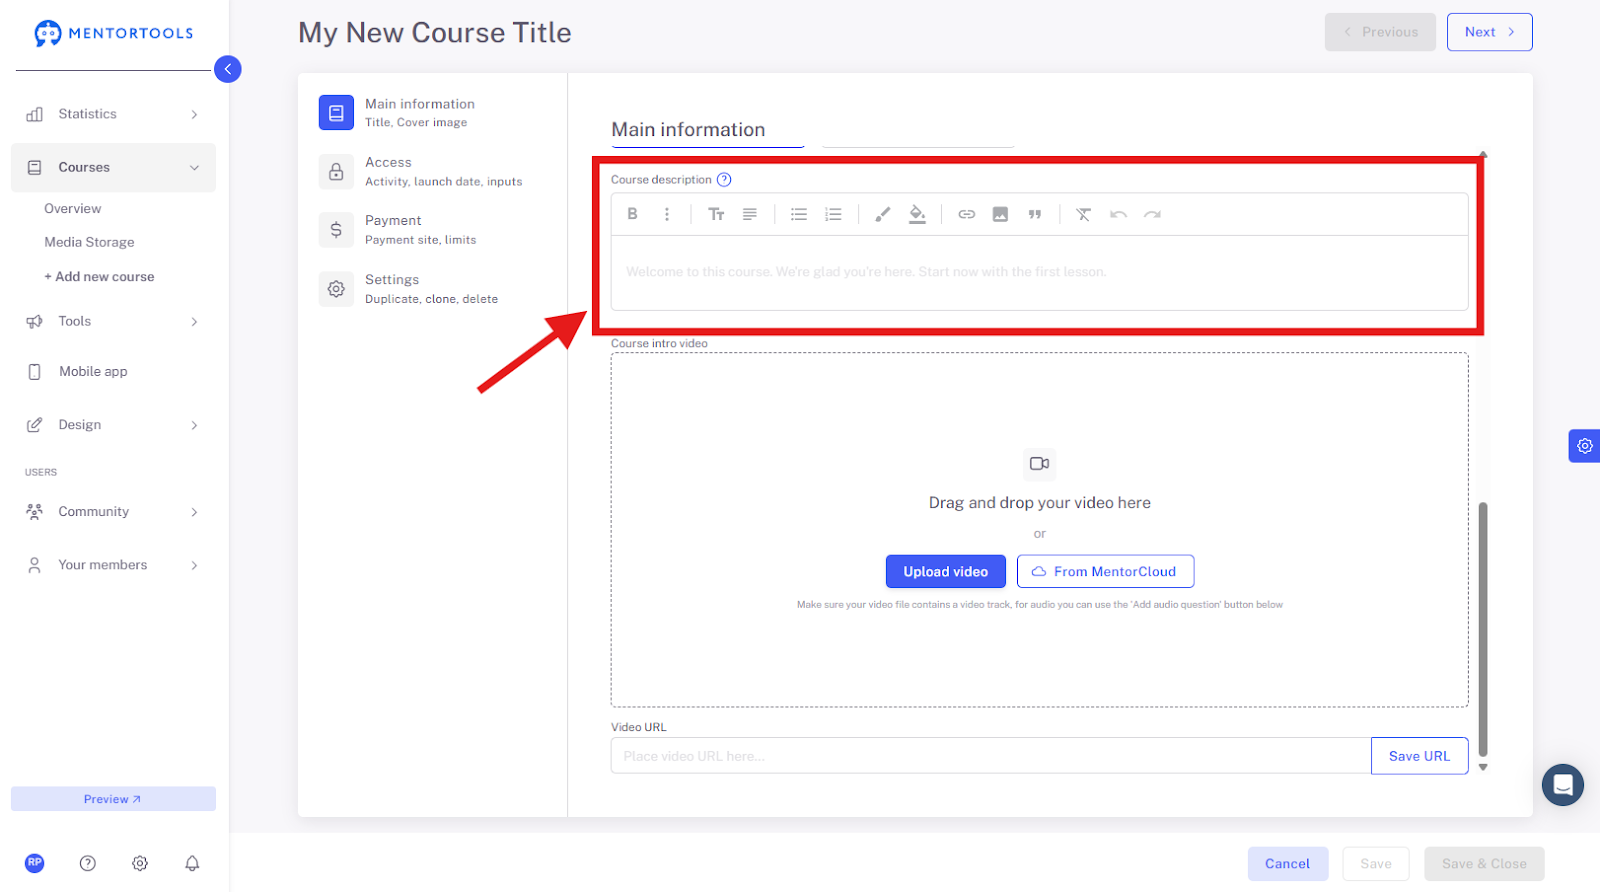
9. Course Description
The course description is visible on the detail page. After you click the "Open Course" button under the respective course in the course list, this course description will be displayed.
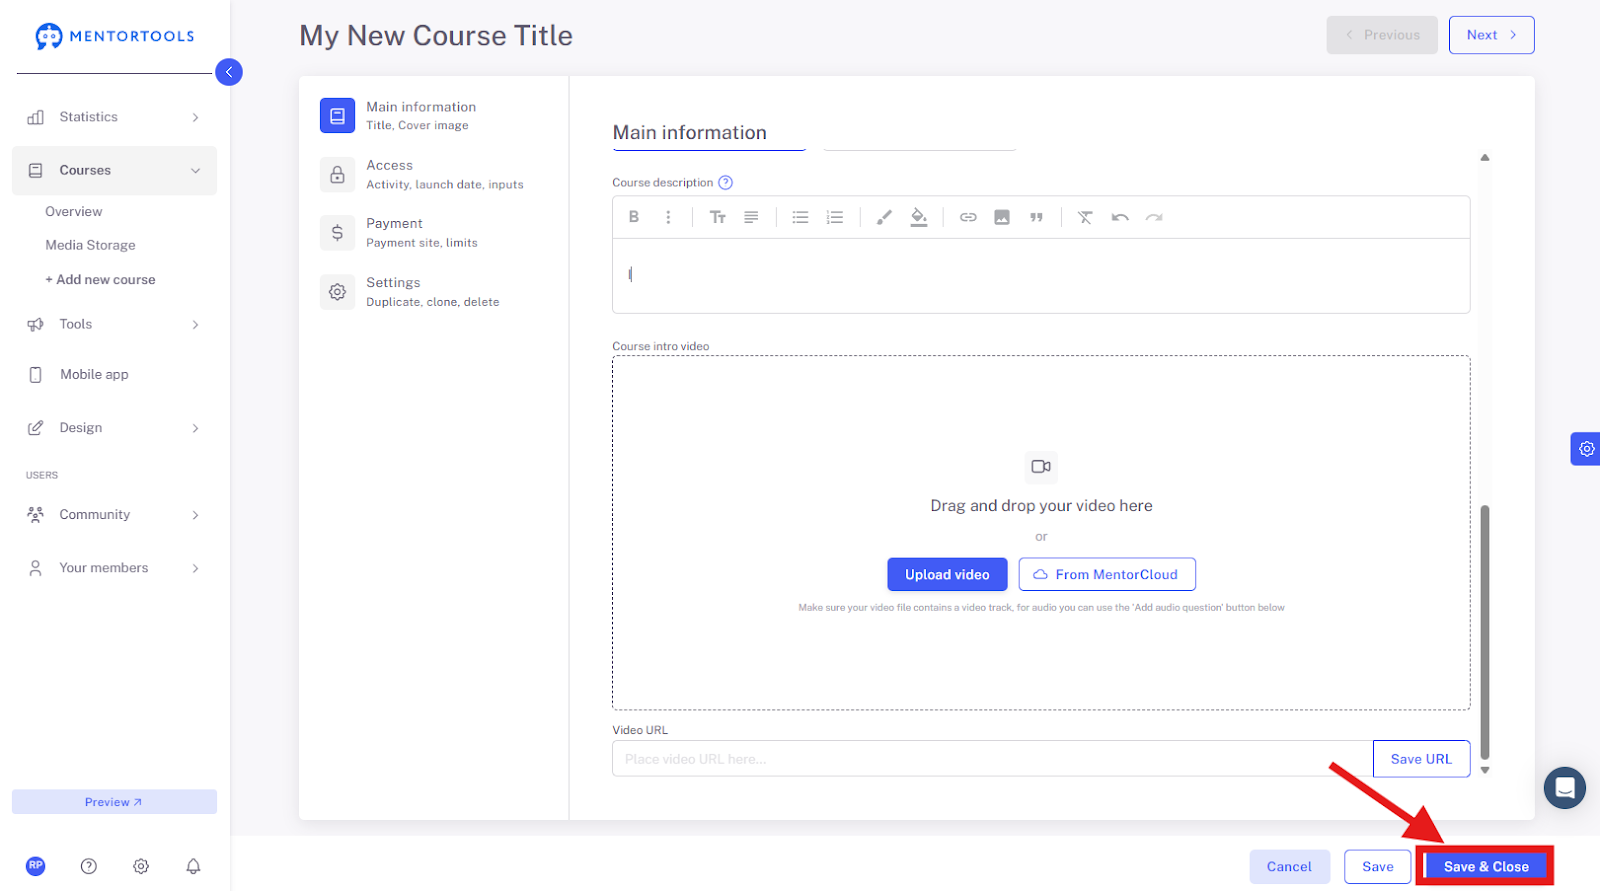
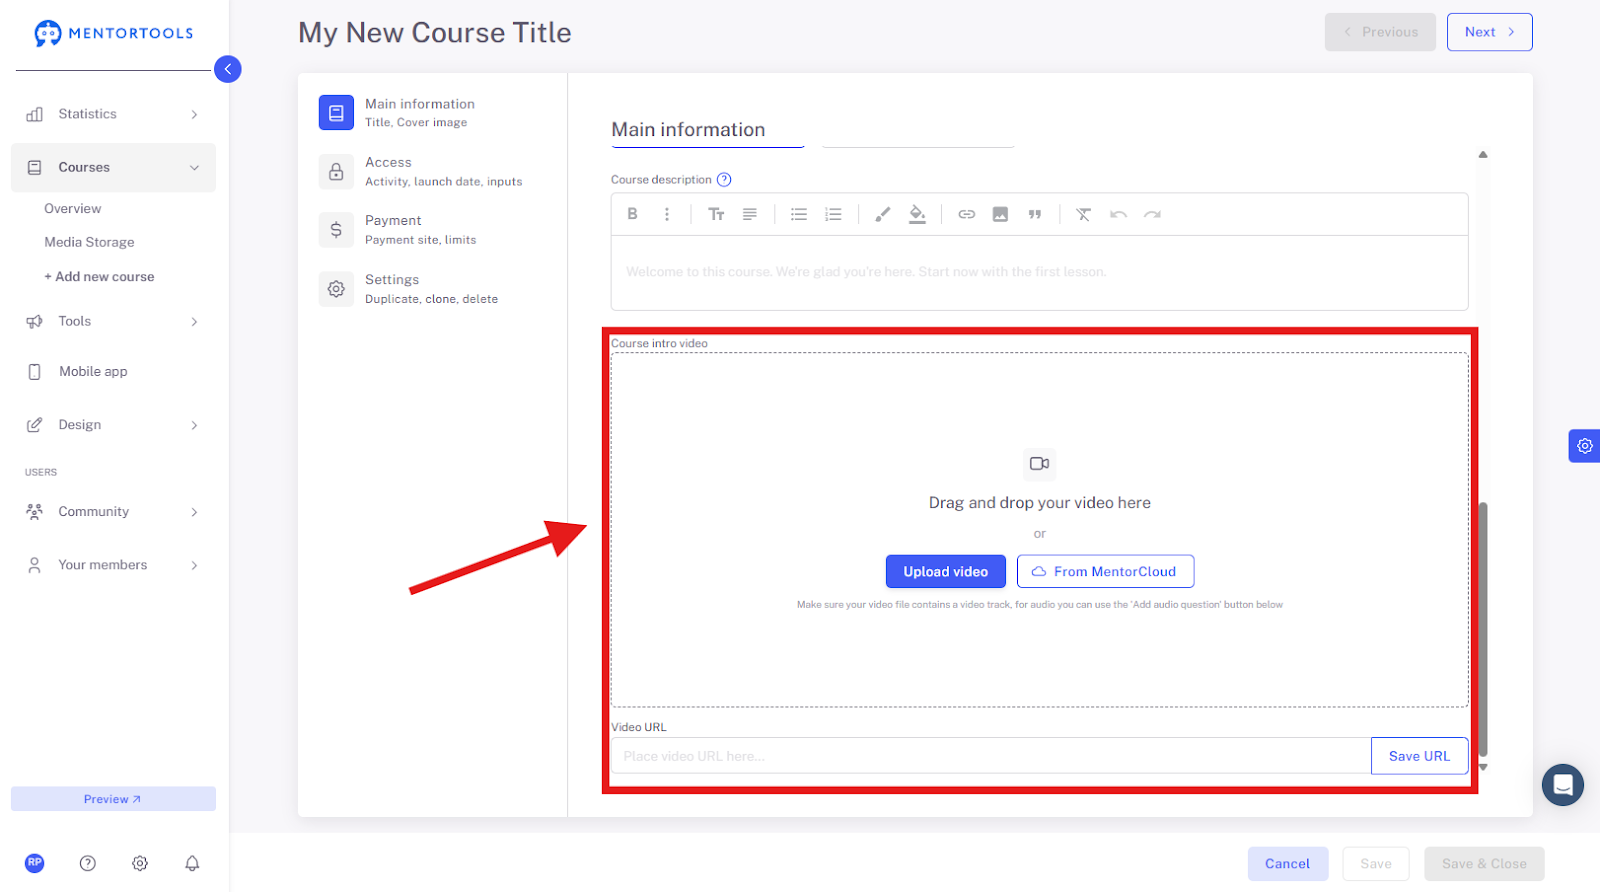
10. Course Introduction Video
You can also set an introduction video for your online course. You can easily upload the video—drag a new file from your computer into the video field or upload the video from the media library. If you don't want to upload a file from your computer or the media library, you can insert a link to your video from Vimeo or YouTube in the "Video URL" field.
11. Save and Close
After you have set the main information for your course, don't forget to save these changes by clicking on the "Save" or "Save and close" button in the bottom right corner.