General community settings
In this guide, you will learn how to adjust the general settings of an existing community in Mentortools, including visibility, activation, and saving.
Last updated 10 months ago
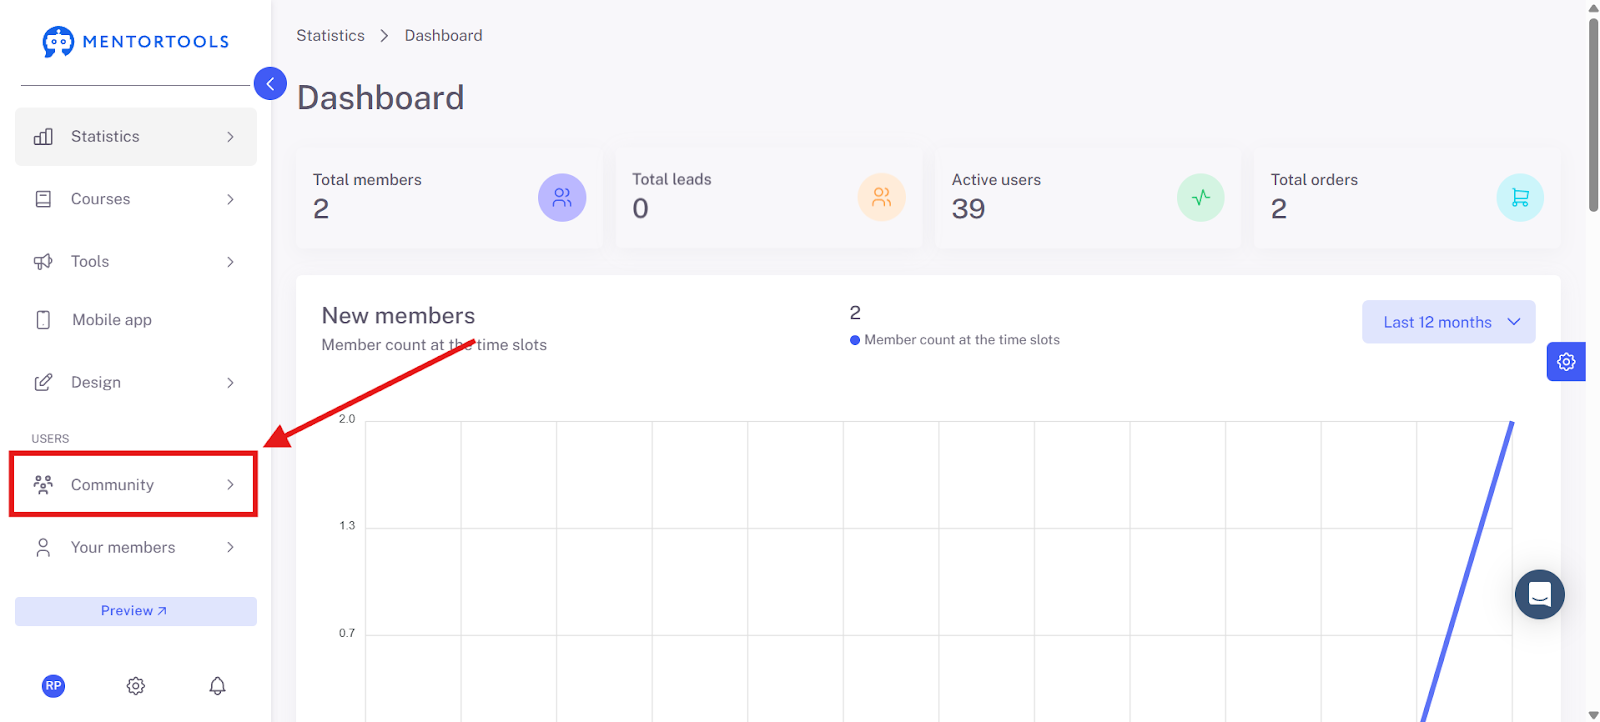
1. Click on "Community"
Open the "Community" section in the left navigation.
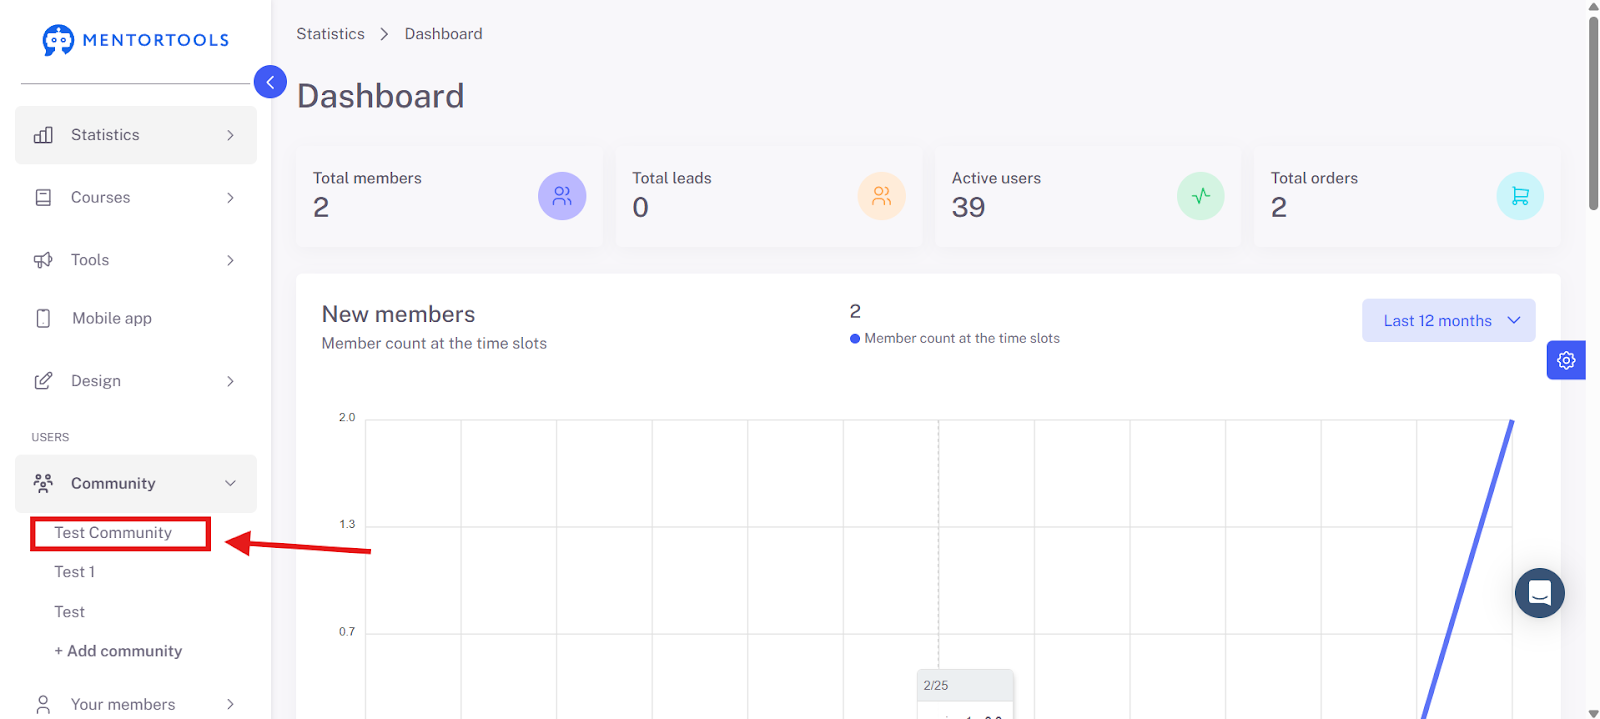
2. Select the Desired Community
For example, click on "Test community."
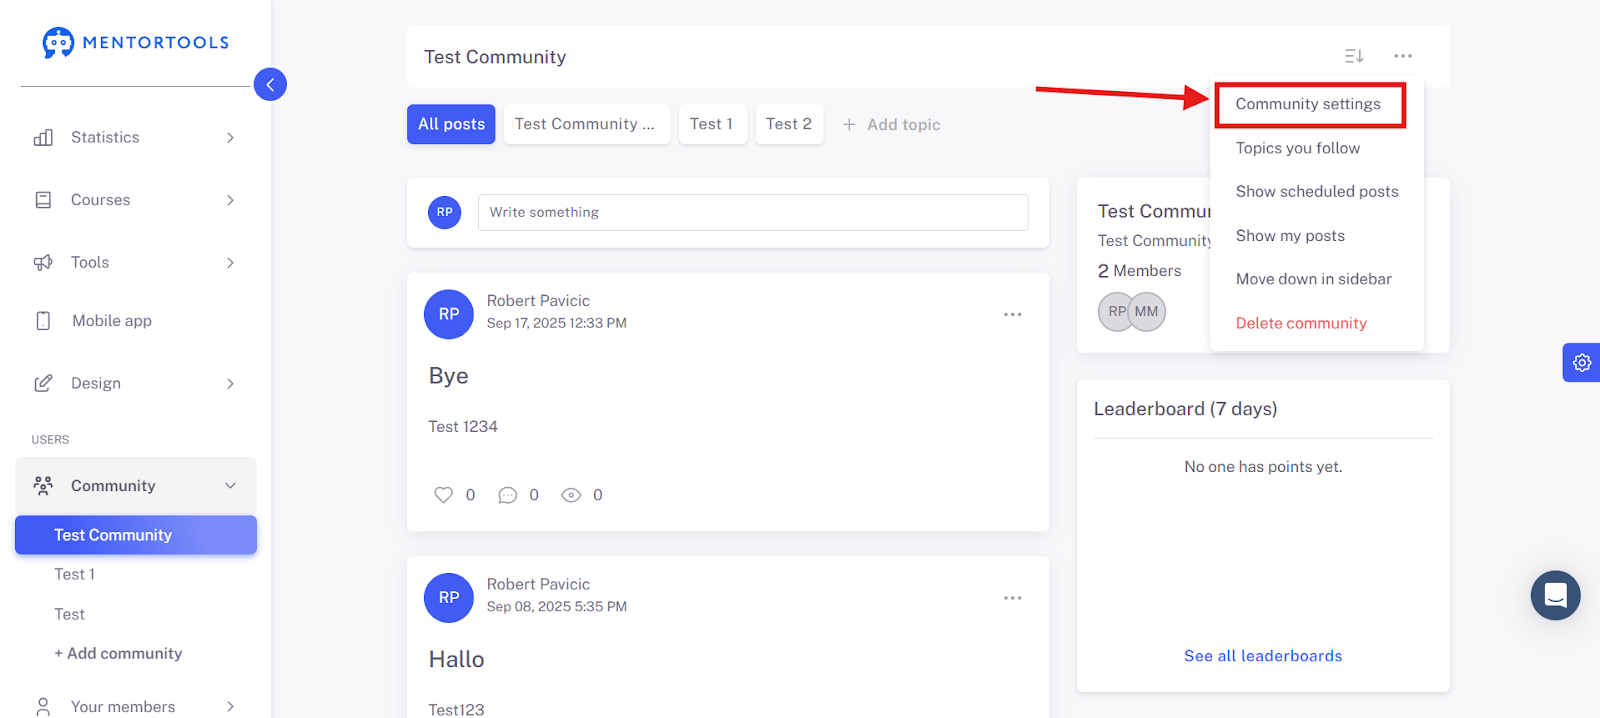
3. Click the Edit Icon
Click the icon to edit the community.

4. Open "Community Settings"
Navigate to the "Community Settings" tab.
5. Here you can change your Community Name
Select the community name again to adjust or change it.
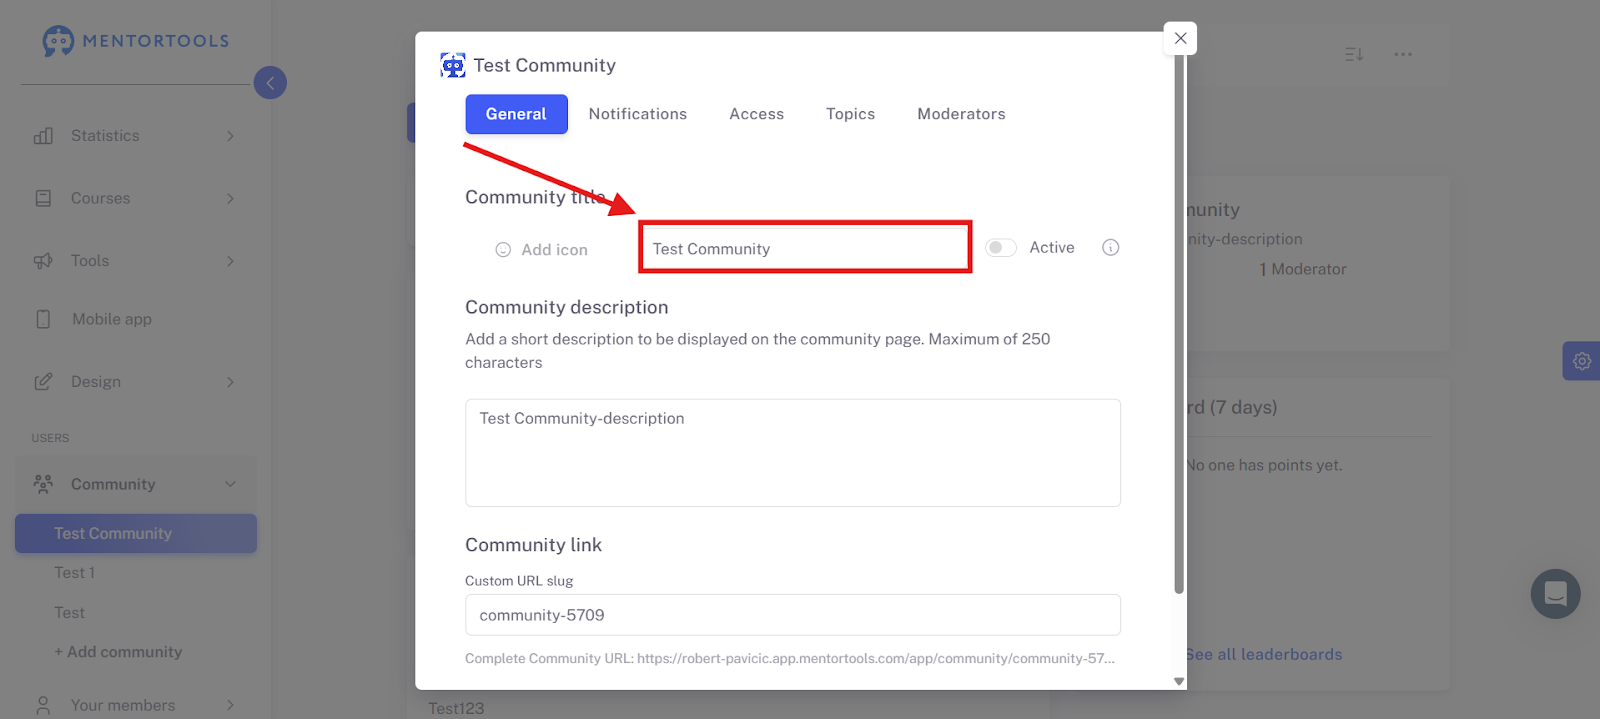
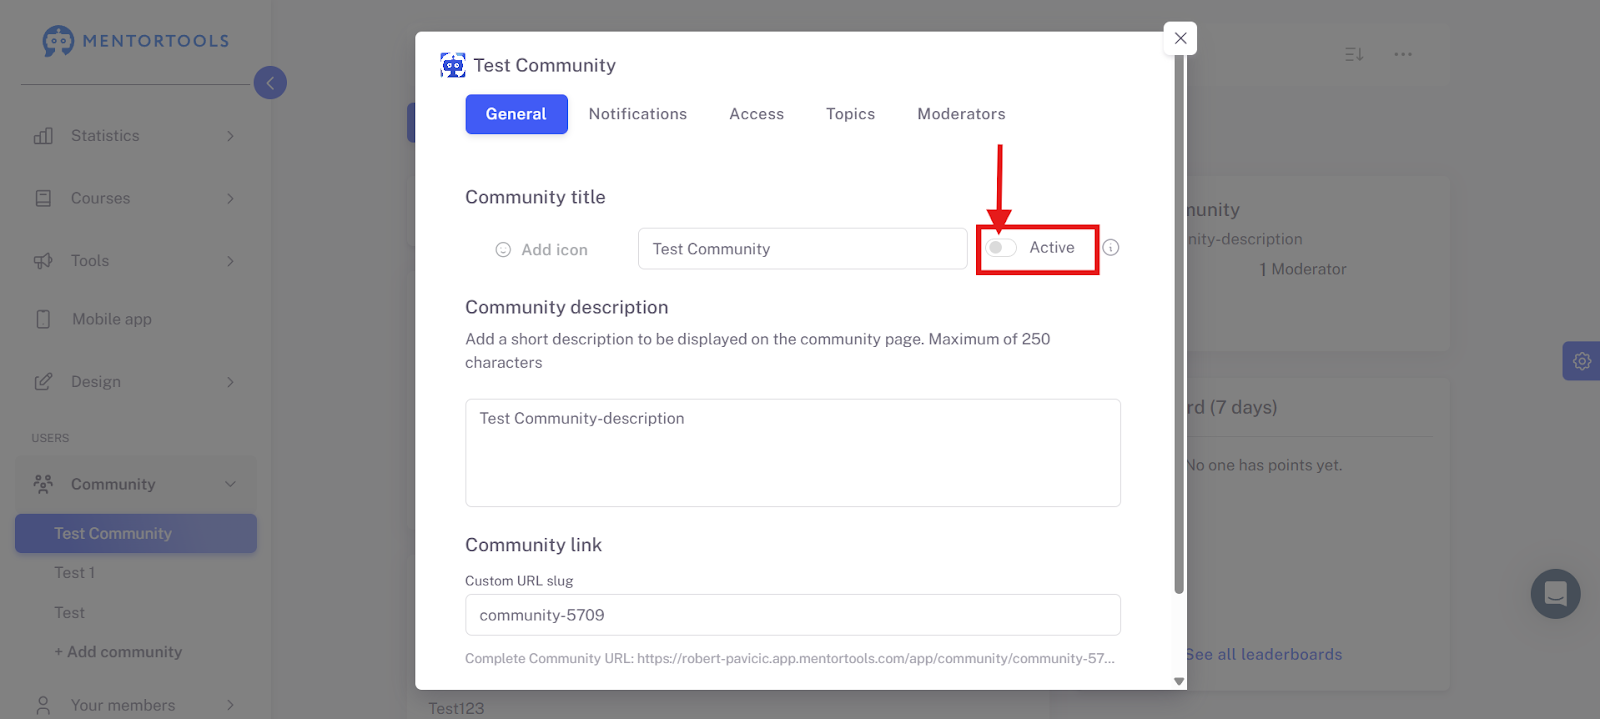
6. Click "on" to activate the Community
Activate the community by clicking the switch.
7. Fill out the Visibility Text
Enter additional information if needed.

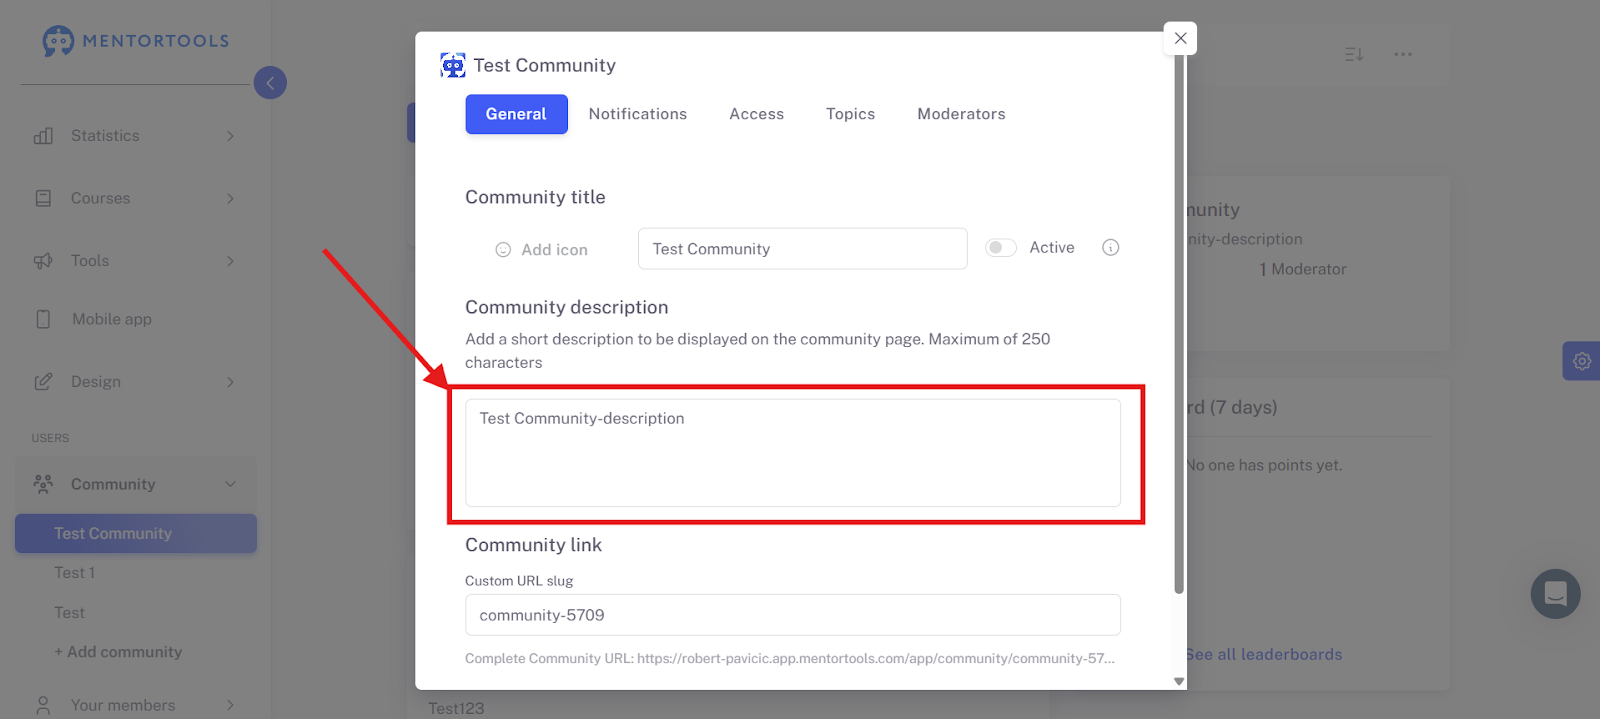
8. Click on the Description Title
Click on "Test Community-description" to edit the description.
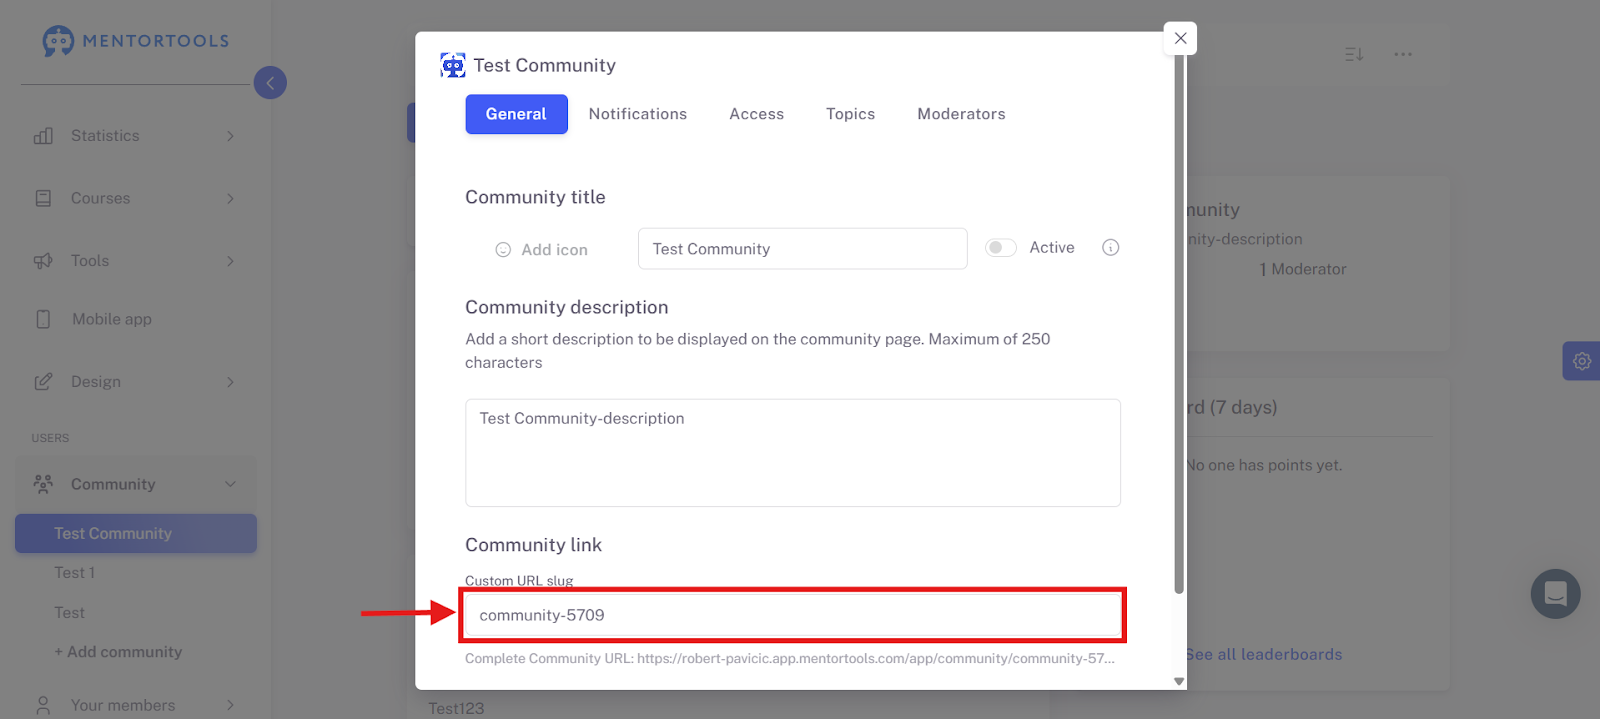
9. Click on Community Link
Click on Community Link to edit it.
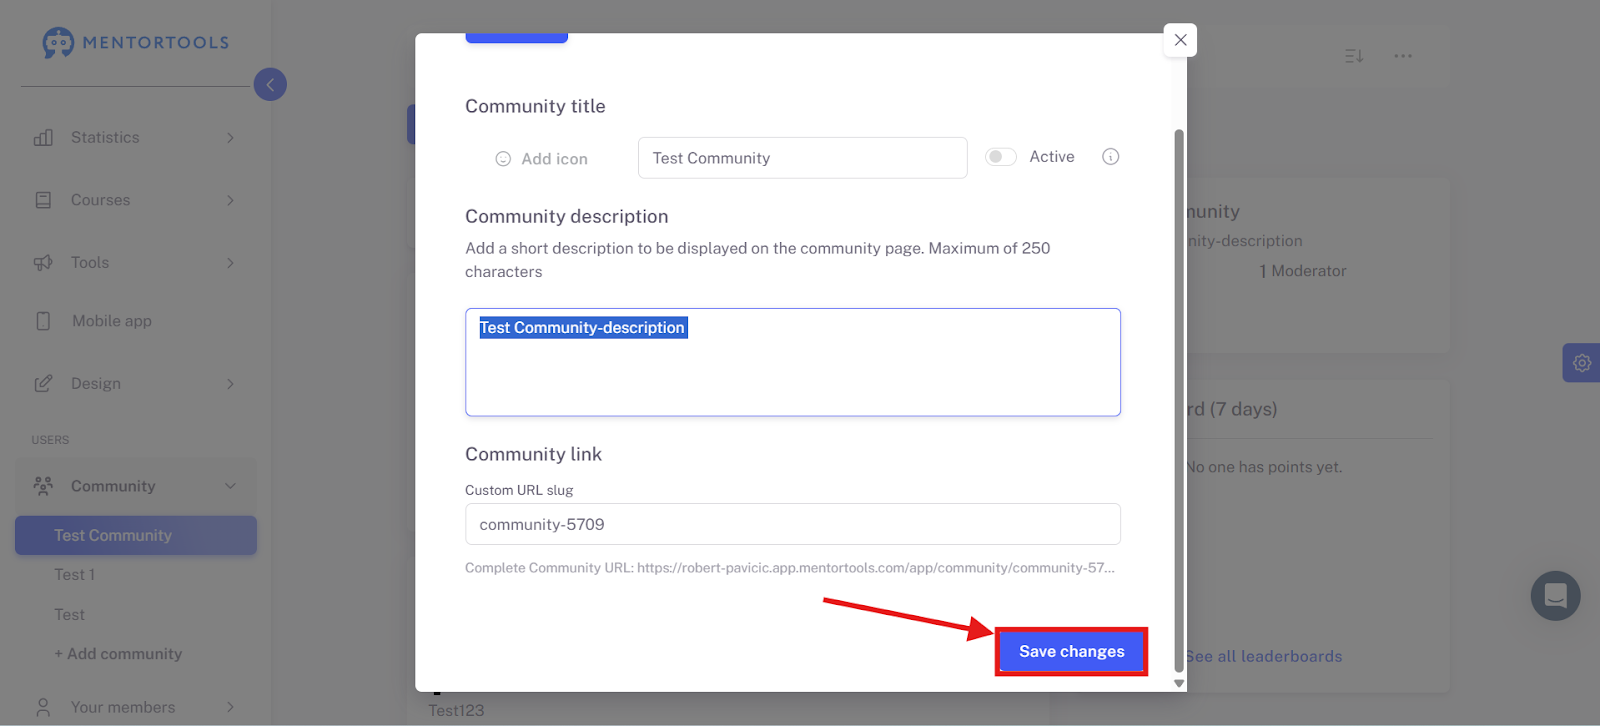
10. Click "Save Changes"
Confirm all settings and save them.
Conclusion: With these settings, you can easily manage and save general community details such as visibility, activation, and description in Mentortools.