Image File Sizes – Logos, Covers, and Branding Settings
In this guide, you will find everything about the Design Settings: Recommended formats & sizes for your Branding in Mentortools.
Last updated 9 months ago
The Right Files for Logos & Branding: Mentortools Design Settings
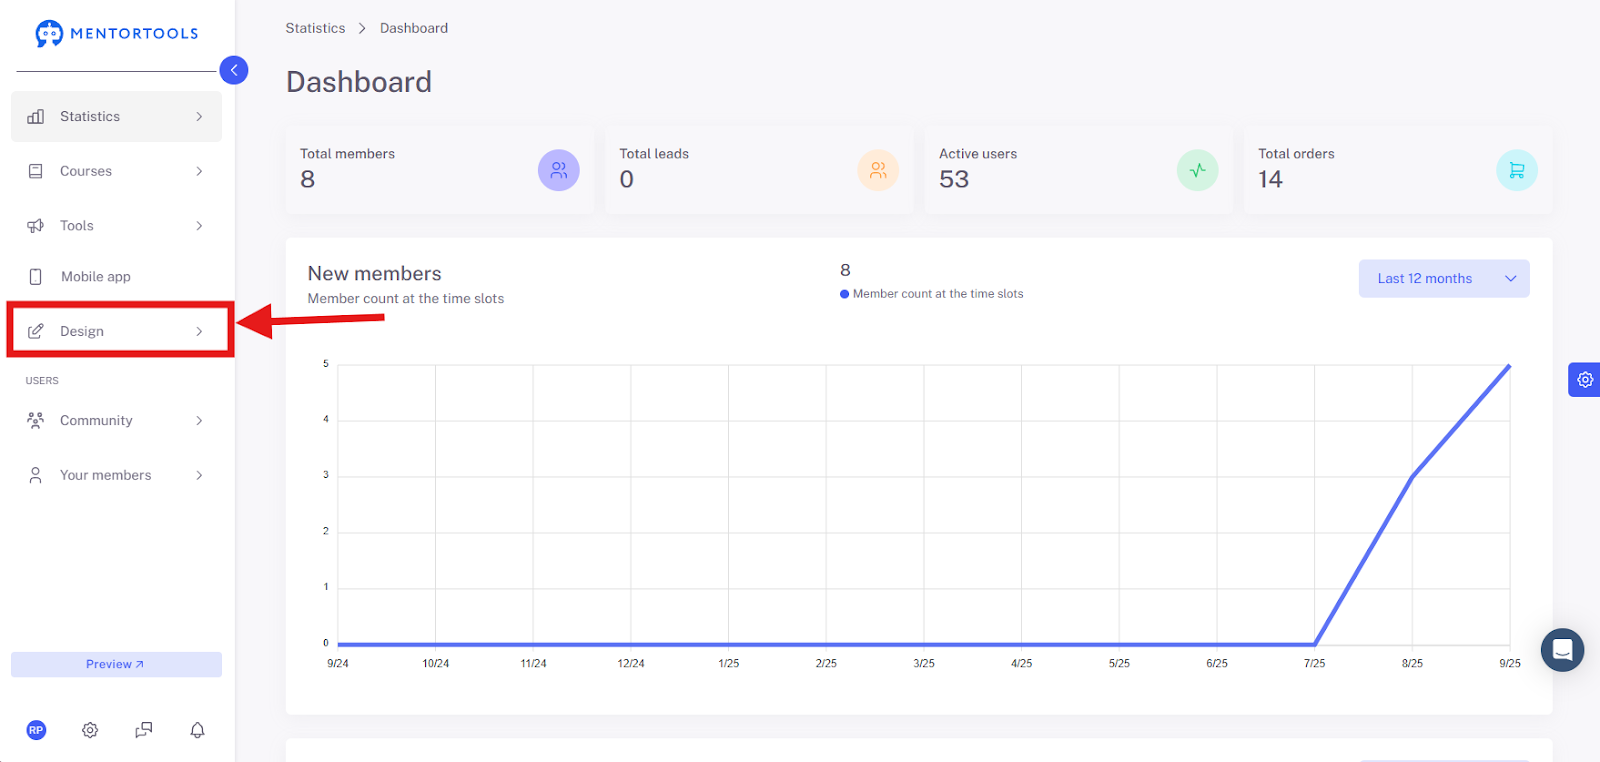
Under the Design menu item, you will find all the logos and branding settings for your site.
It's best to use PNG files with a transparent background.
Recommended Sizes:
Default Cover Images for Courses, Modules, Lessons, and Quizzes
When creating courses, modules, lessons, and quizzes, you can set a Default Image. This image is used if no individual image is set for that specific course element.
Default Cover Images for Courses
To change the default cover of your courses, first go to “Design” and then to “Academy Design”. Select “Course List” in the left menu.

Now you can change the default cover of your courses by clicking on the button.
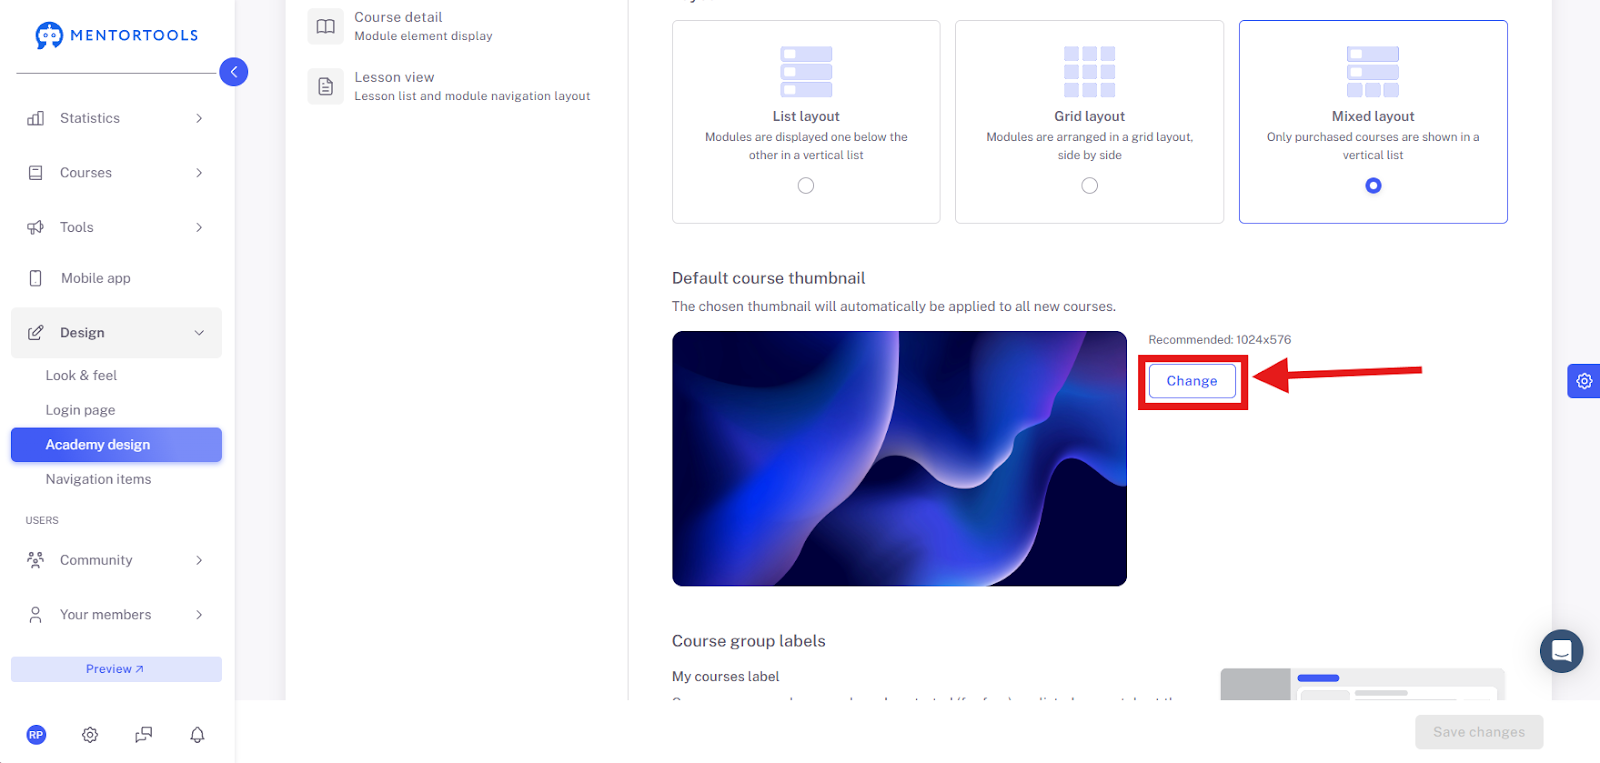
Recommended Sizes
Default Cover Images for Modules, Lessons, and Quizzes
To change the default cover of your modules, lessons, and quizzes, first go to “Design” and then to “Academy Design”. Select “Course Details” in the left menu.
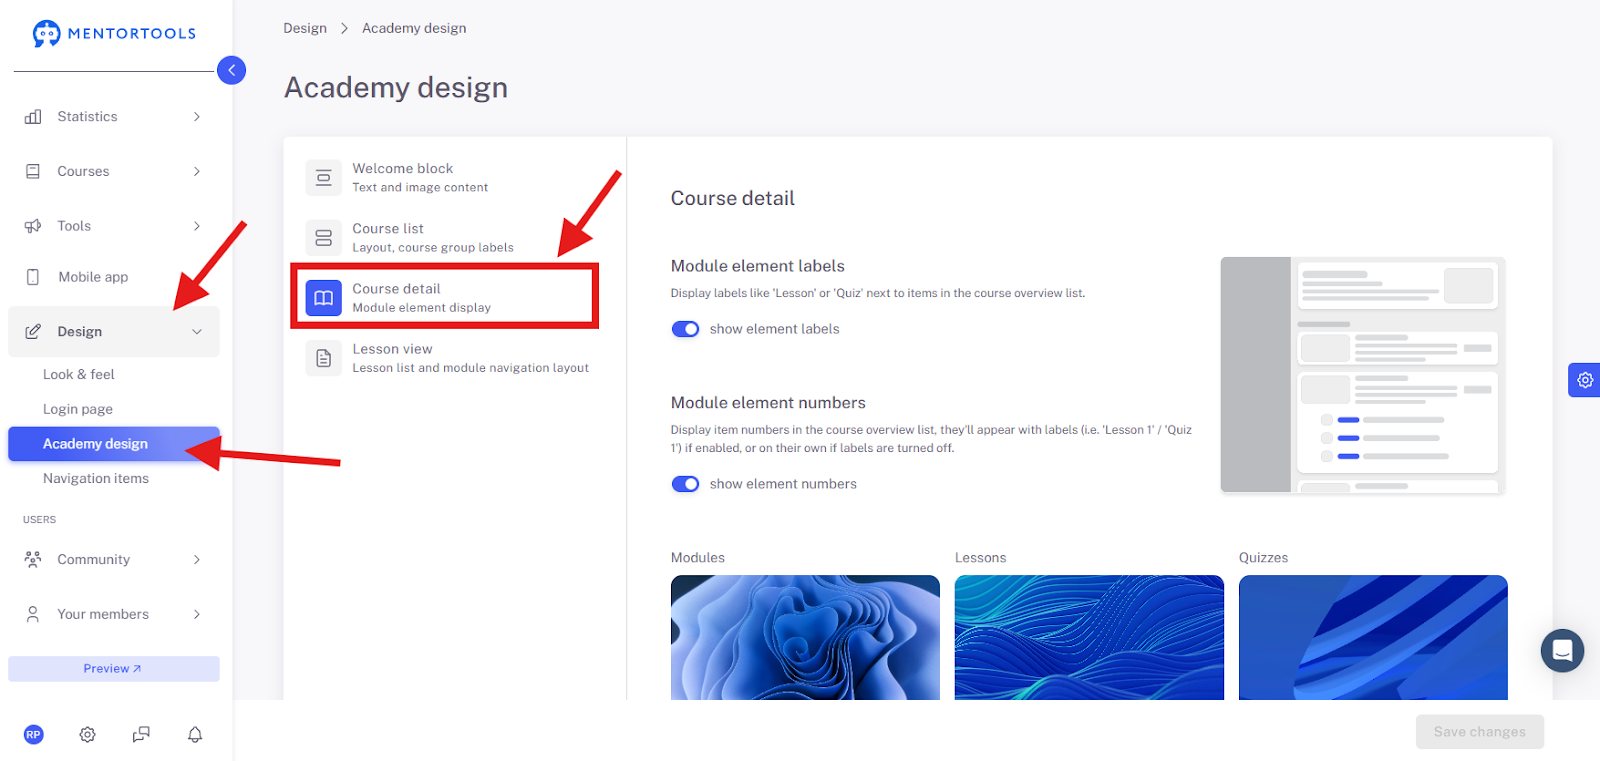
Now you can change the default cover of your modules, lessons, and quizzes by clicking on the corresponding button.
Recommended Sizes
Image in the Shout-out Box
Here you will find the settings for the image in your Shout-out Box on the main page of your portal.
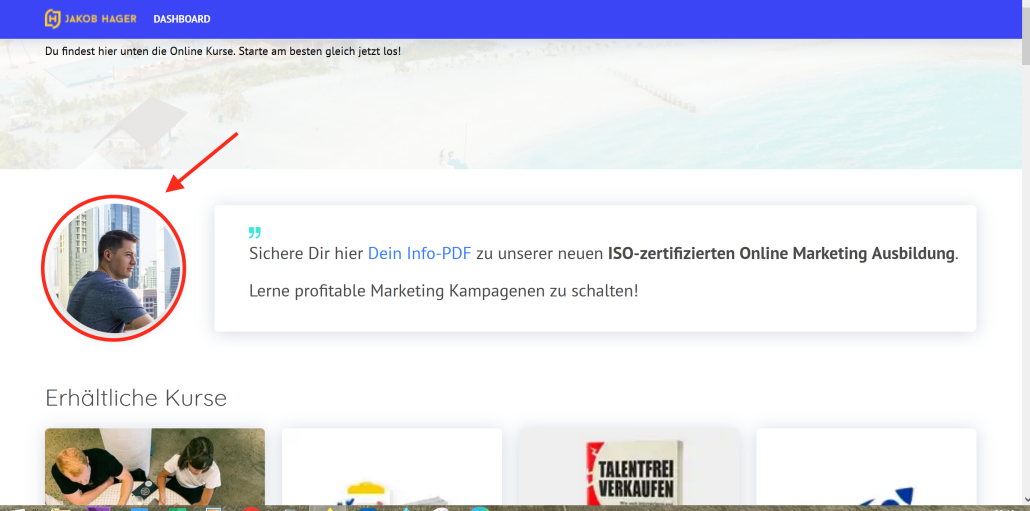
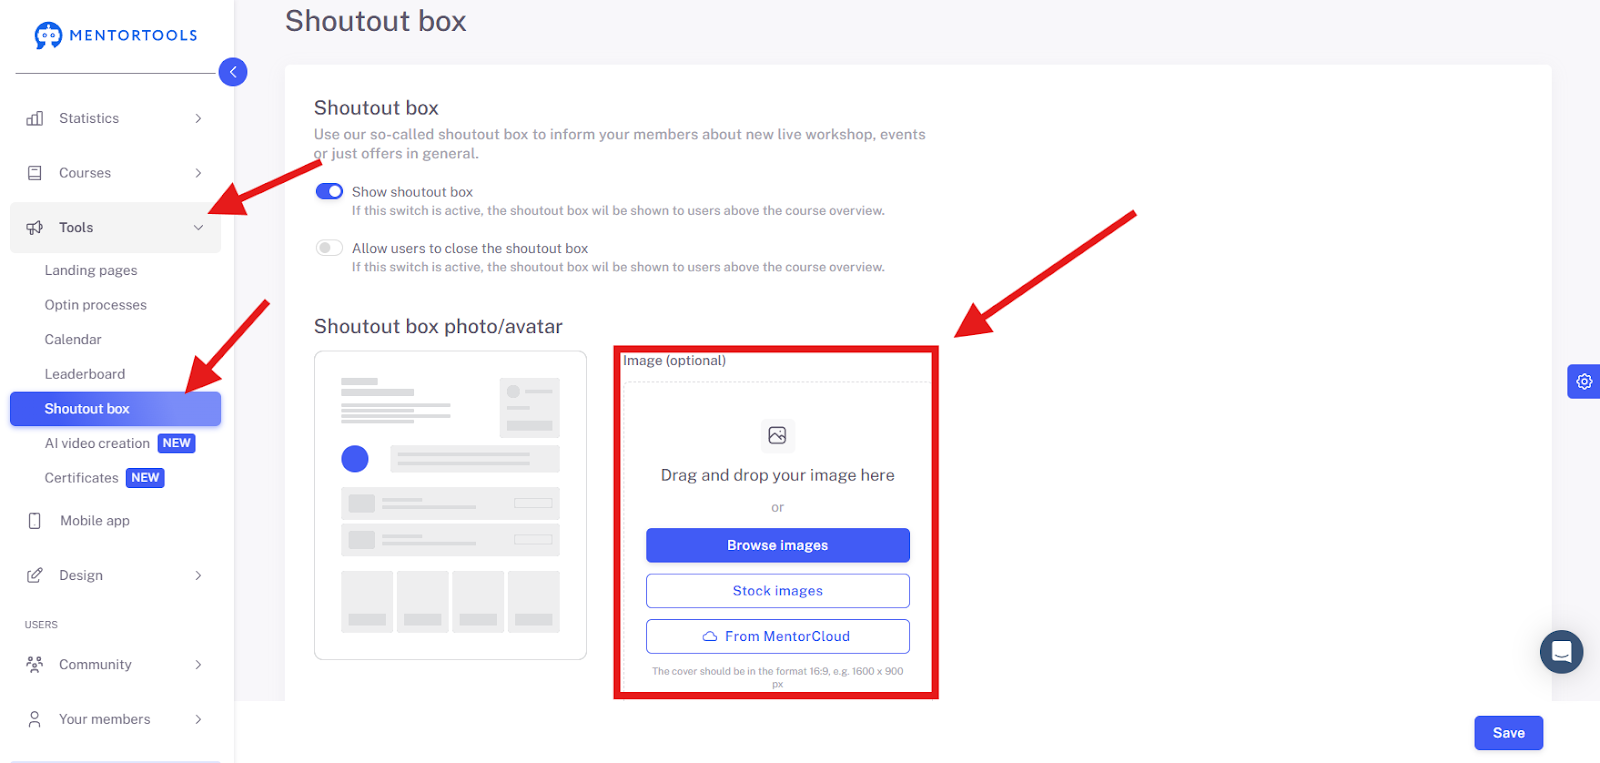
Recommended Size:
Login Page Design
Here you will find the settings for the images on the login page. First go to “Design” and then to “Login Page”. Select “Images” in the left menu. There you can adjust the image of the login page for Desktop Devices, the image of the login page for Mobile Devices, and the Logo.
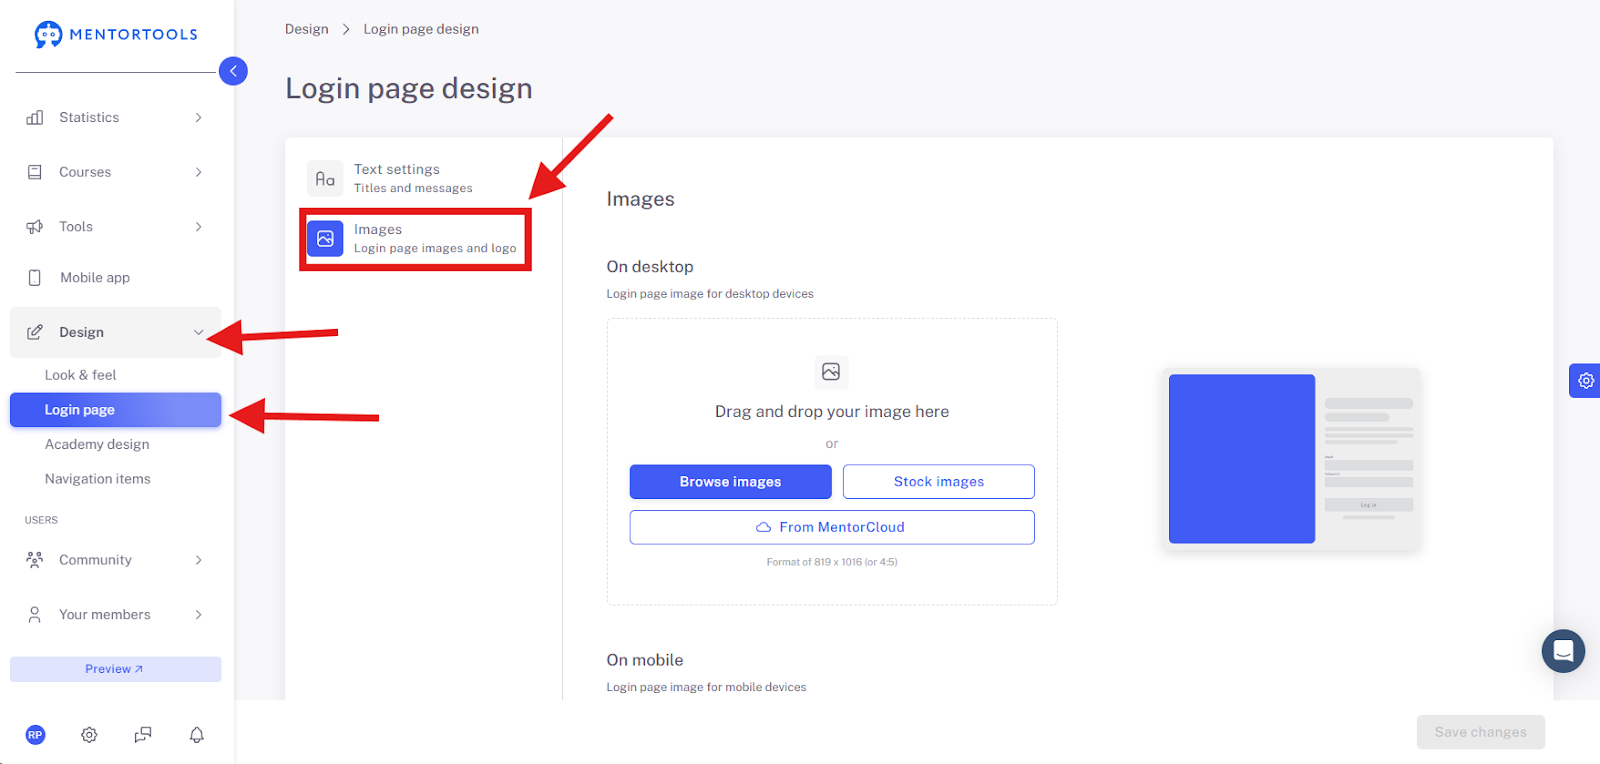
Recommended Sizes:
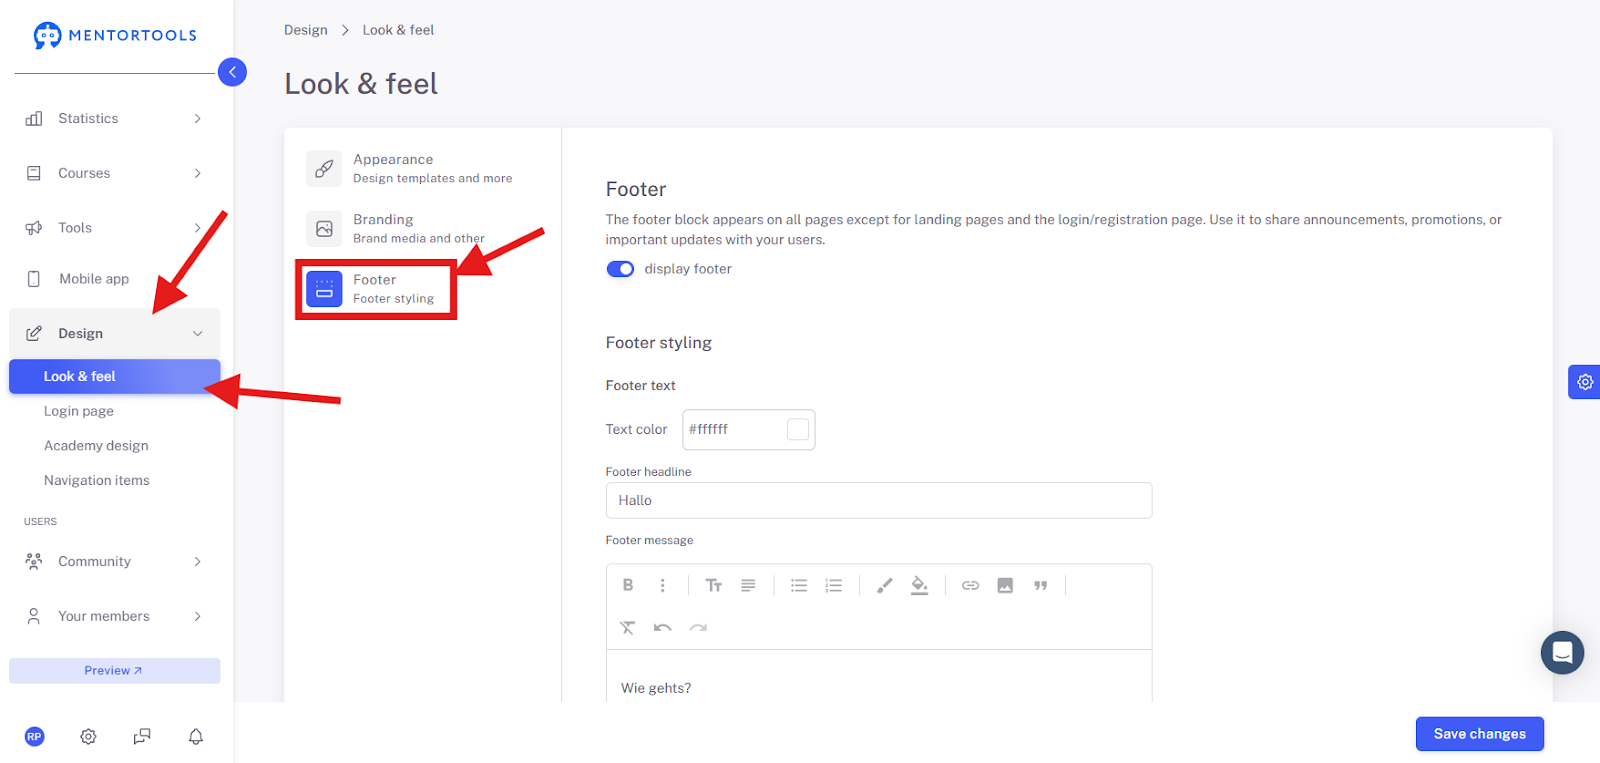
Footer Banner
The Footer Banner is a CSS background. The special feature of this is that the background stretches to fit different display sizes. This background in the footer must be set up with safety zones.
To customize the footer, please go to “Design” and from there to the submenu “Look and Feel”. Now select “Footer” on the left.
Footer Background Fill
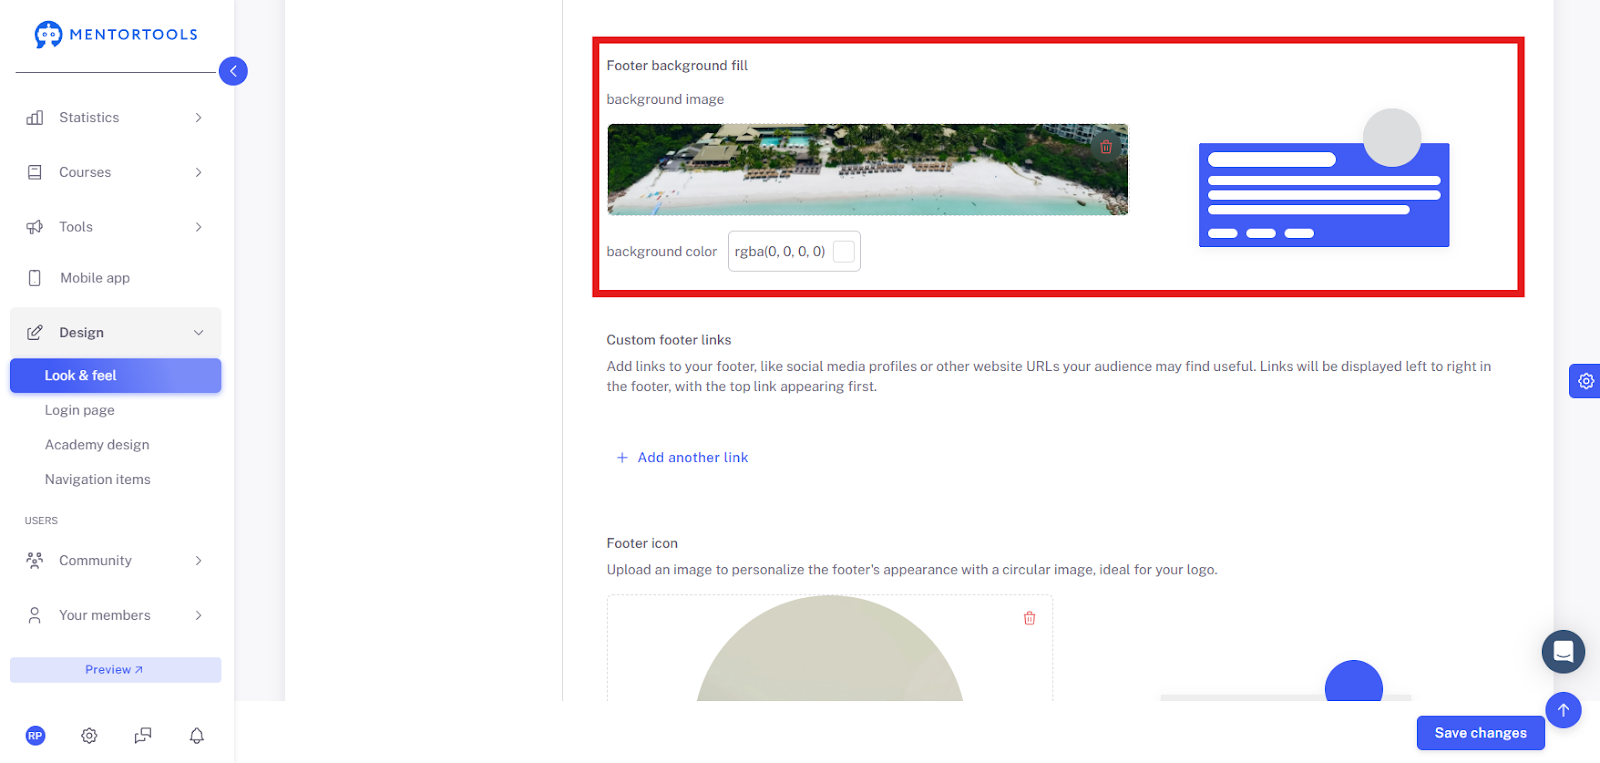
The image should be in the 40:7 format.
Here is another example of how the banners change in the background.
Branding
In the next submenu under the Look & Feel category, we take care of the Branding for your member area.
Under Page Title, you can enter a title that appears as the Browser Tab and is also displayed under the loading symbol.
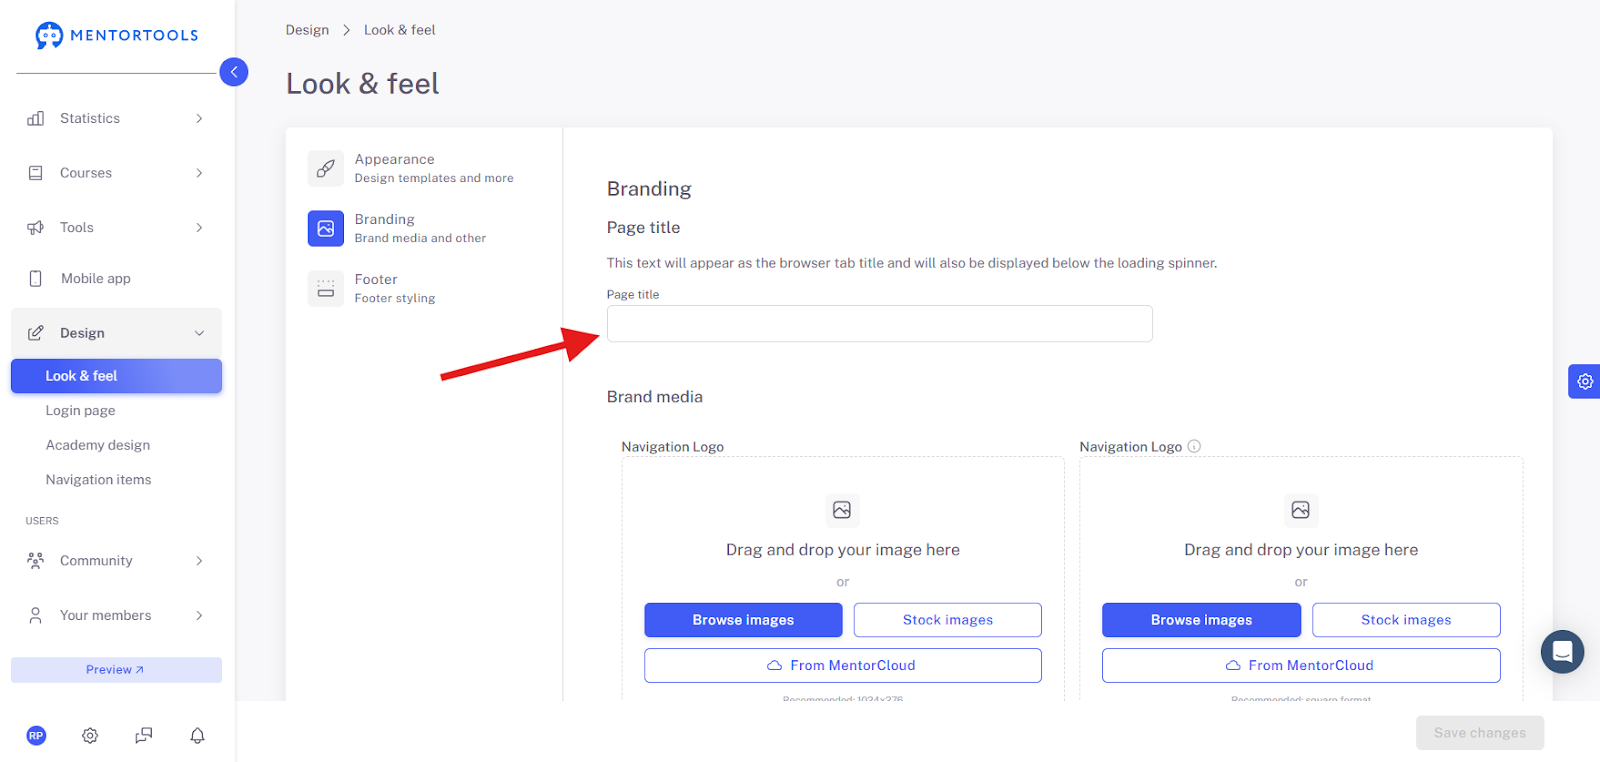
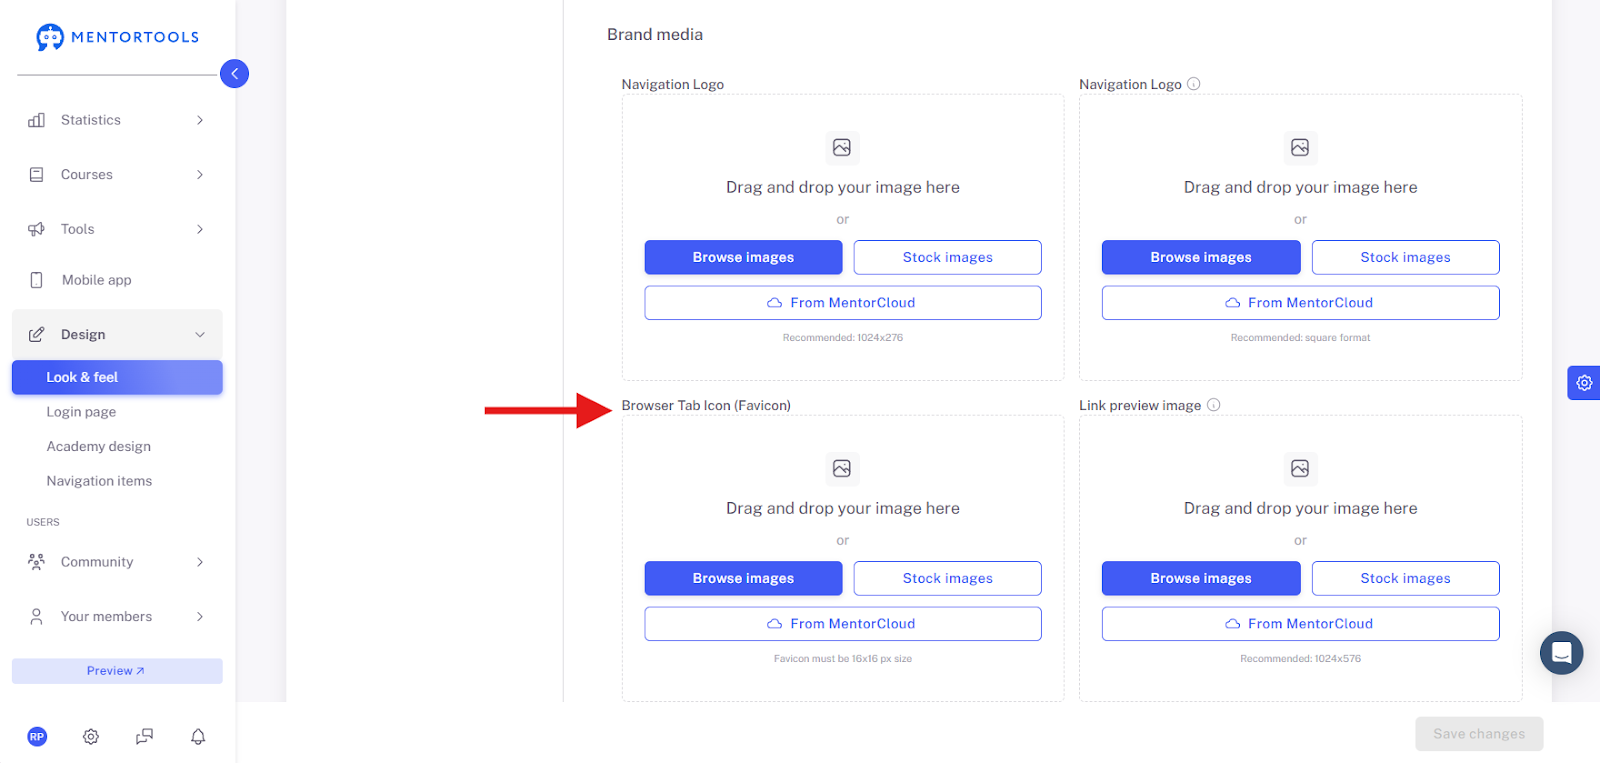
Under Brand Media, you upload your Logo or special images—from your own files, the Mentorcloud, or our license-free images.

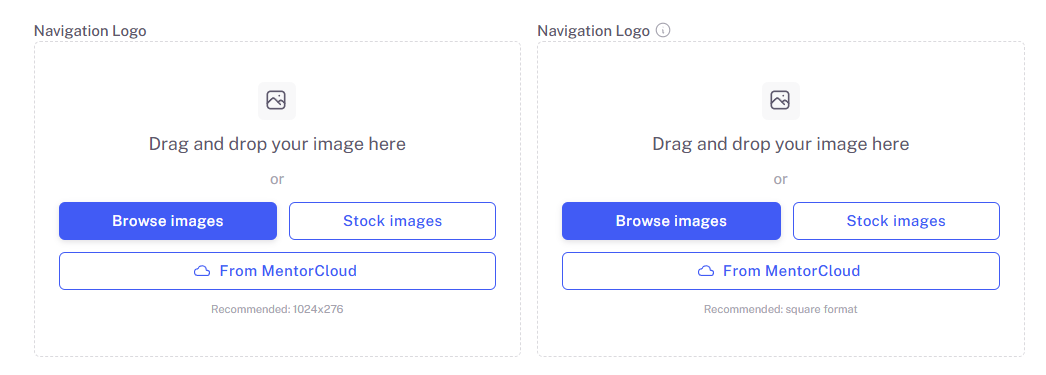
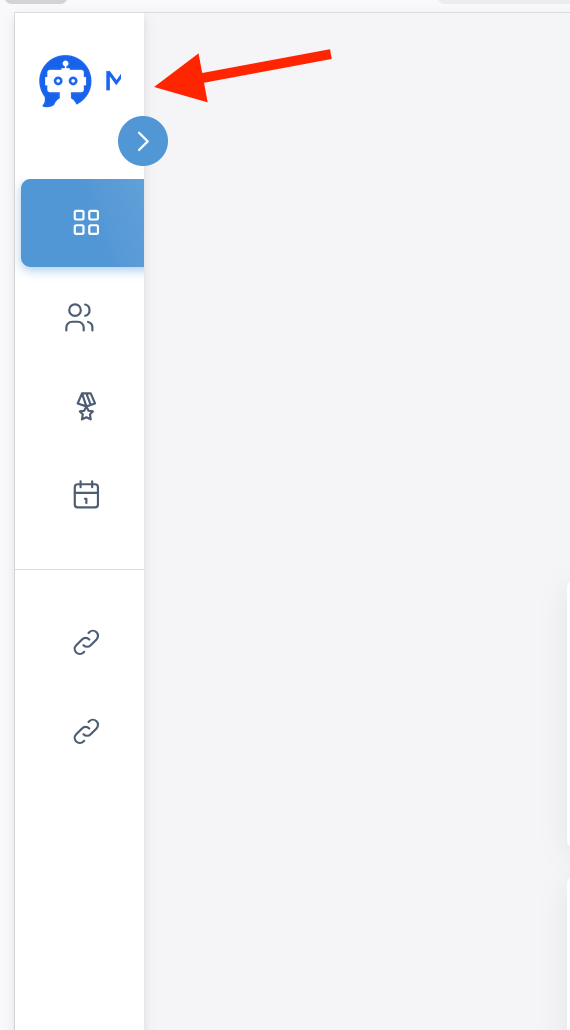
We start with the logo for the Navigation Bar. There are two fields for this. If your menu is displayed on the left side, you should also upload a logo in the right field. This will then be displayed when a user collapses the menu bar.
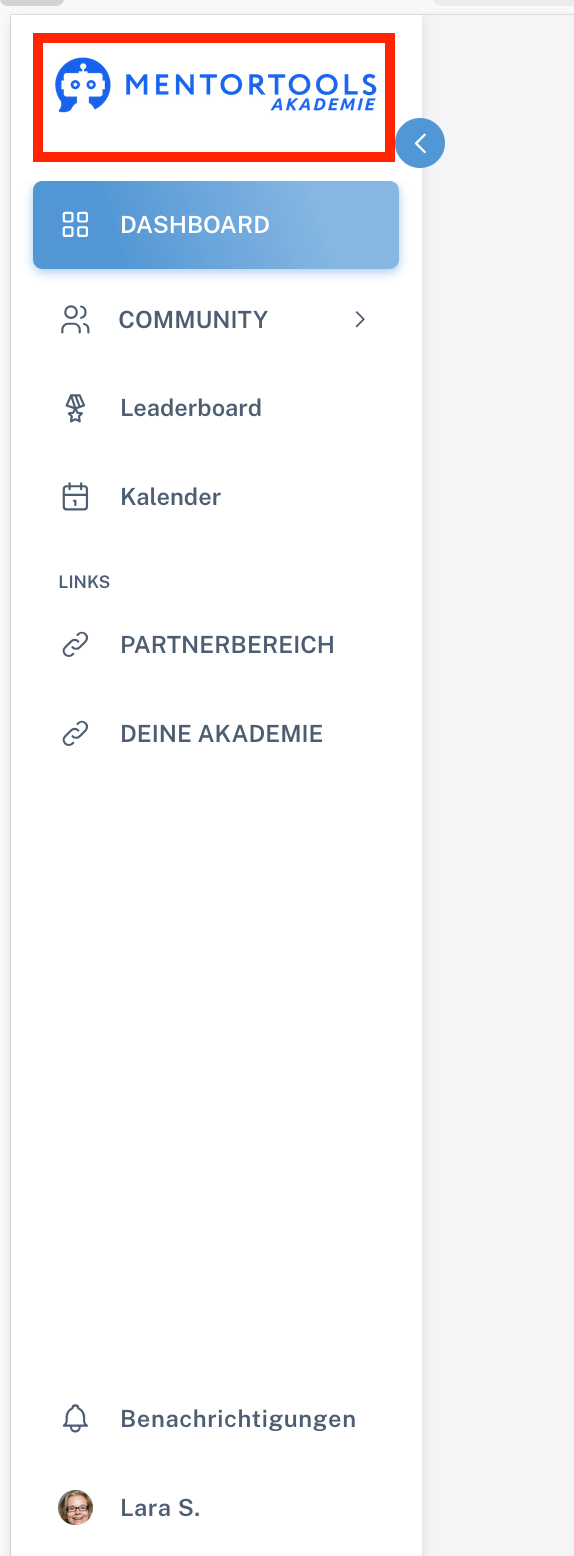
This is what the expanded menu bar looks like.
This is how the menu bar is displayed when the user collapses it.
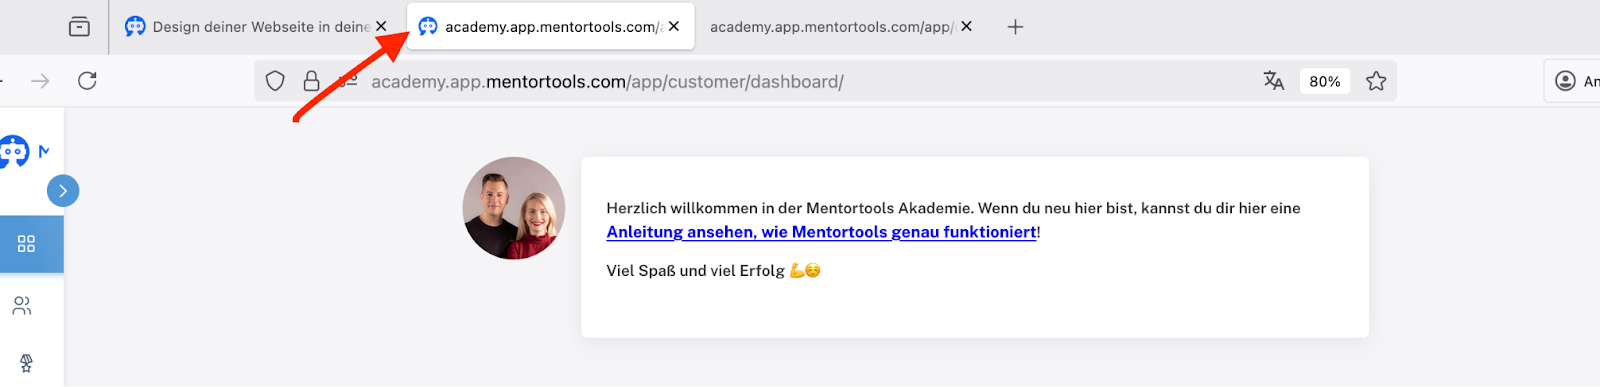
Here you can upload a Favicon.
This is the Browser Tab Symbol and looks like this in the Mentortools Academy, for example:
The Link Preview Image is displayed when the link to your member area is shared on social media.
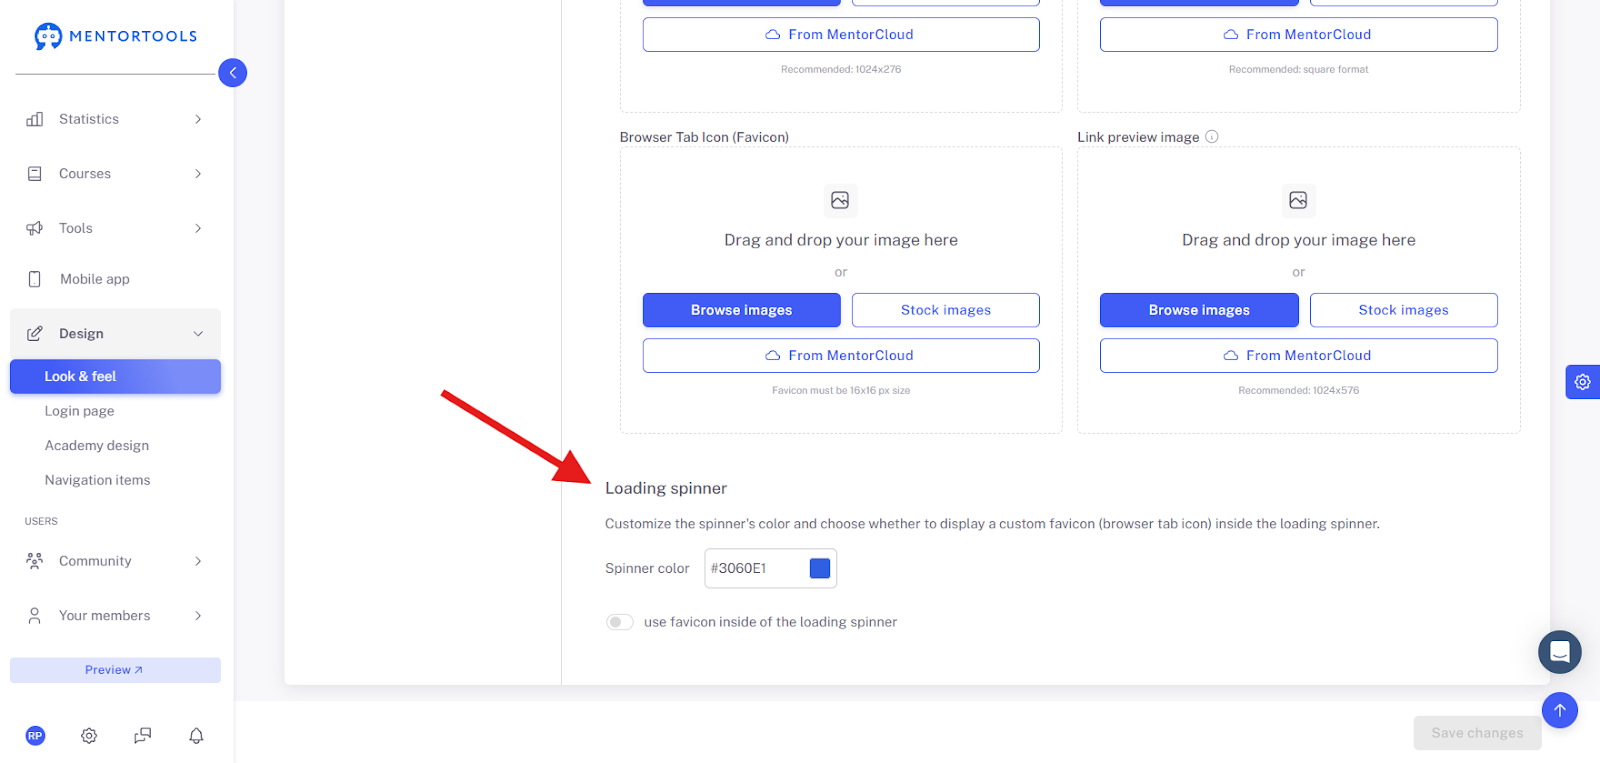
Under Loading Spinner, you adjust the color of the spinner. Choose here whether a custom Favicon (Browser Tab Symbol) is displayed in the loading spinner.
Recommended Sizes:
Wishing you continued fun & success!