Preview
In this article, you will learn how to use the preview function in Mentortools. This way, you can test what your customers or course participants actually see. You will also get an overview of important features like notifications and the calendar from your users' perspective.
Last updated 10 months ago
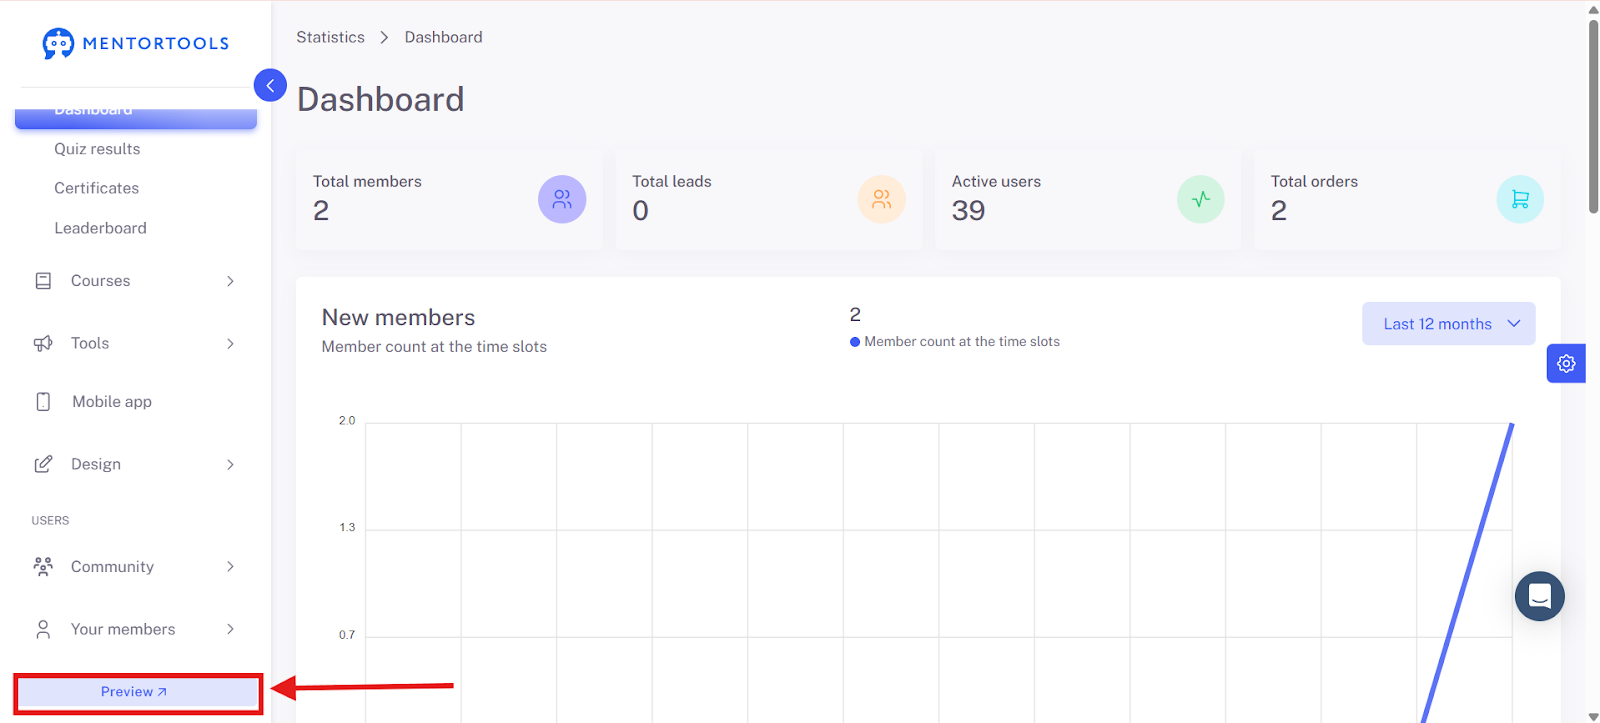
1. Open Preview
Click on "Preview" in the bottom left to open the customer view.
2. Refresh View
If you have made changes to the design, layout, or course content, you can refresh the preview to see the changes. To do this, click the "Refresh" button.

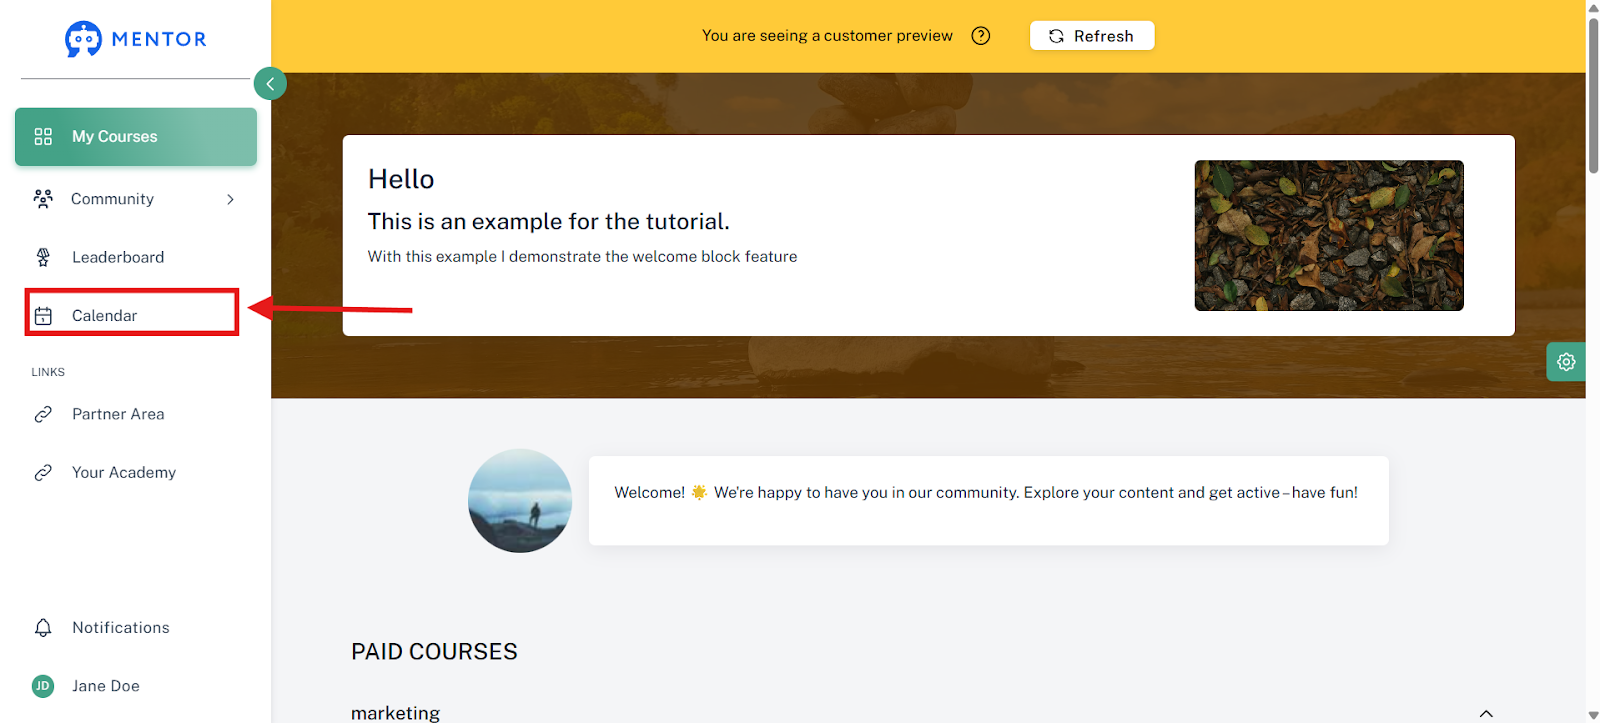
3. View Calendar from Customer Perspective
Click on "Calendar" to display all booked appointments, coachings, or events—exactly as your customers would see them.
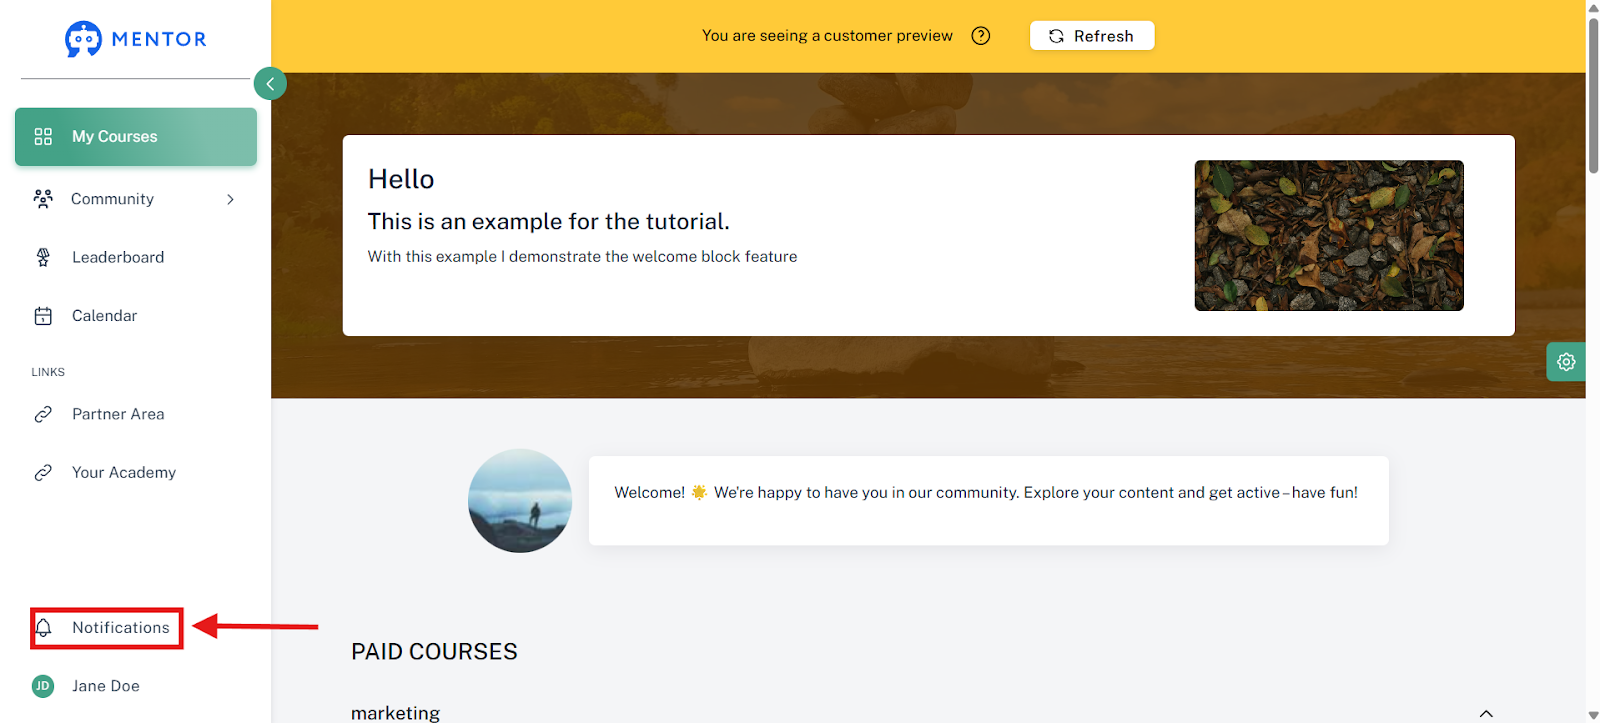
4. Check Notifications
By clicking on "Notifications," you can see which automated messages, reminders, or notes your participants would receive.
5. Access Communities
Click on "Community" to view your communities from your members' perspective.
Note: If a community is linked to a course, it may not be immediately visible. In this case, you must first start the course linked to the community before the community is displayed.
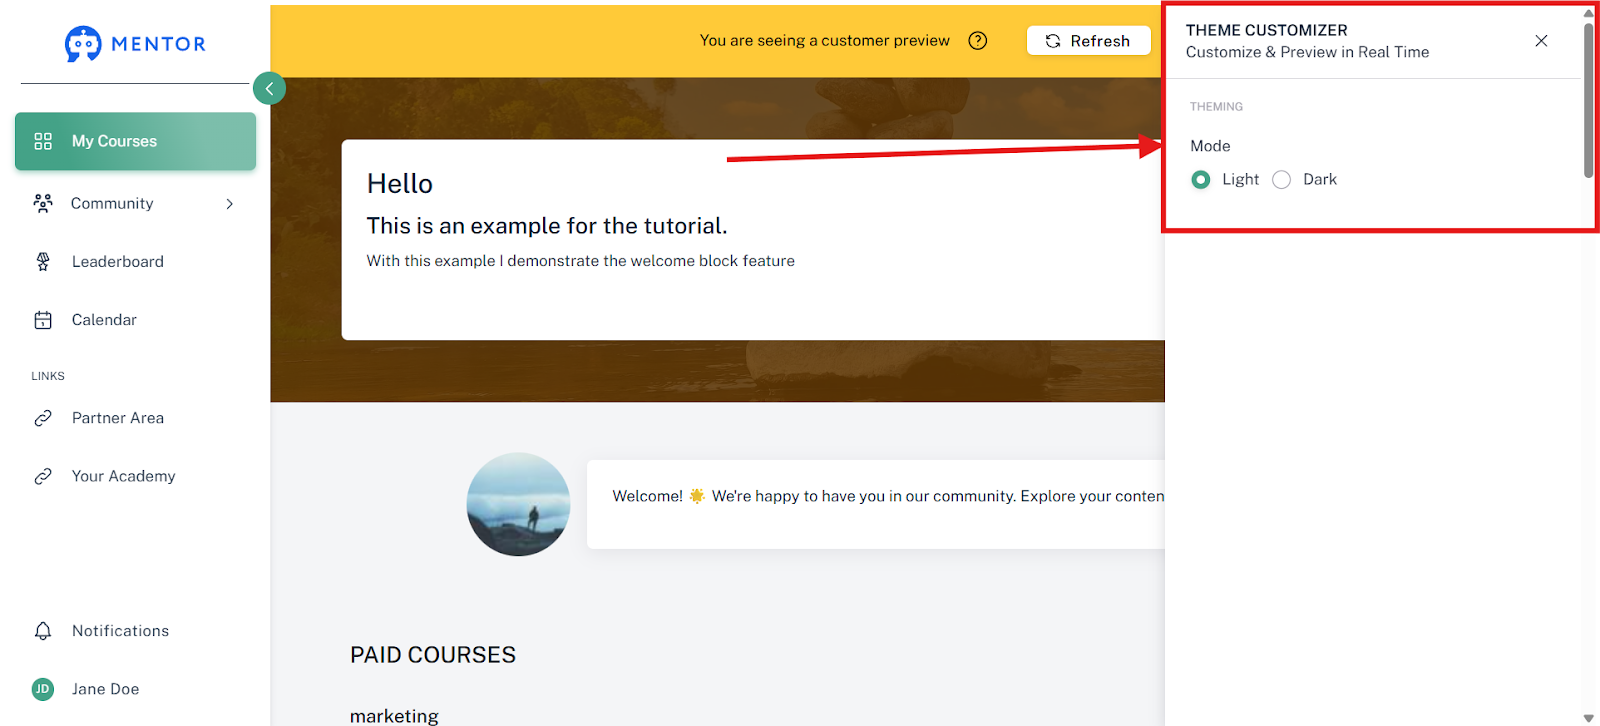
6. Customize Design
Click on the gear icon on the right side of the screen to access the design options.

There you can choose between the light and dark design.
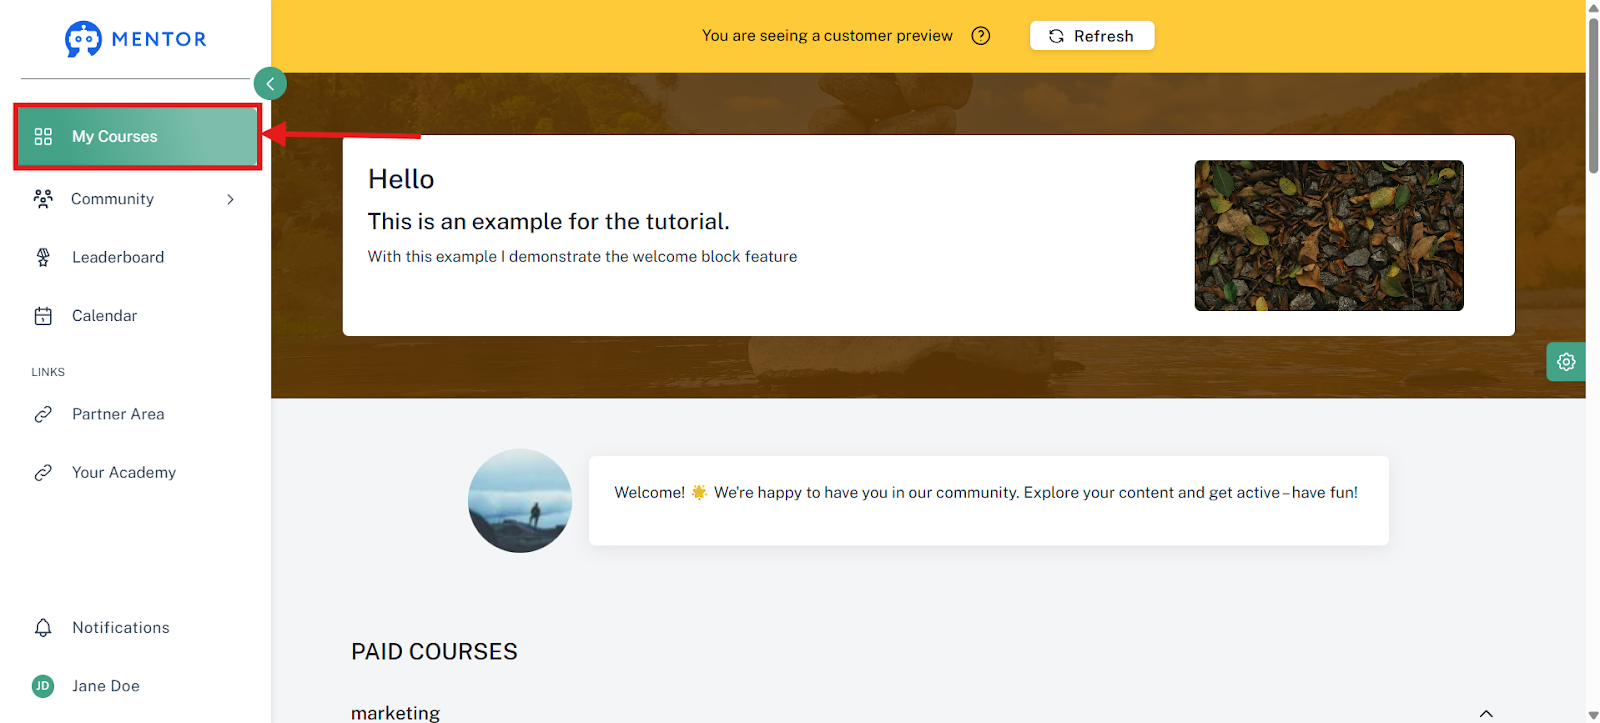
7. Switch Back to Main Page
Once you have checked all the views, click on "My Courses" to return to the customer view of your academy.
Summary: Customer View
With the customer view in Mentortools, you can experience your academy from your participants' perspective. This is great for checking how your courses, calendar, and notifications actually look.
This way, you can test design changes and new content before publishing them and ensure that the user experience is perfect.