Landing Pages – Basic Settings
This guide shows you how to create a new landing page in Mentortools—ideal for freebies, webinars, or sales pages. If you want to learn how to build a landing page from scratch with the Landing Page Editor, click here to check out the tutorial.
Last updated 10 months ago
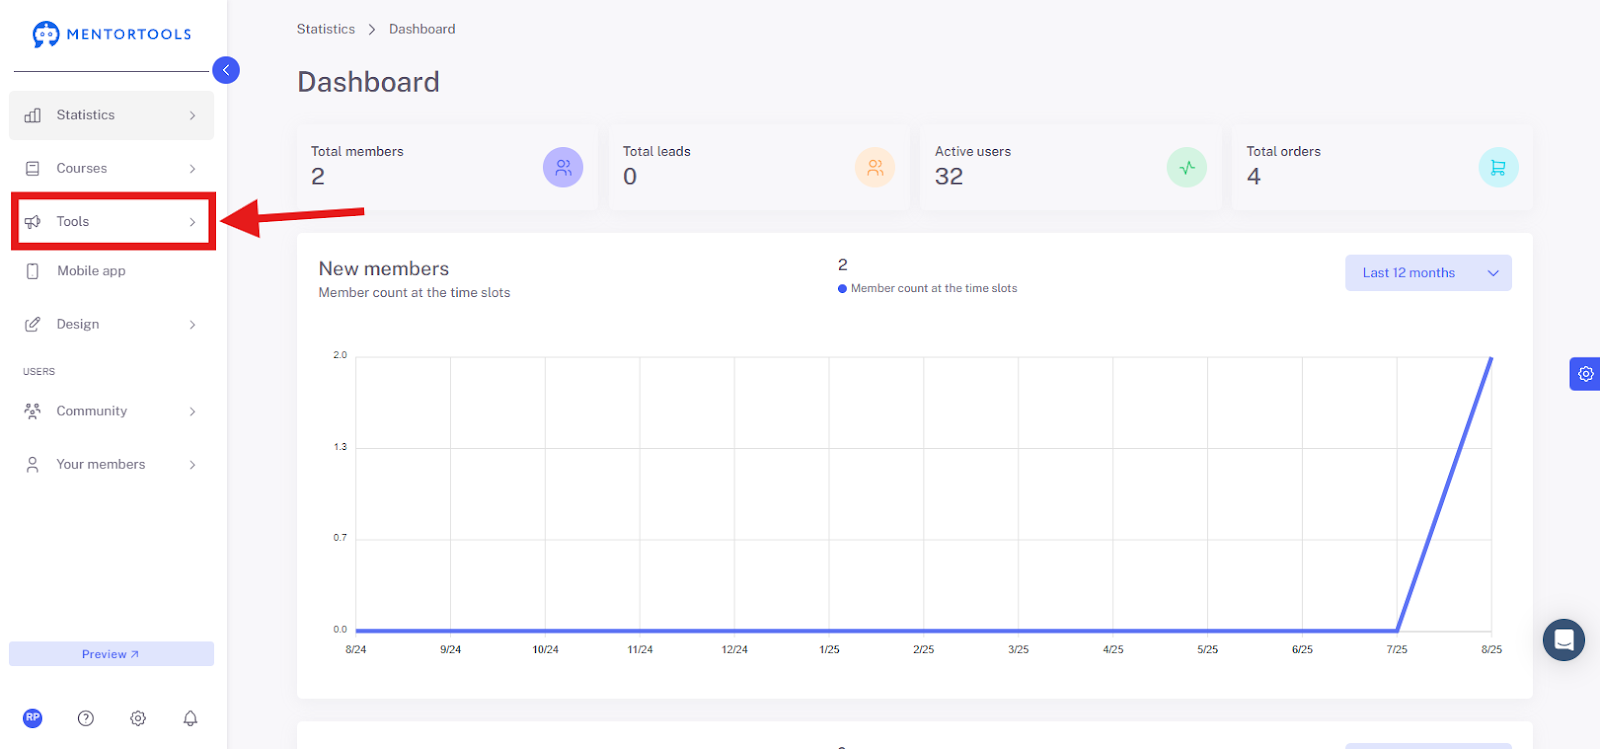
1. Open the "Tools" Section
Navigate to "Tools" in your Mentortools dashboard.
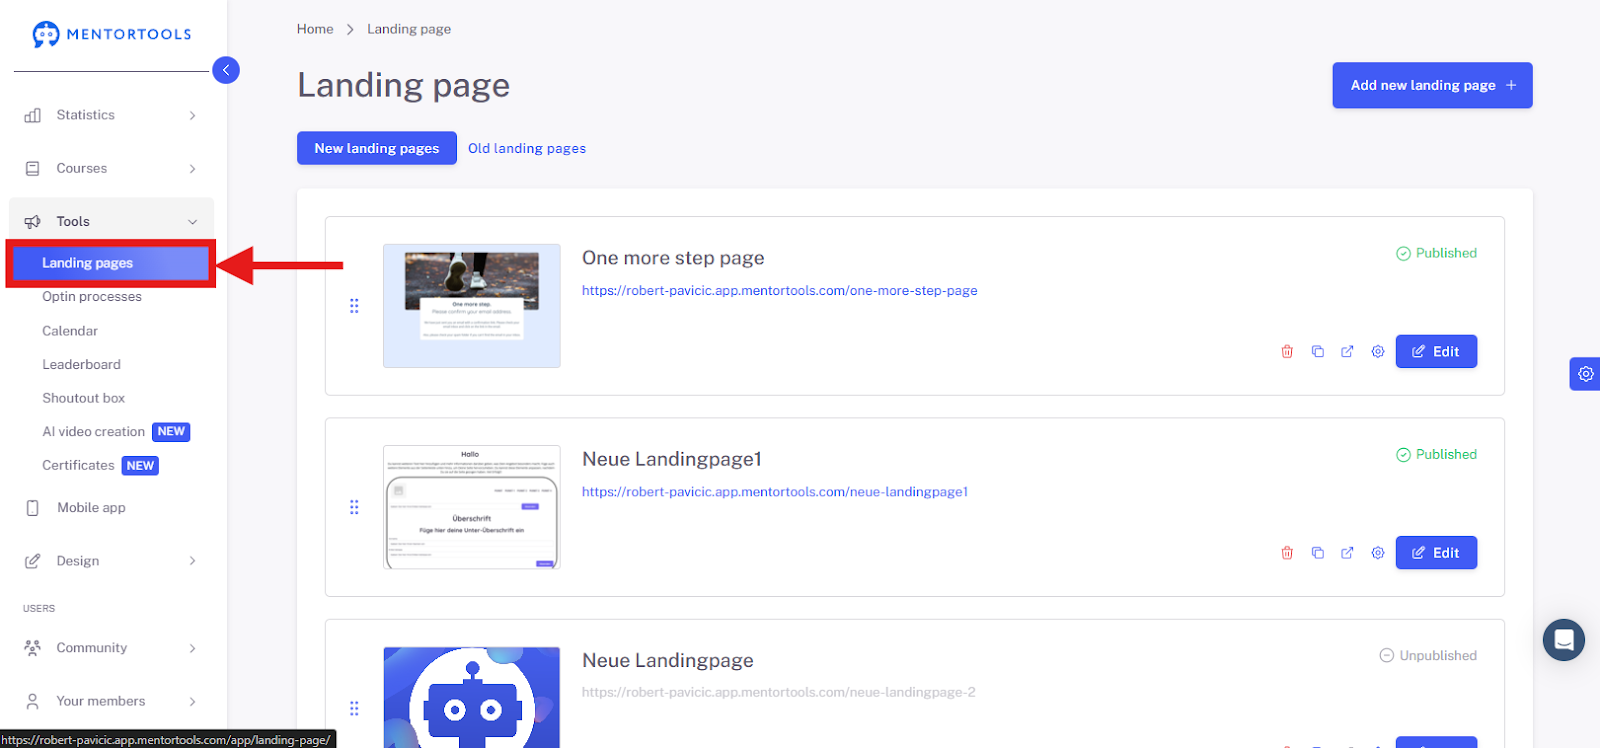
2. Click on "Landing Pages"
Switch to the "Landing Pages" tab to see your existing pages.
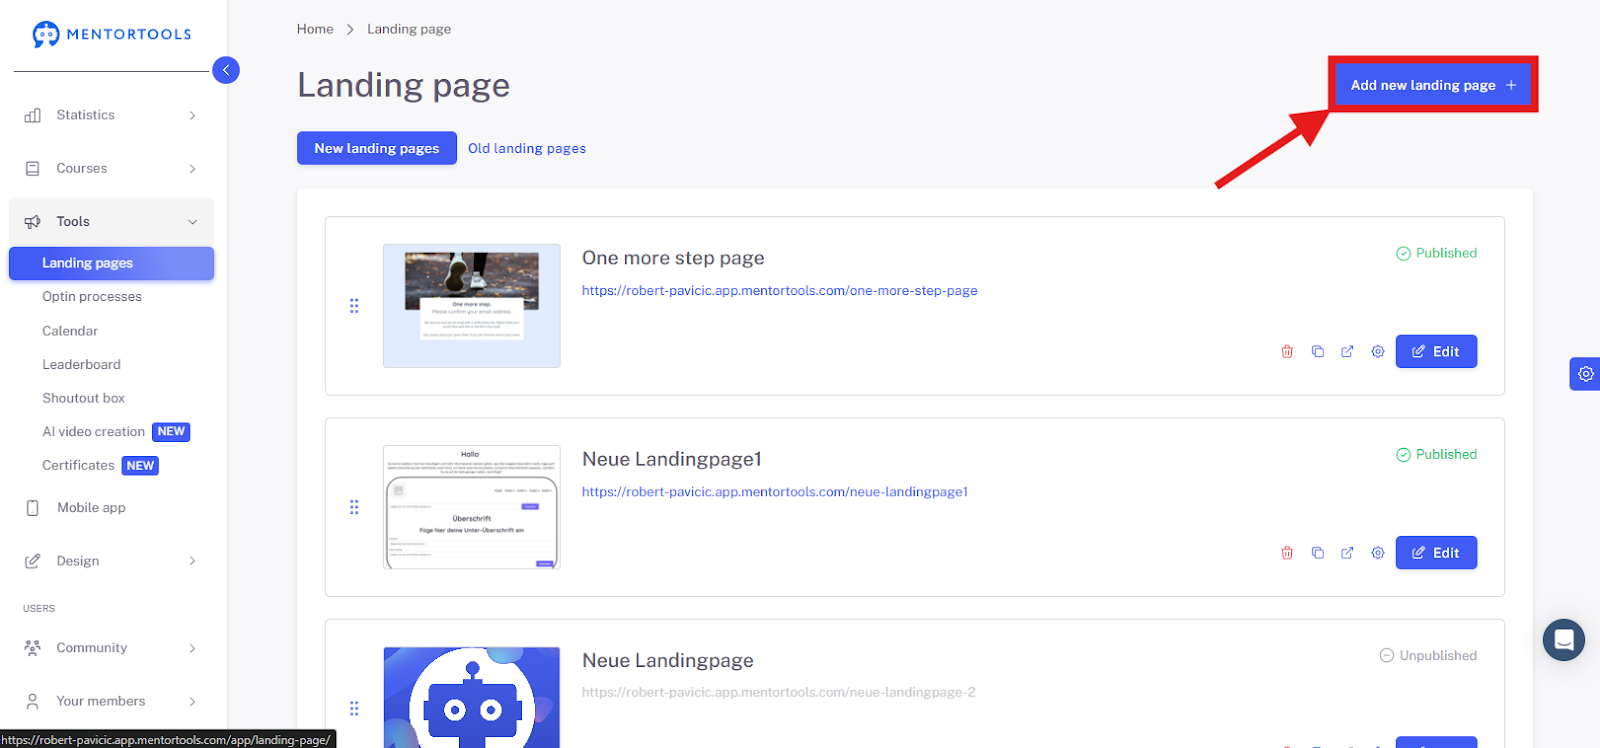
3. Add a New Landing Page
Click the "Add new landing page" button.
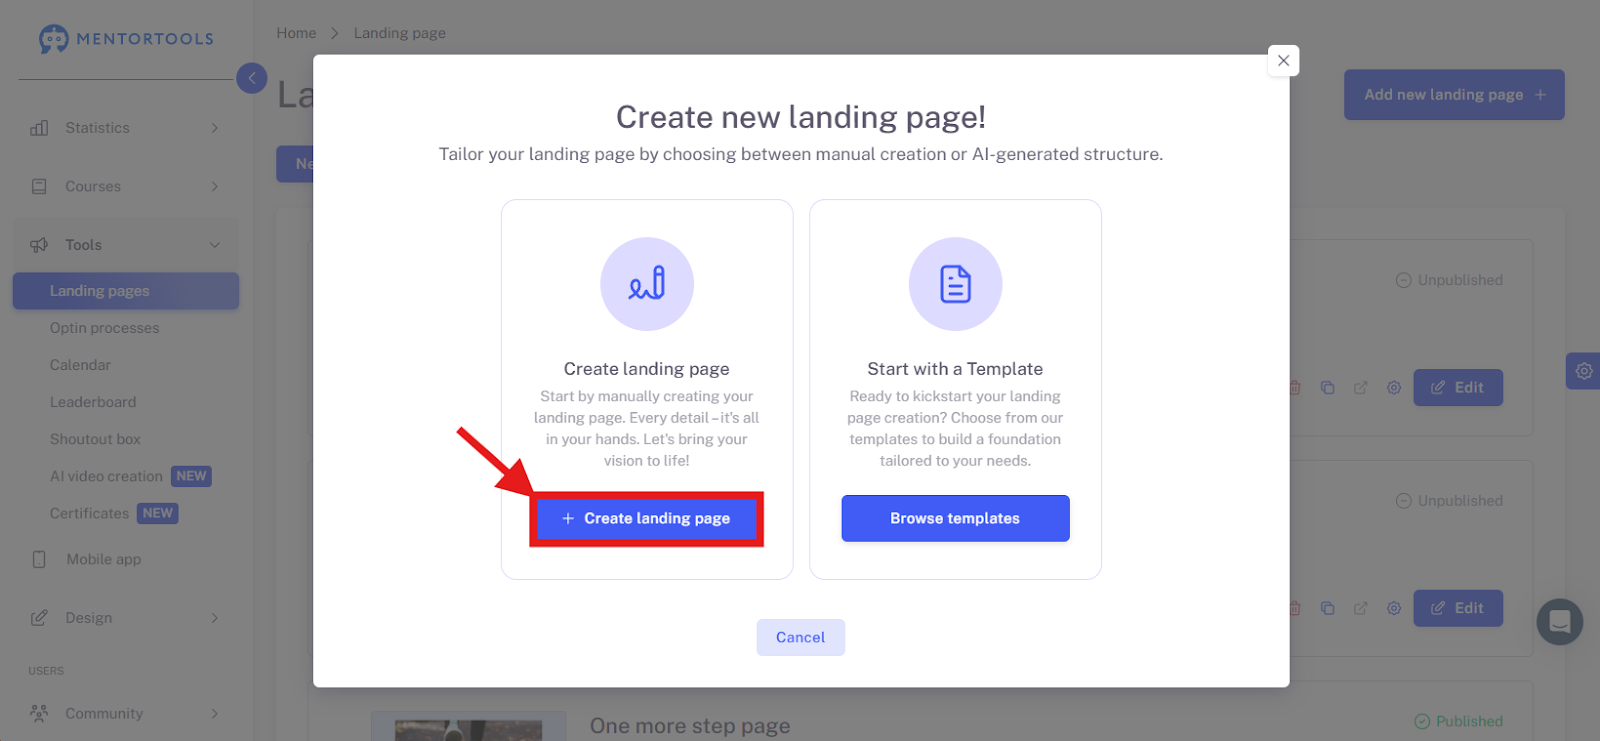
4. Start Creating a Landing Page
Then, select "Create landing page."
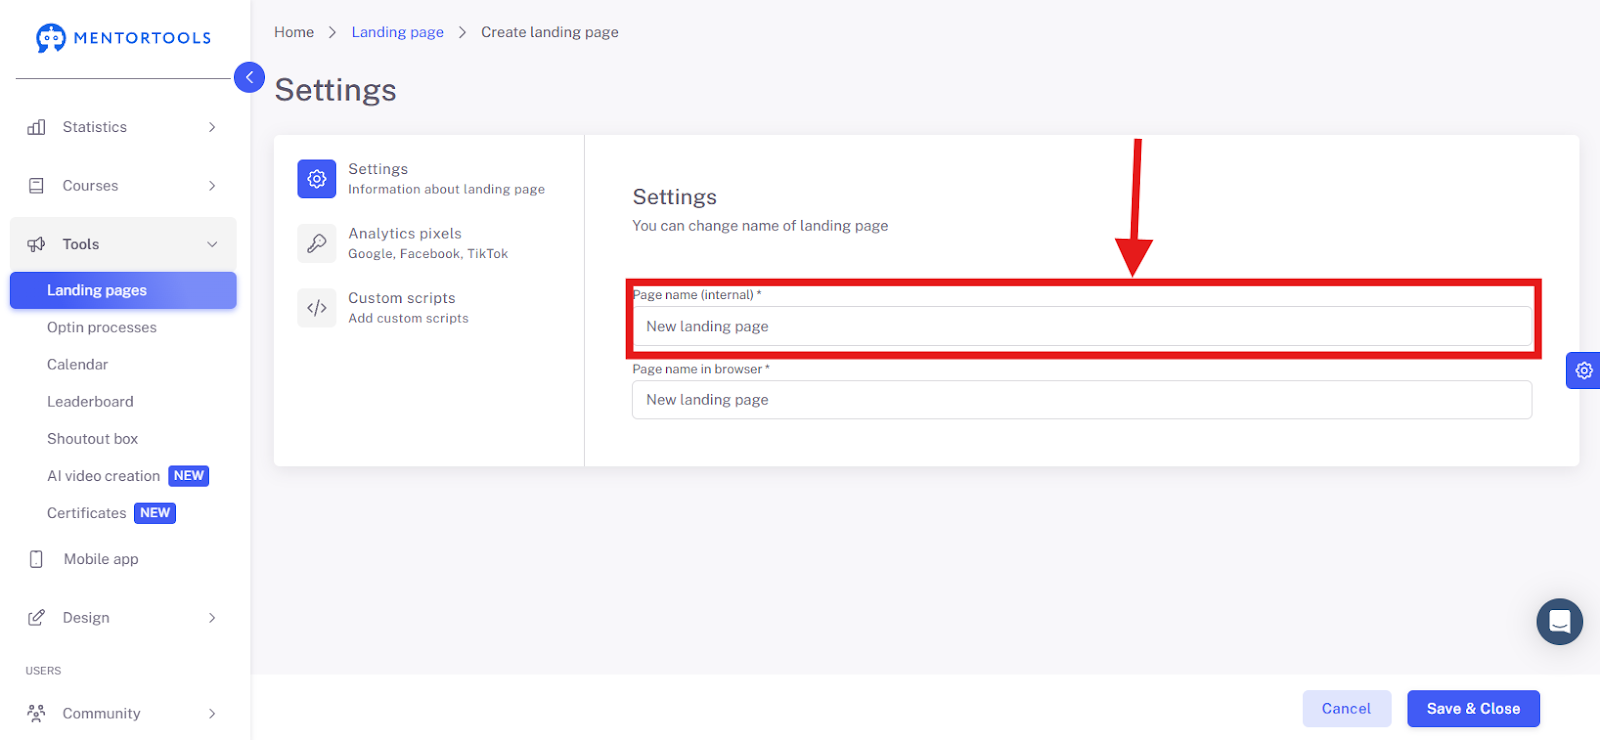
5. Assign an Internal Name
Enter an internal name for the page—e.g., "Freebie Instagram Guide."
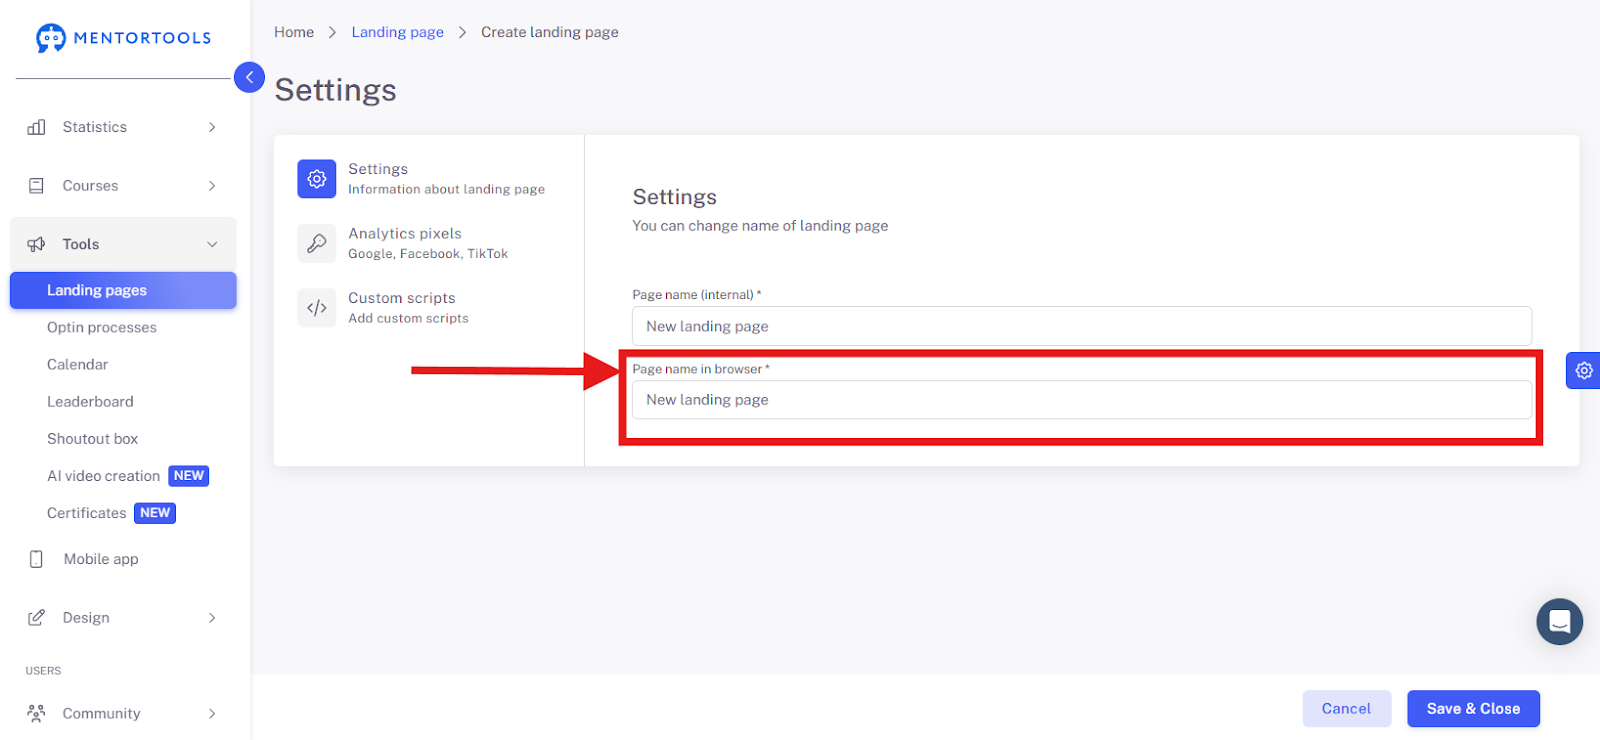
6. Define the Browser Title
Enter the title that should appear in the browser tab—e.g., "Free Instagram Workbook."
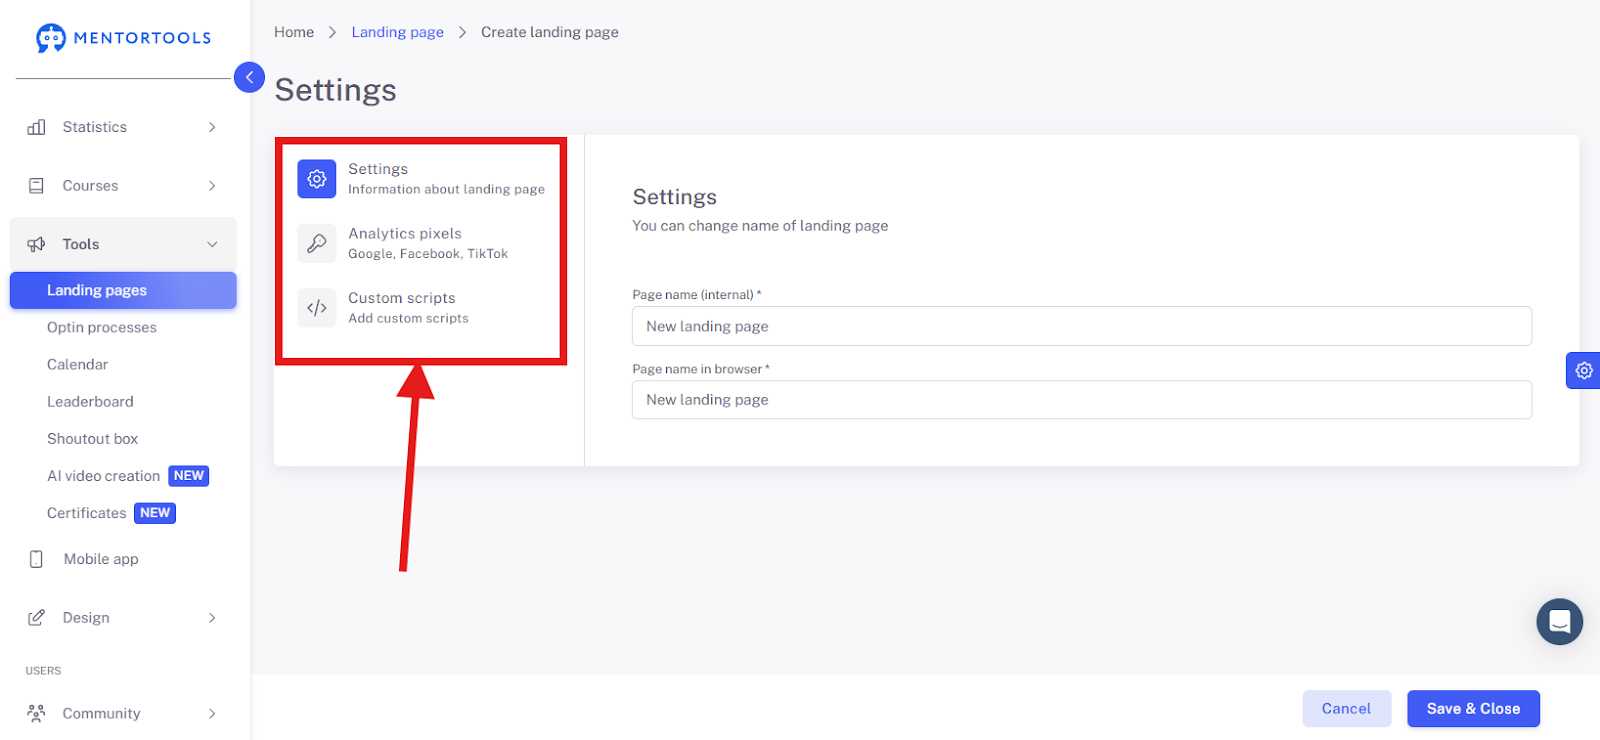
7. Open Landing Page Settings
Scroll to the "Settings" section to define more details.
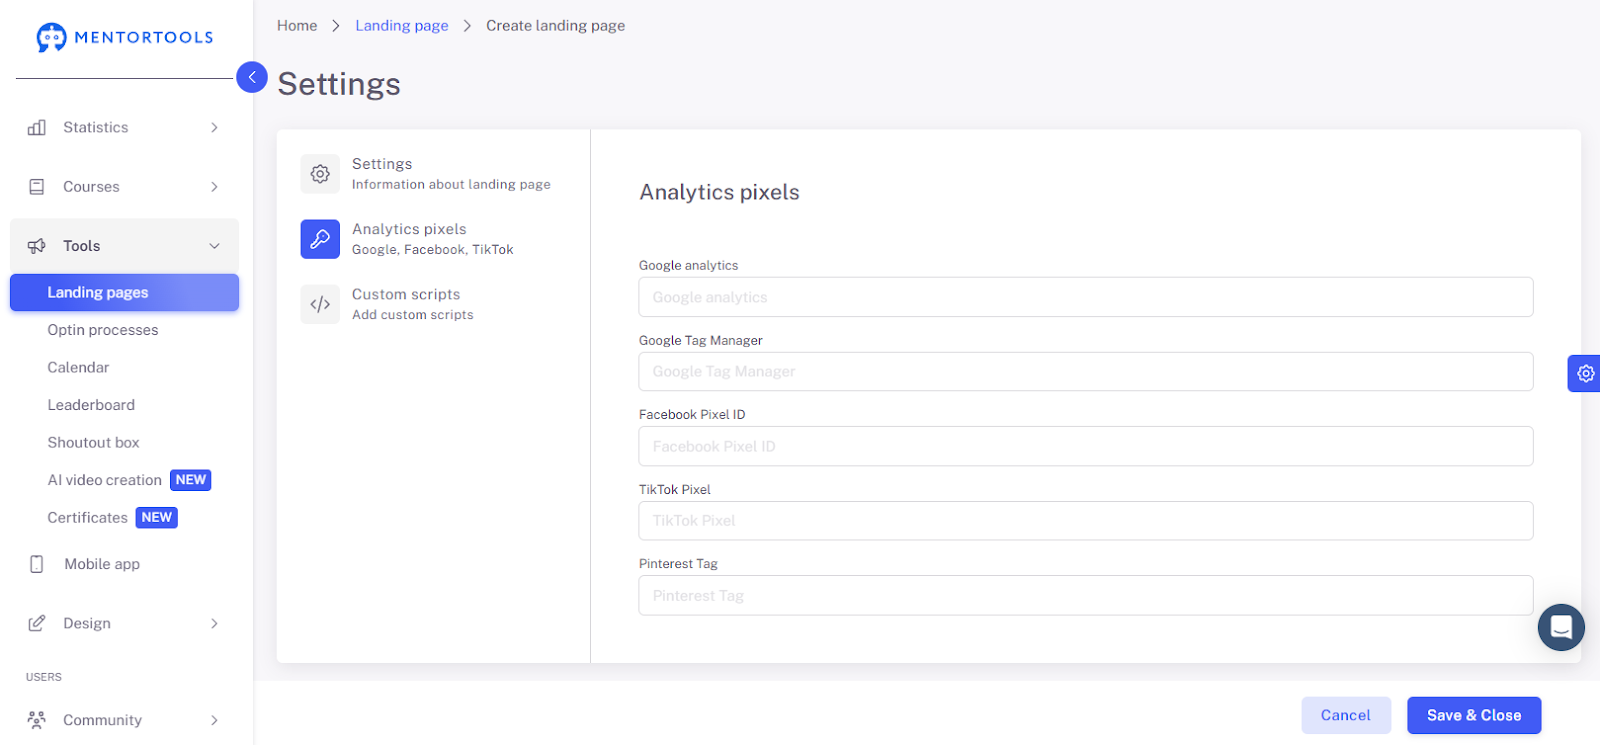
8. Analytics Pixels
"Analytics Pixels" is one of the settings for the landing page. This area is used to integrate various tracking and analysis tools into your landing page.
These fields are for "pixels" or "tags," which are small pieces of code that help you track the behavior of your website visitors.
By entering the corresponding IDs here, you tell the system to automatically insert the correct code for each service (like Google Analytics, Facebook, or TikTok).
This allows you to easily:
Monitor the behavior of your visitors.
Track conversions (e.g., sign-ups).
Target your ads more effectively.
9. Custom Scripts
The "Custom Scripts" area is a powerful feature for integrating personalized code onto a landing page.
Below is a detailed breakdown of the individual fields:
Title
Function: An internal name for the script that helps you quickly identify its purpose.
Input: Choose a clear, descriptive name like "Google Analytics Tracking" or "Google Ads Conversion Tracking."
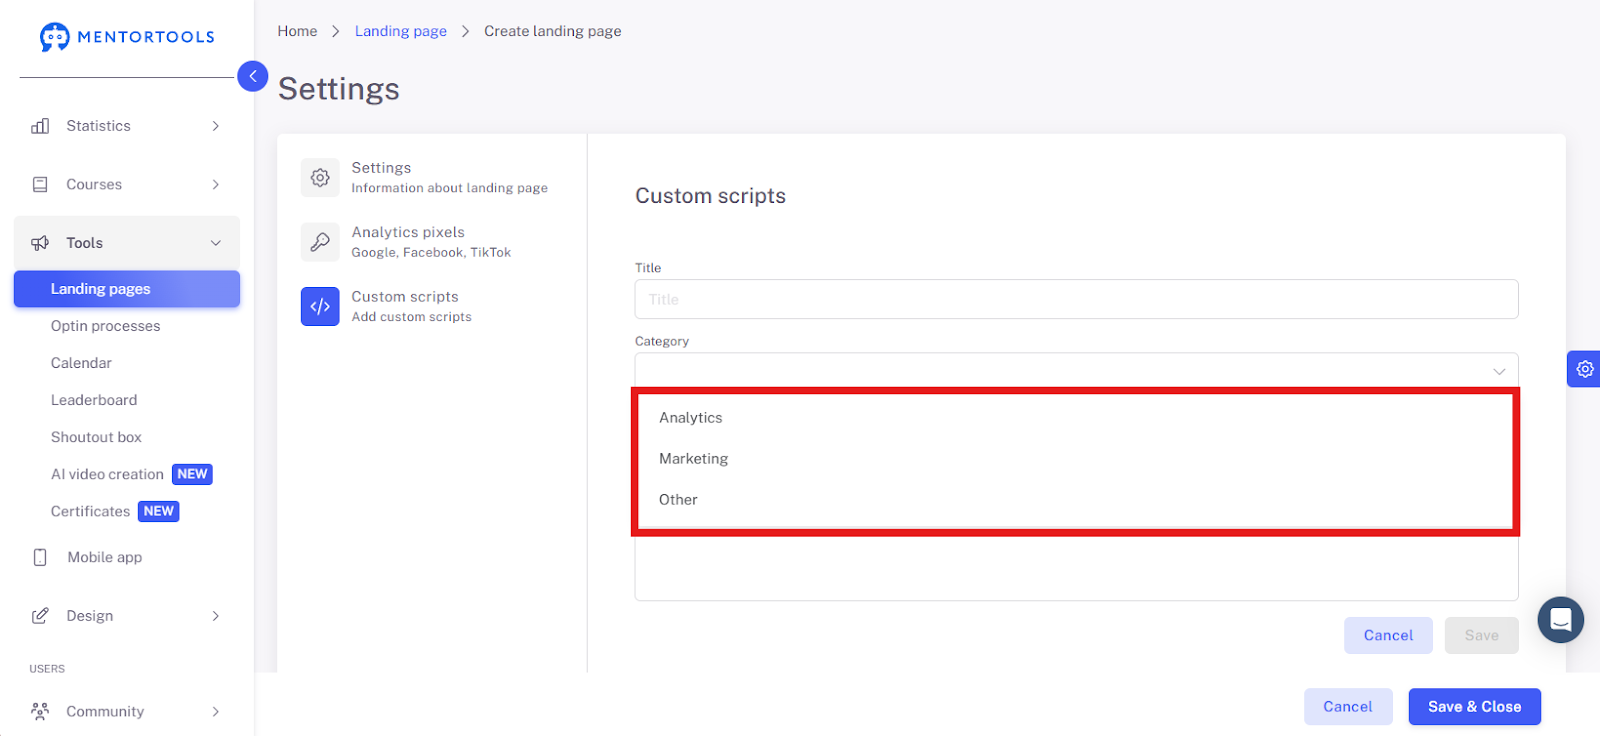
Category
Function: Allows for the thematic categorization of scripts.
Input: Select the category that best fits the script's function (e.g., "Analytics," "Marketing," or "Other").
Important Note on Script Categorization:
It is extremely important to select one of the three categories so that your script is managed correctly in the cookie banner. This assignment ensures that the script is only executed if users actively allow the corresponding category in the banner.
For example, if a user only enables "Necessary" scripts or rejects the "Marketing" category, all scripts that you have assigned to the "Marketing" category will not be loaded. Only through correct categorization is it guaranteed that your page remains GDPR-compliant and that scripts only function with the user's consent.
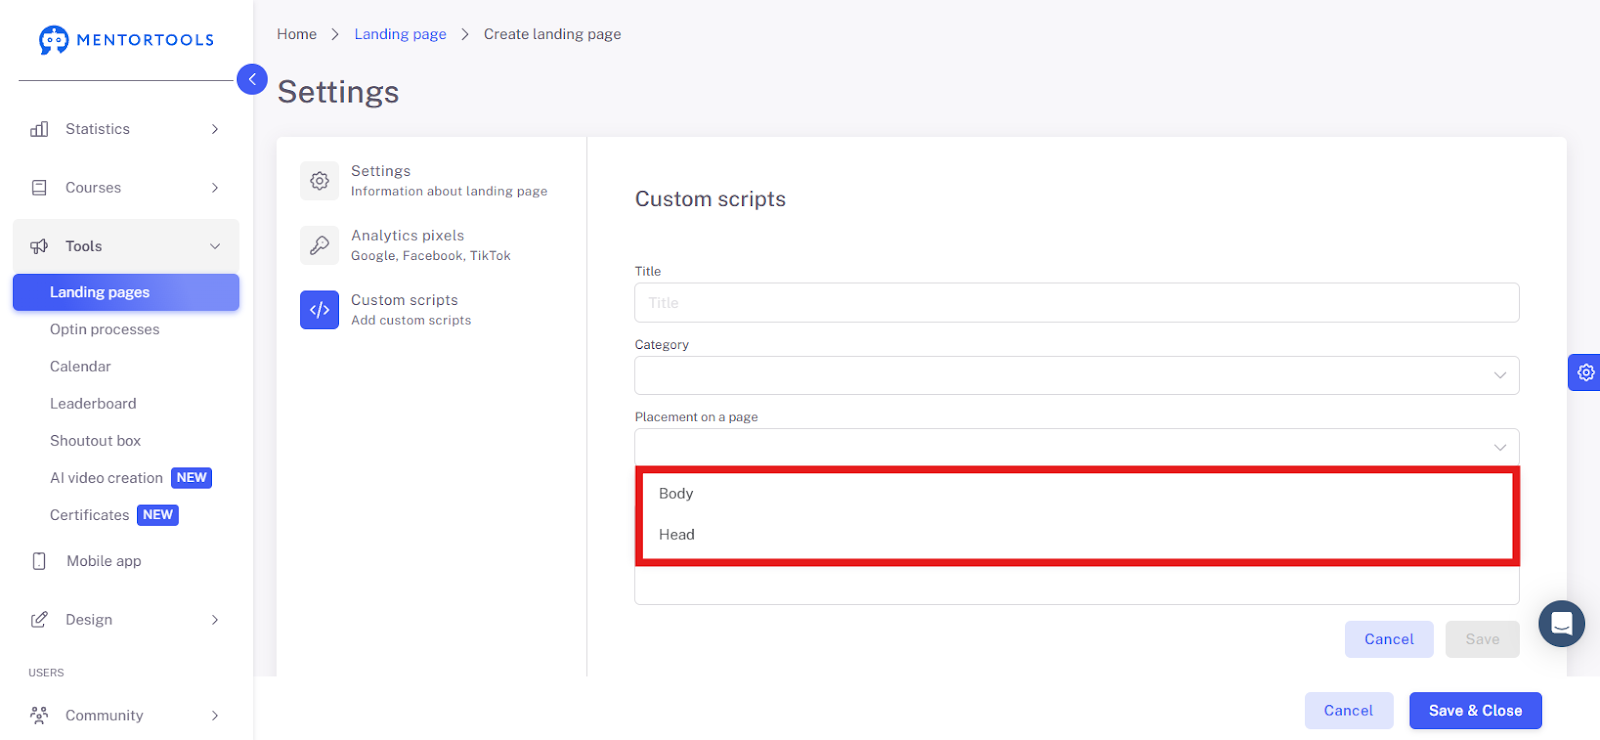
Placement
Function: Determines the script's position in the HTML code of the landing page, which affects its execution and the page's loading time.
Head: Scripts in this area are executed before the visible page content is loaded. This is ideal for analytics and tracking codes that need to be active as early as possible.
Body: Scripts at the end of the <body> section are only executed after the visible content has loaded. This is the recommended placement for most scripts, as it improves the perceived page load time.
Input: Choose the placement recommended by the script provider. For general scripts like conversion tracking, "Body" is often the safest and most performance-friendly option.
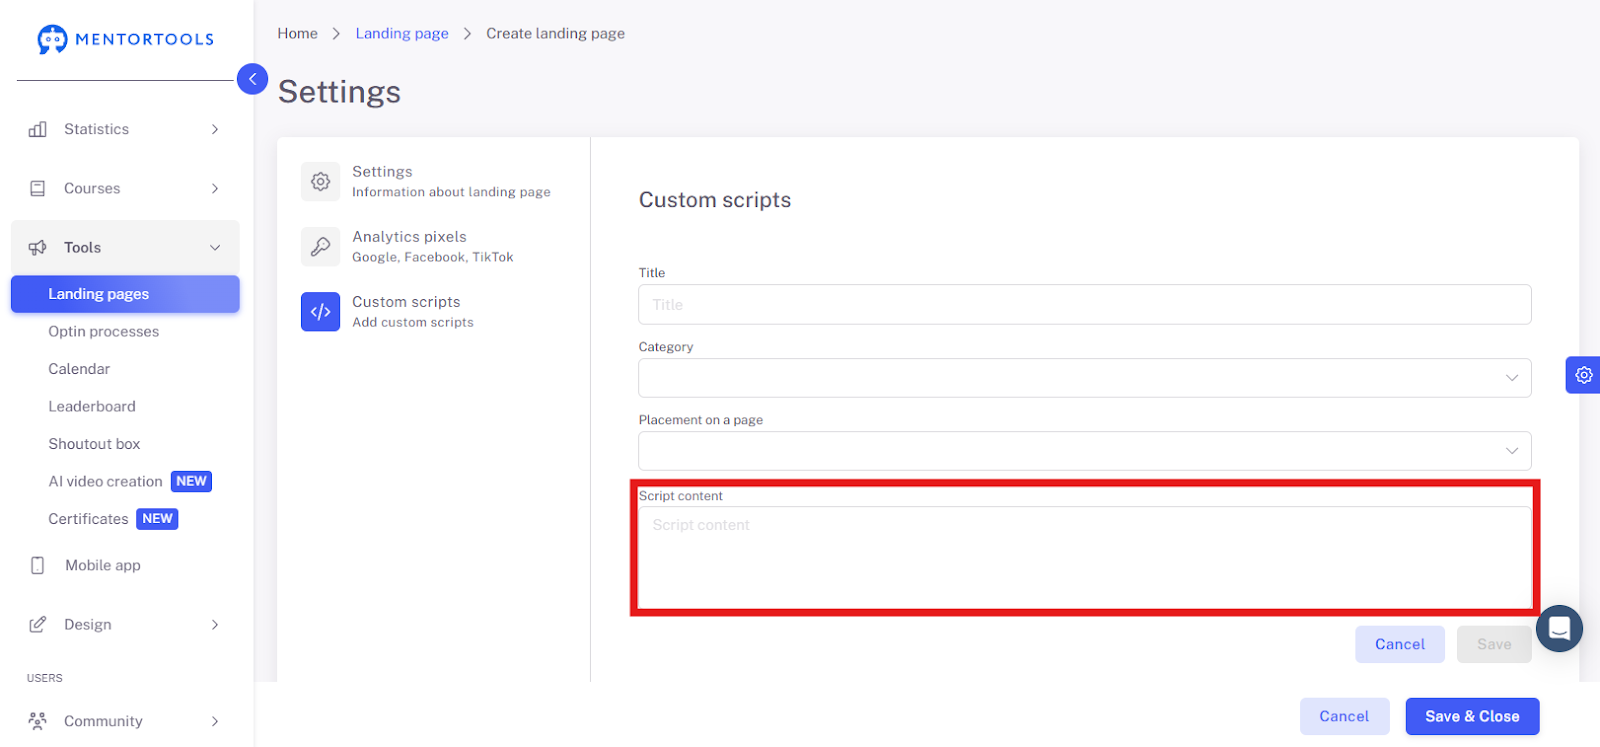
Script Content
Function: The field for inserting the actual code, which typically comes from a third-party service.
Input: Copy the complete script code (including HTML tags like <script>) from the source and paste it here.
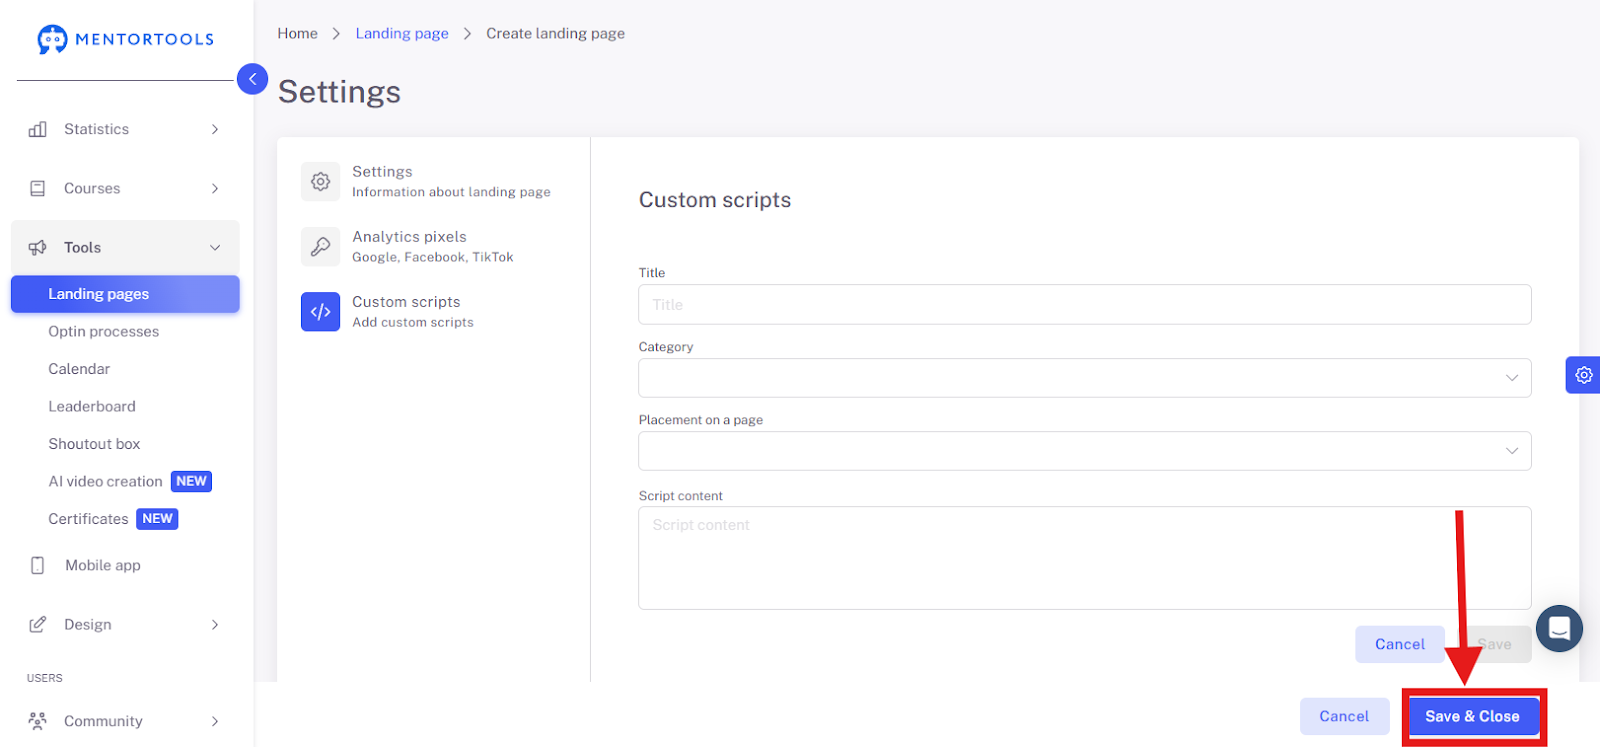
10. Save and Close
Click "Save and close" to finalize your landing page.
Summary
You have now successfully created a new landing page in Mentortools—including analytics pixels, visibility, and custom scripts. Now you can fill it with content or connect it to an opt-in process.