Lesson – Lesson Contents
In this guide, you will learn how to edit/add content to a lesson in Mentortools. You can directly insert texts, videos, PDF files, and other materials into the lesson to create a captivating and valuable learning experience for your participants.
Last updated 10 months ago
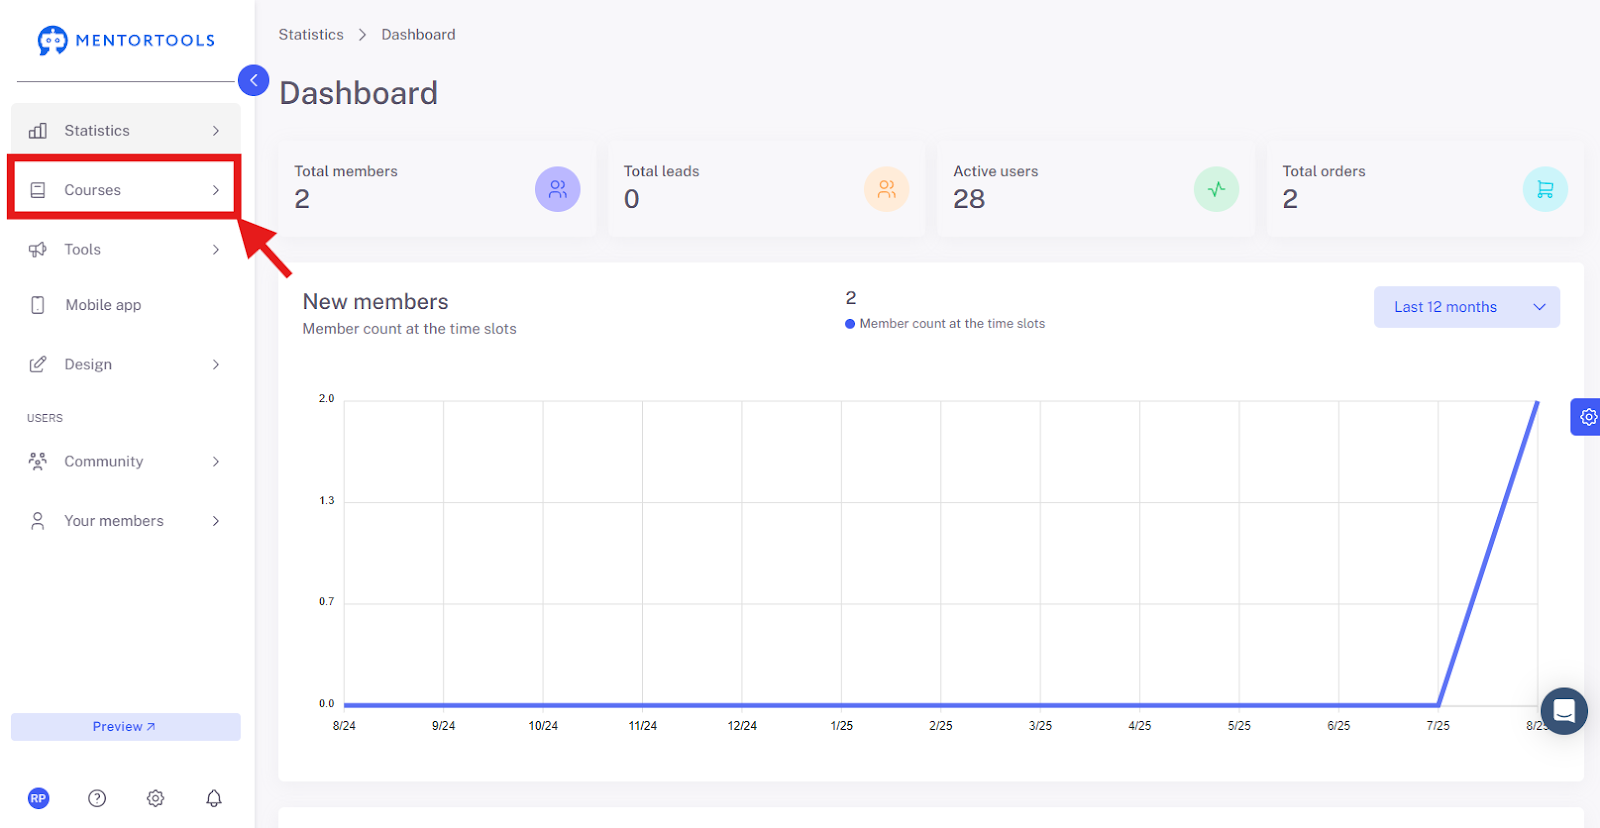
1. Go to "Courses"
In your online academy, go to "Courses" in the side menu.
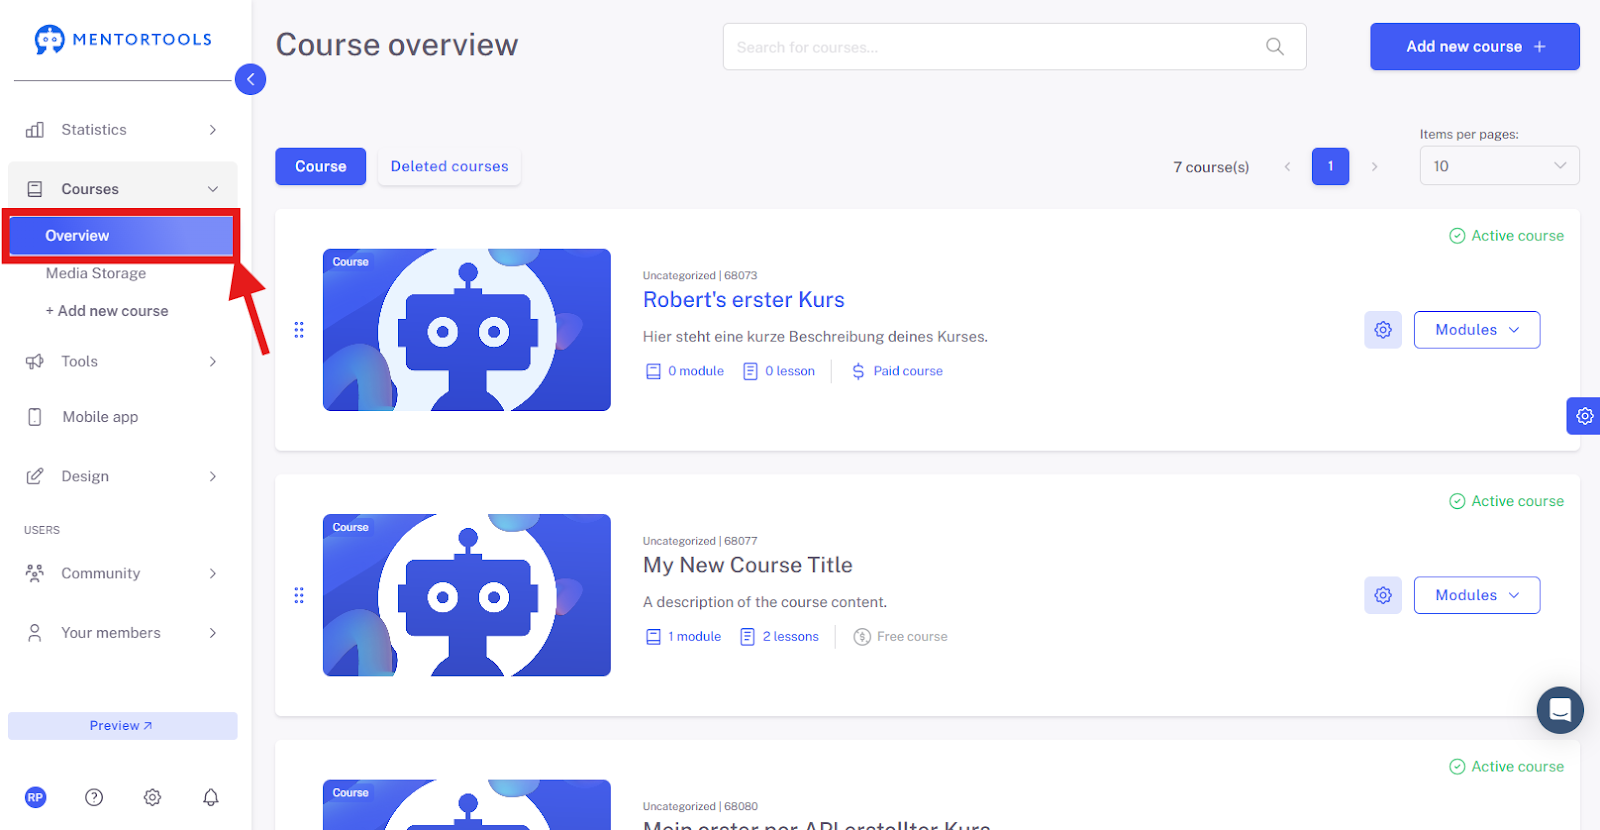
2. Go to "Overview"
To display the list of all your courses, then go to "Overview".
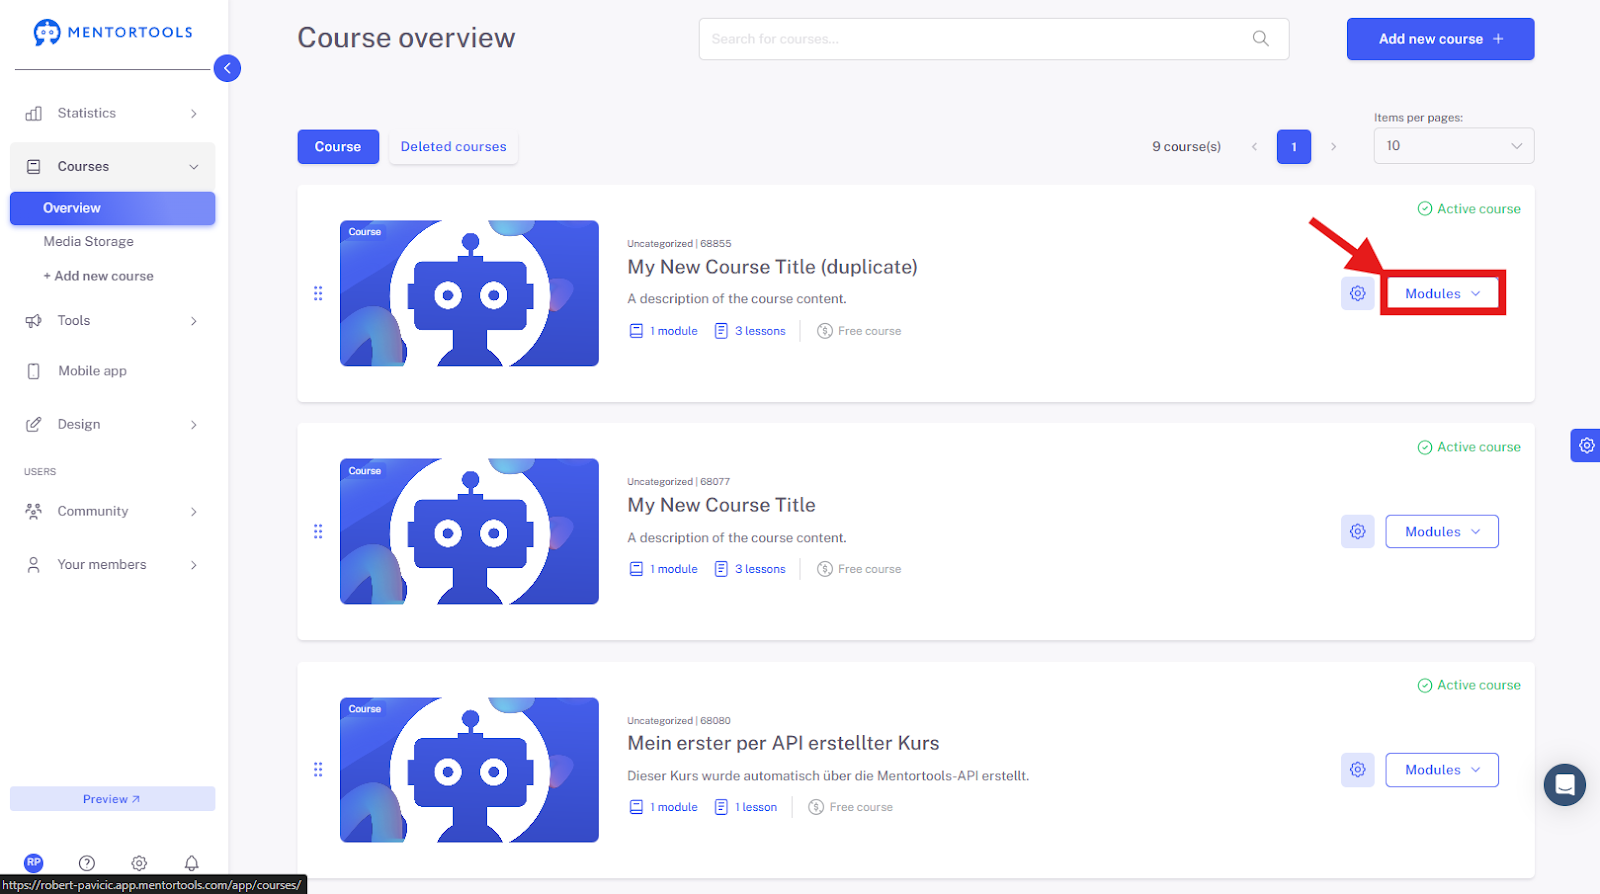
3. Select a Specific Course
Choose a specific course and module in which you want to edit the lesson. By clicking on "Modules," all existing modules in this course will be displayed.
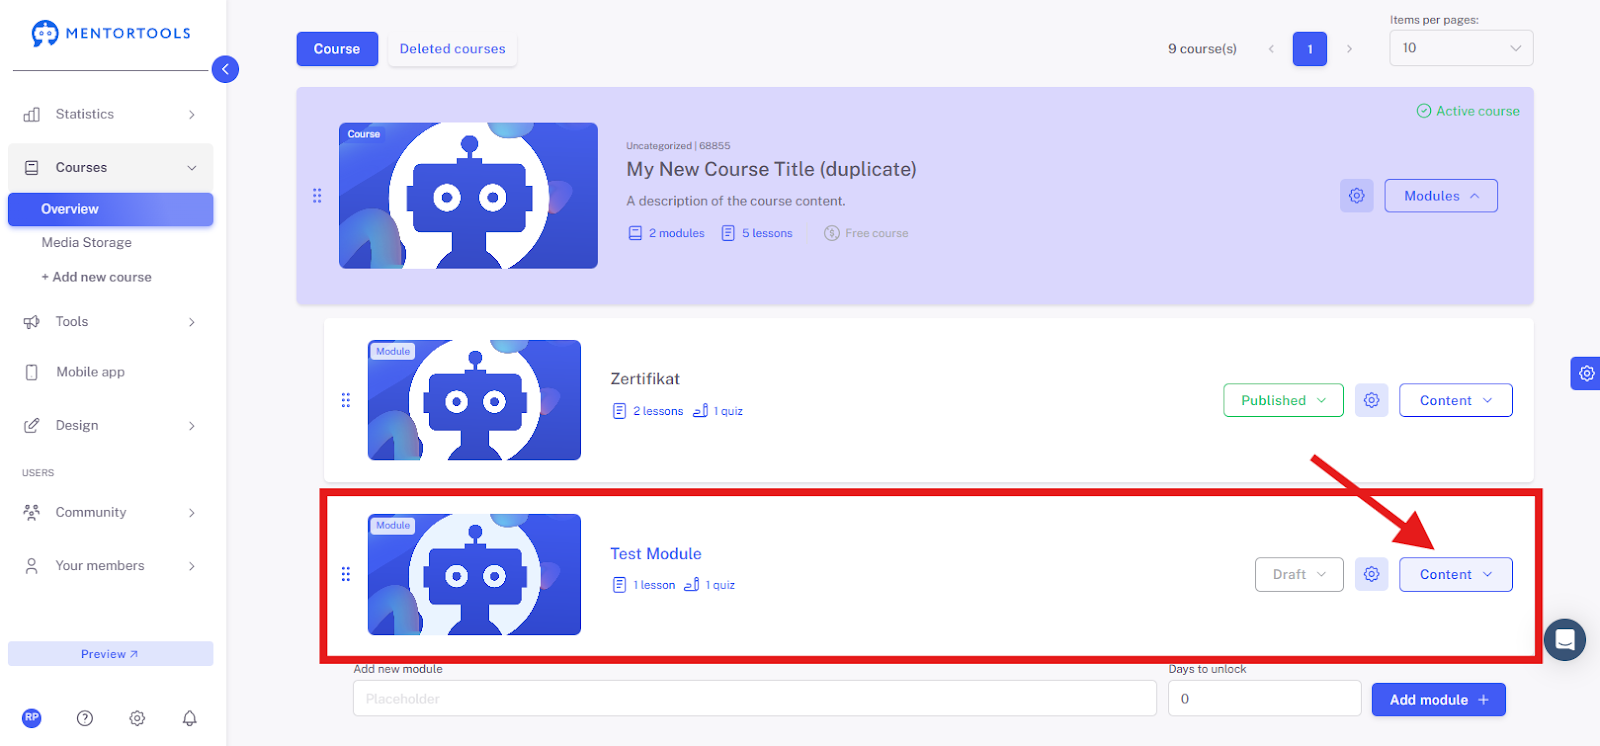
4. Display the Content of the Respective Module
By clicking on "Contents," all existing lessons in this module will be displayed.
5. Select the Lesson
To edit the lesson, click on the title of the lesson you want to edit. After clicking on the lesson's title, all the settings will be displayed.

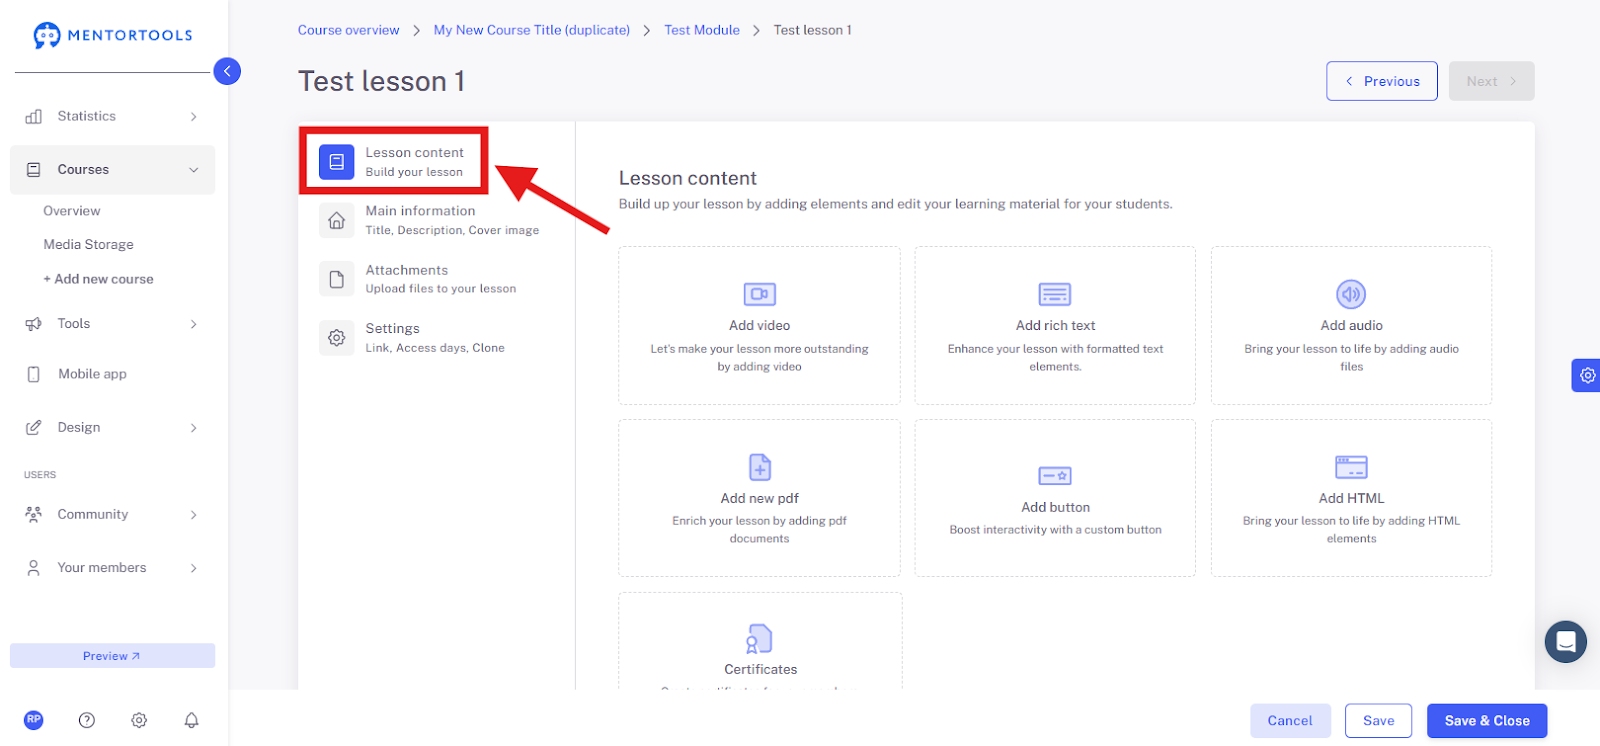
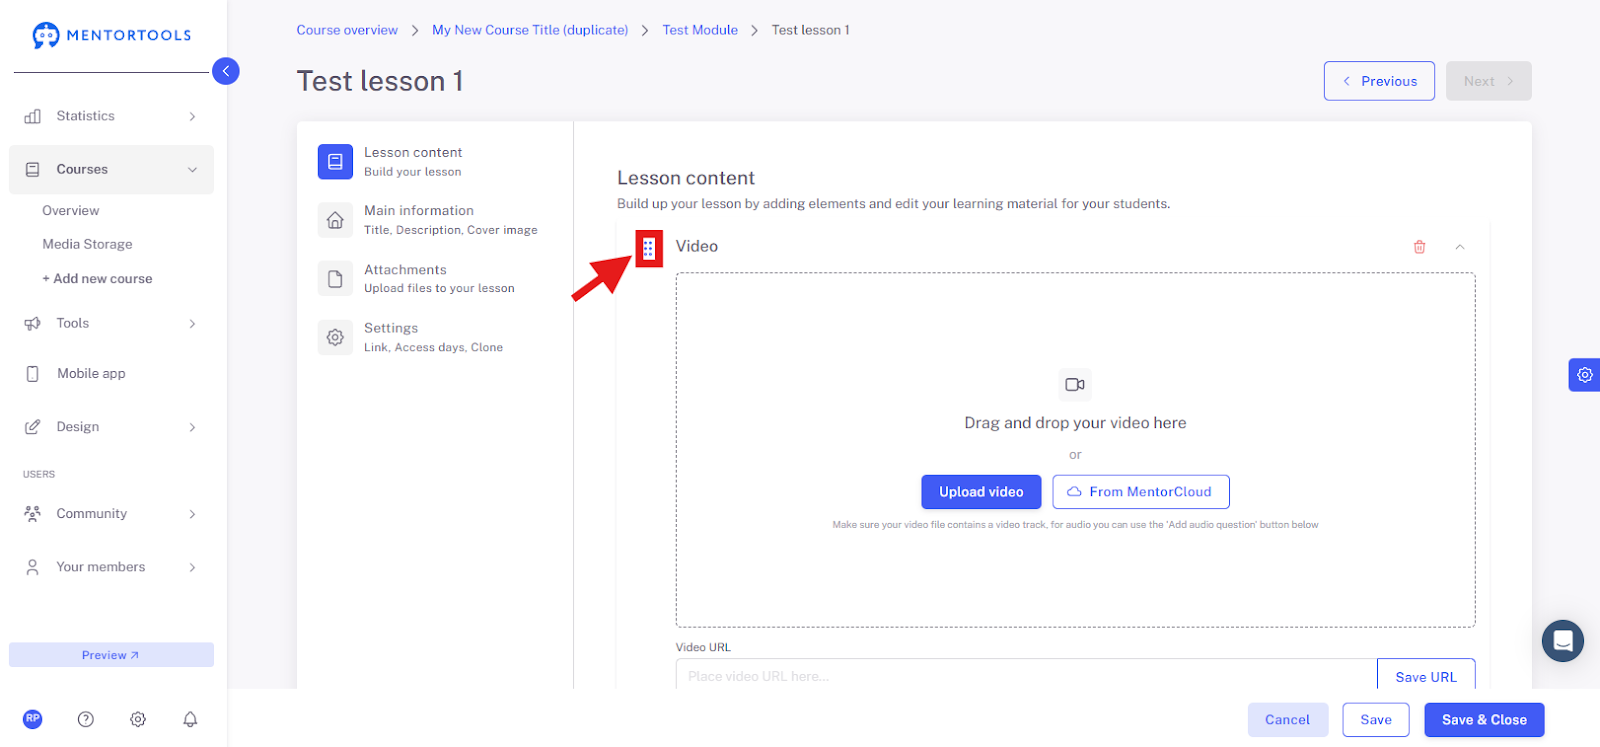
6. Editing Lesson Content
To edit the content of the lesson, go to "Lesson Contents." In the editor on the right side, you can now add individual files and materials to your lesson step-by-step.
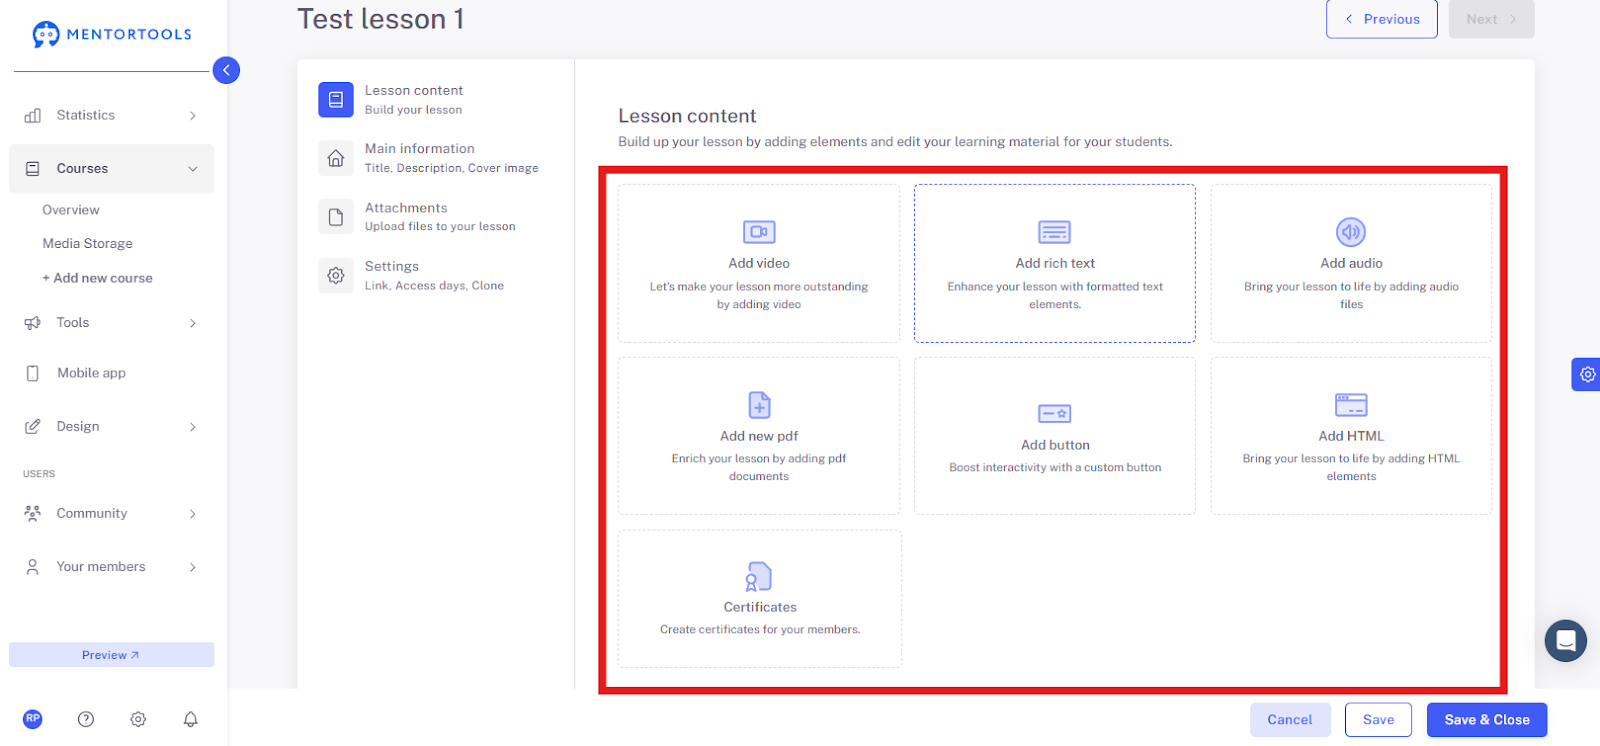
7. Adding Content
The most important area is adding content. A lesson can consist of various file types. You can add the following files to your lesson:
Videos
Text blocks, images
Audio files
PDF files
Buttons
HTML code
Certificates
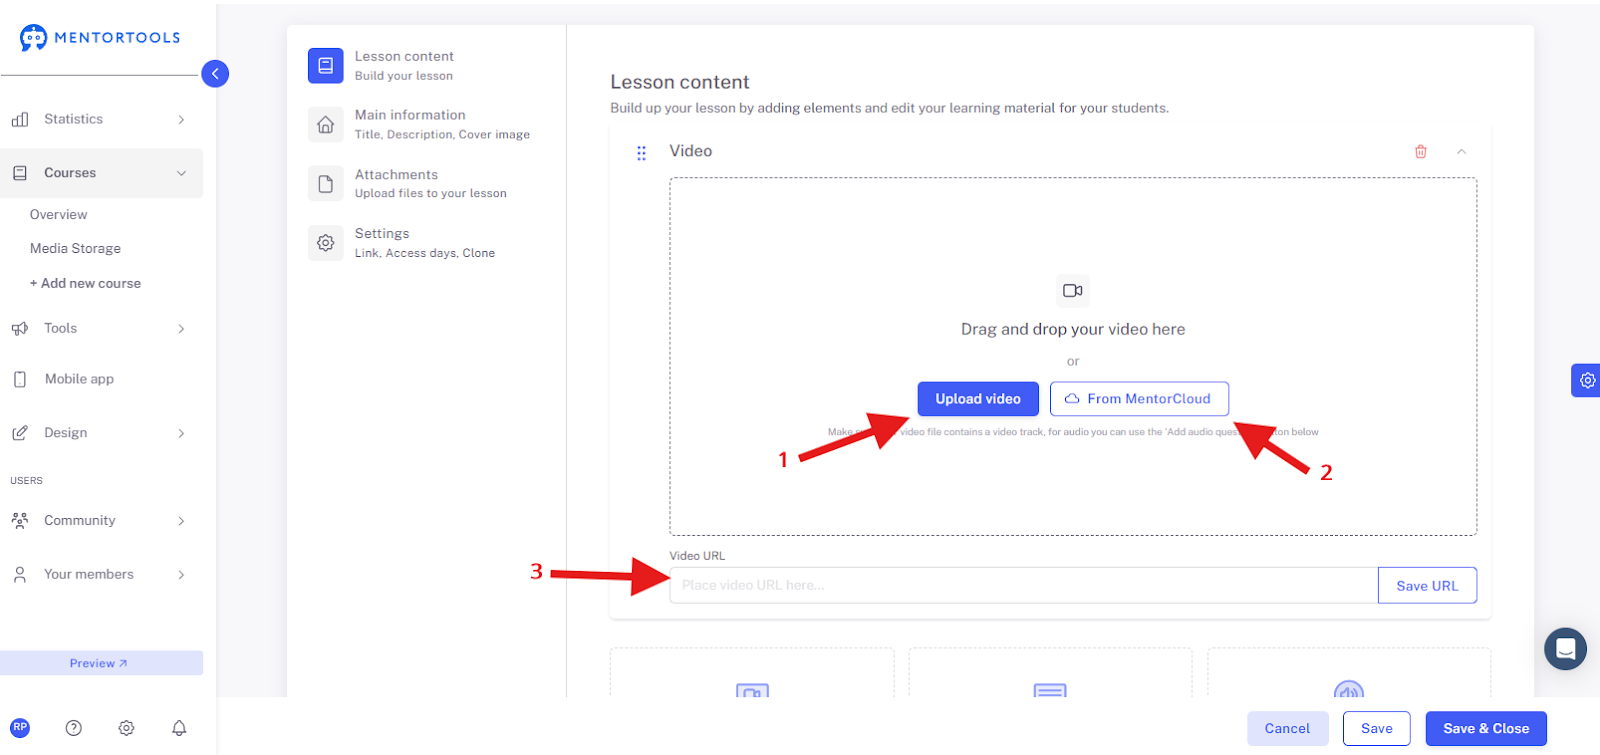
Add a video
When you click on the "Add video" option, you have three choices:
You can upload a new video from your computer (1).
You can select a video from the MentorCloud (2).
Or you can simply insert a link to your video from YouTube or Vimeo (3).
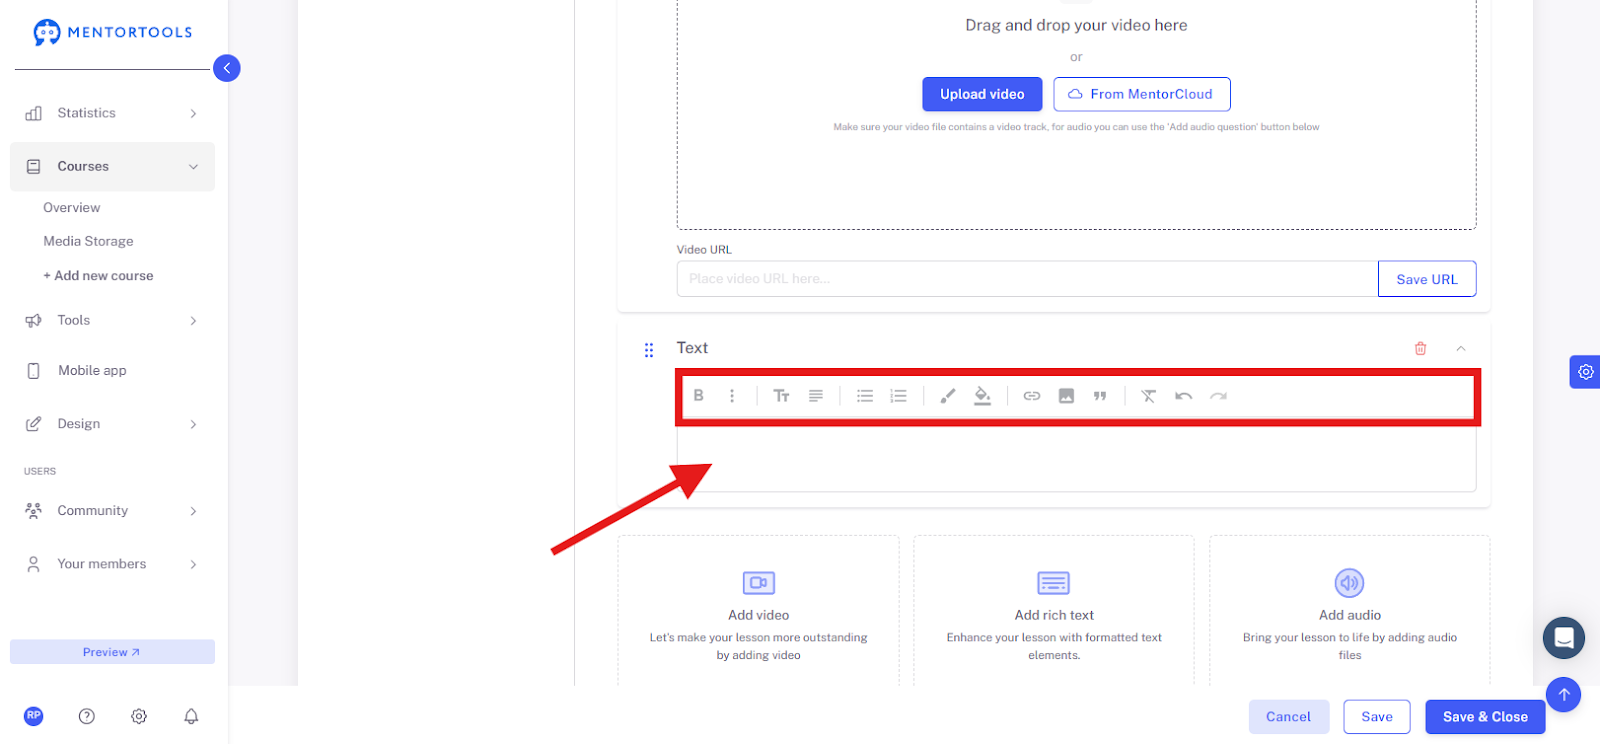
Add a rich text
When you click on the "Add rich text" option, the text editor will open, where you can insert and edit your text.
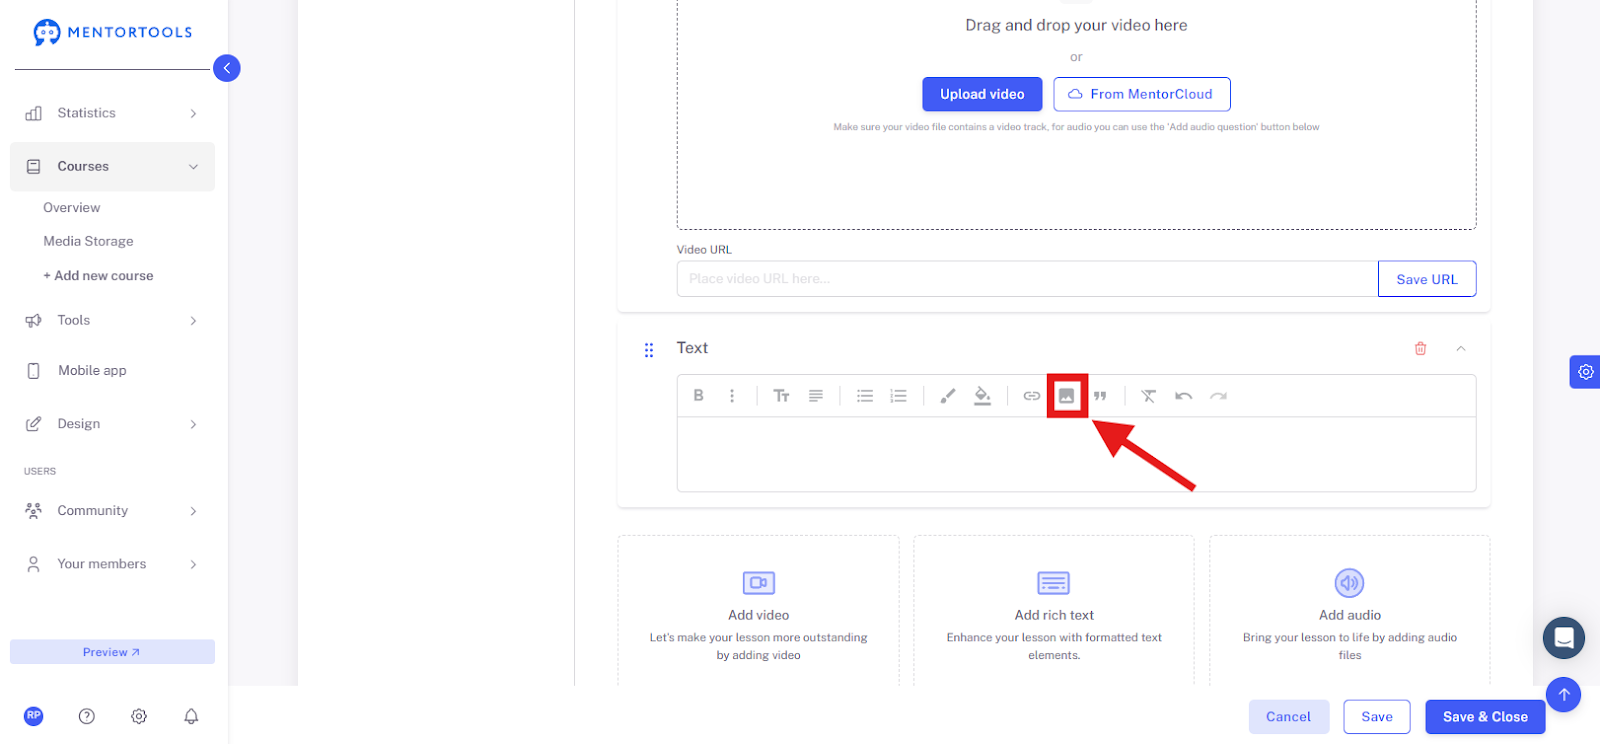
Add an image
If you want to add an image to the lesson, you must first select the "Add rich text" option. Once the text editor is open, click on the image icon. You'll then have several options for how to insert the image into the lesson:
You can upload a new image from your computer.
You can use templates for images.
Or you can select an image from the MentorCloud.
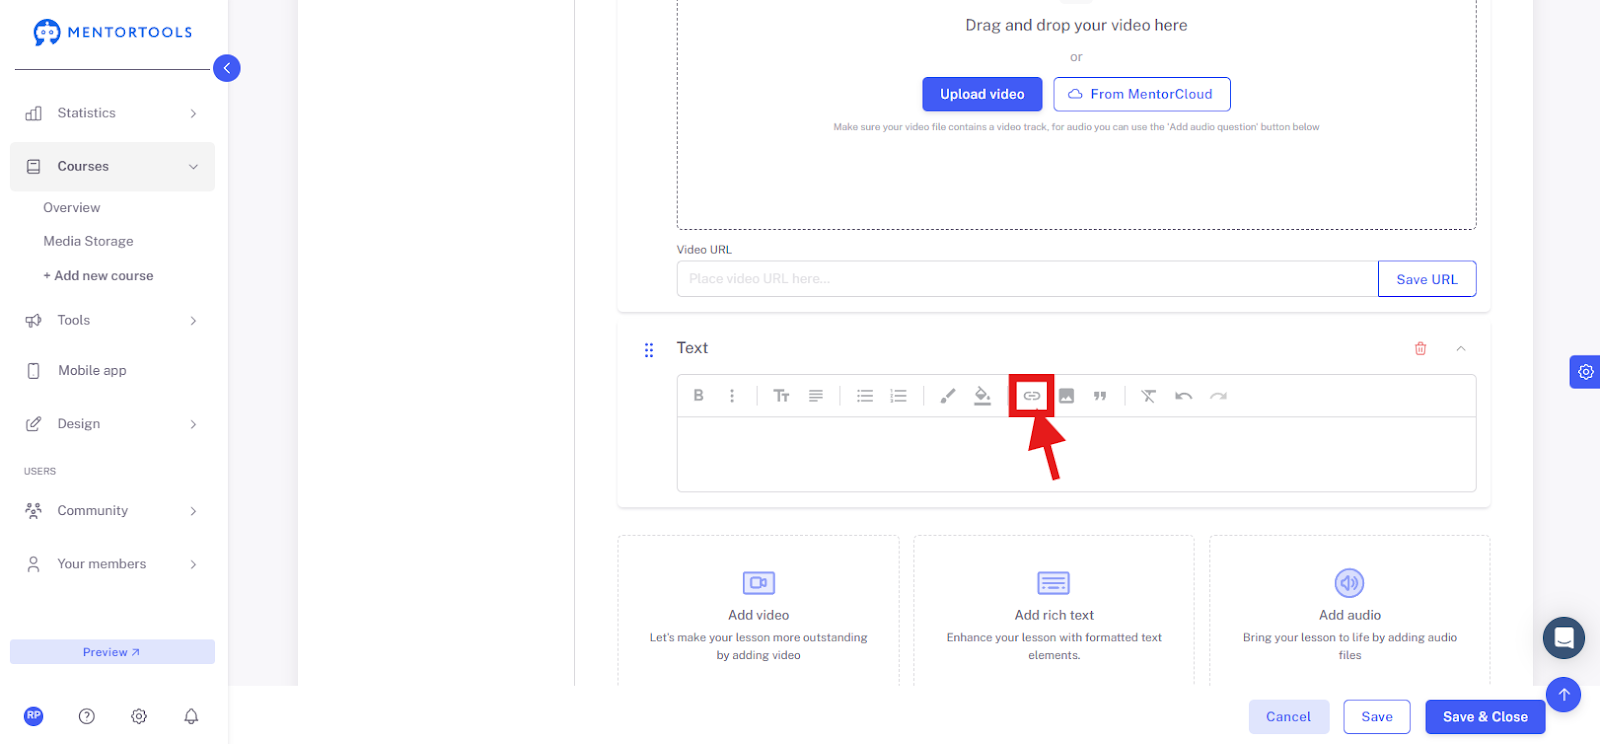
Create a link
When you create a text, you can turn it into a link by clicking on the link icon in the text editor and entering the web address.
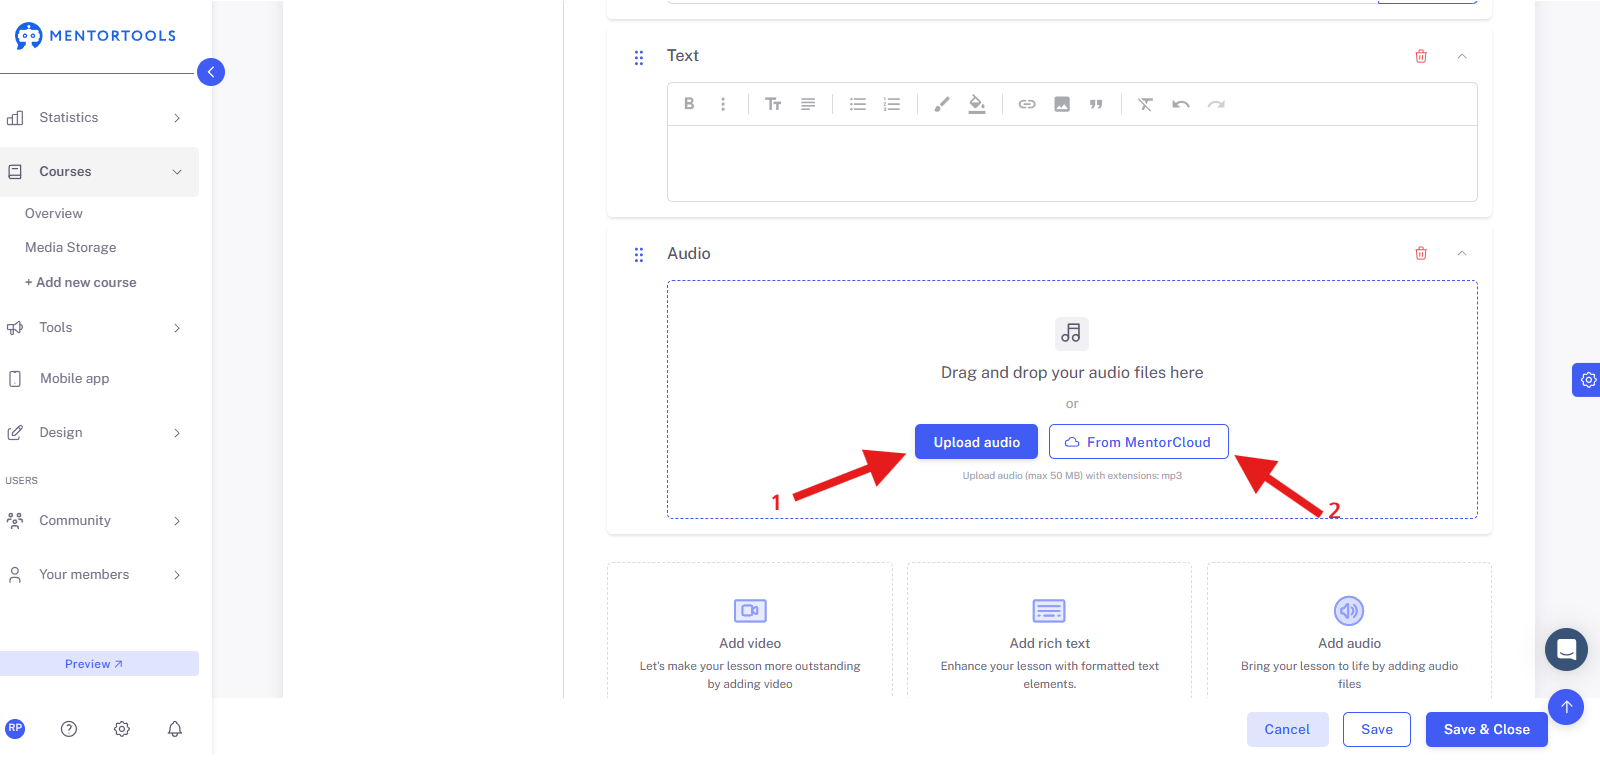
Add an audio file
When you click on the "Add audio" option, you have two choices:
You can upload a new audio file from your computer (1).
Or you can select an audio file from the MentorCloud (2).
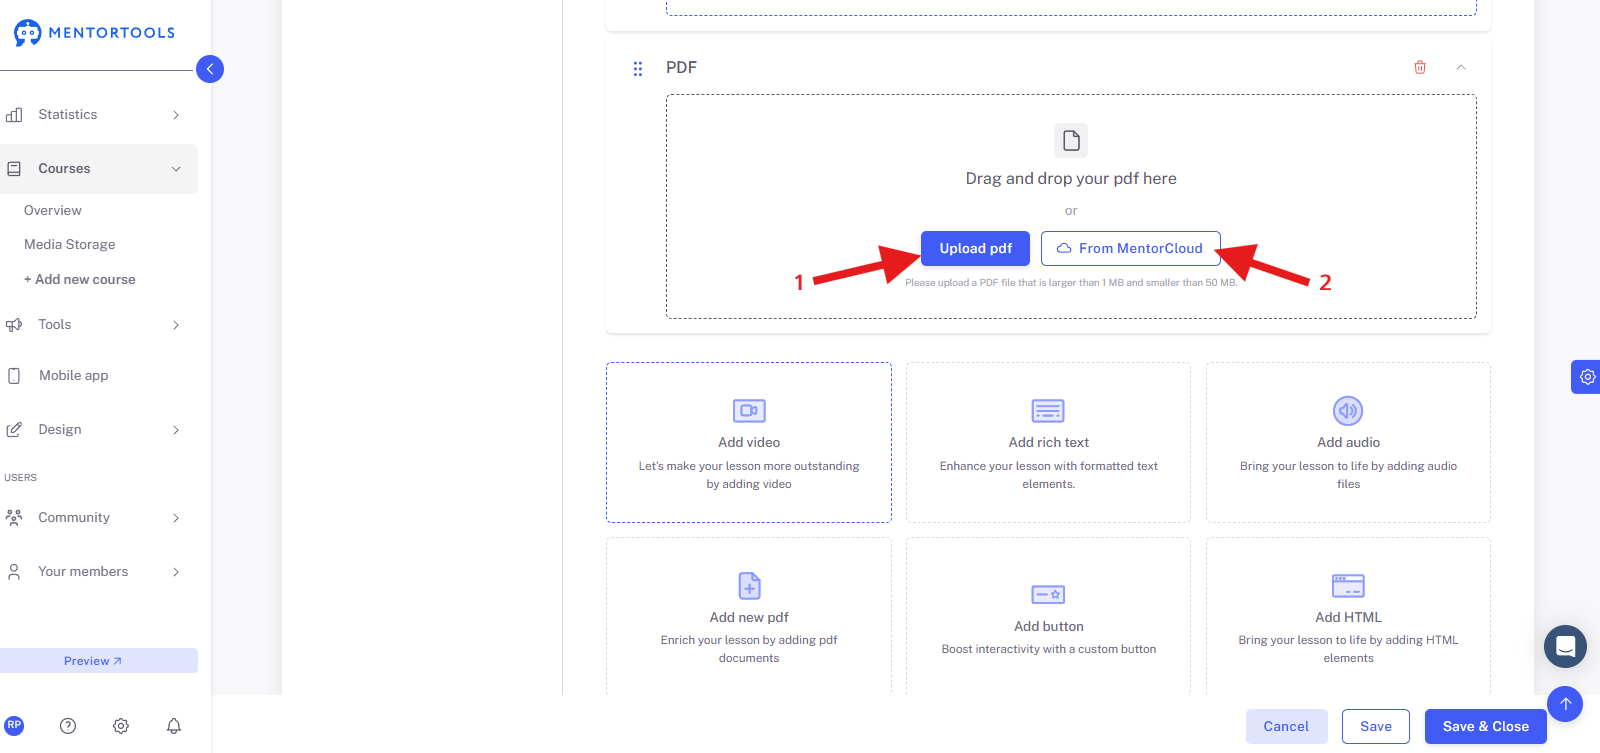
Add a PDF file
If you want to insert a PDF file into the lesson, click on the "Add new PDF" option. In this case, you can also choose whether to upload a new file (1) or select it from the MentorCloud (2). This way, you load the PDF file into the reader so it cannot be downloaded or copied by the participant.
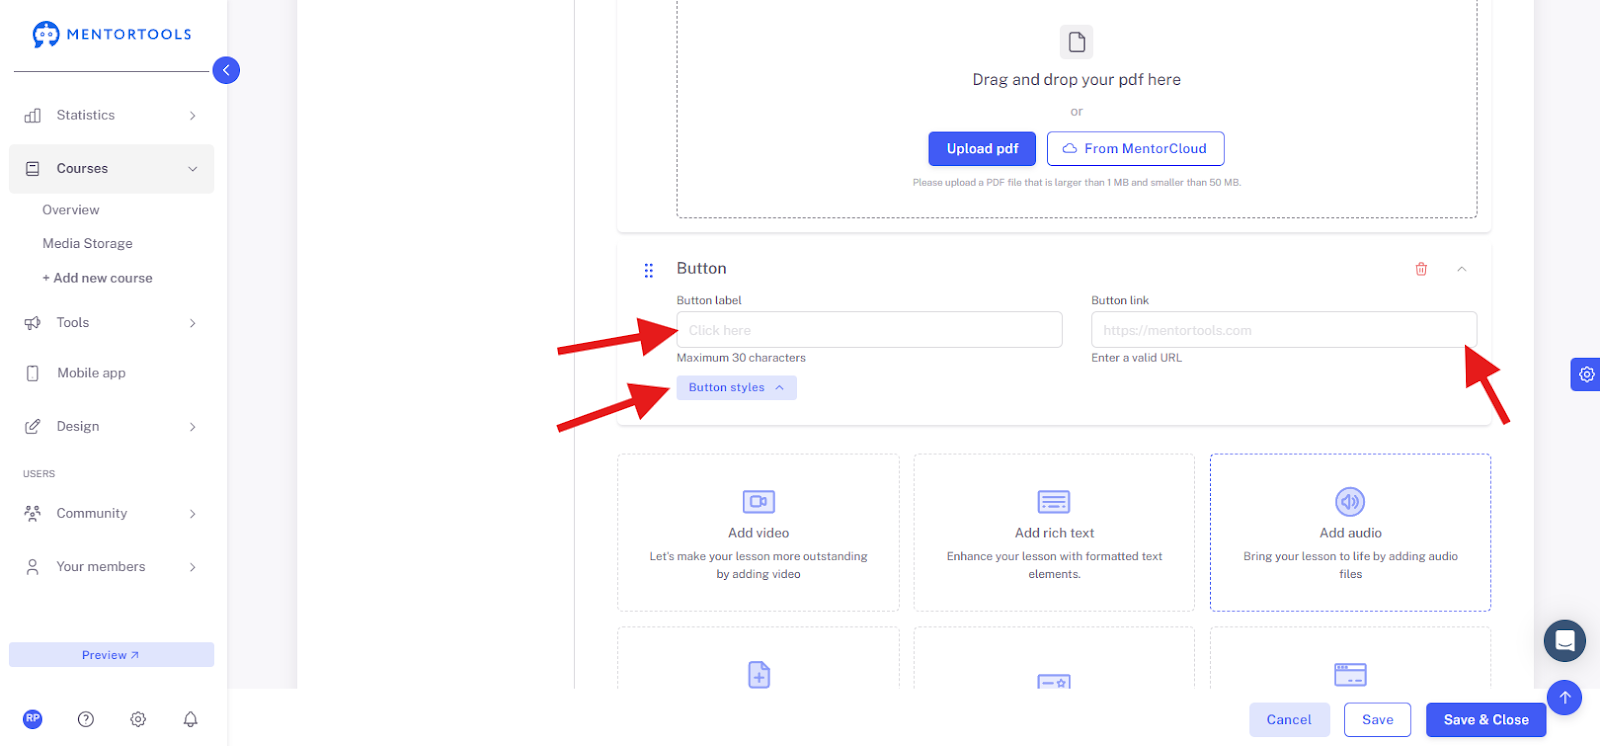
Add a button
You can easily insert a button into the lesson. Click on the "Add new button" option, add the text and link of the button, and adjust the size and color of the button (by clicking on "Button style").
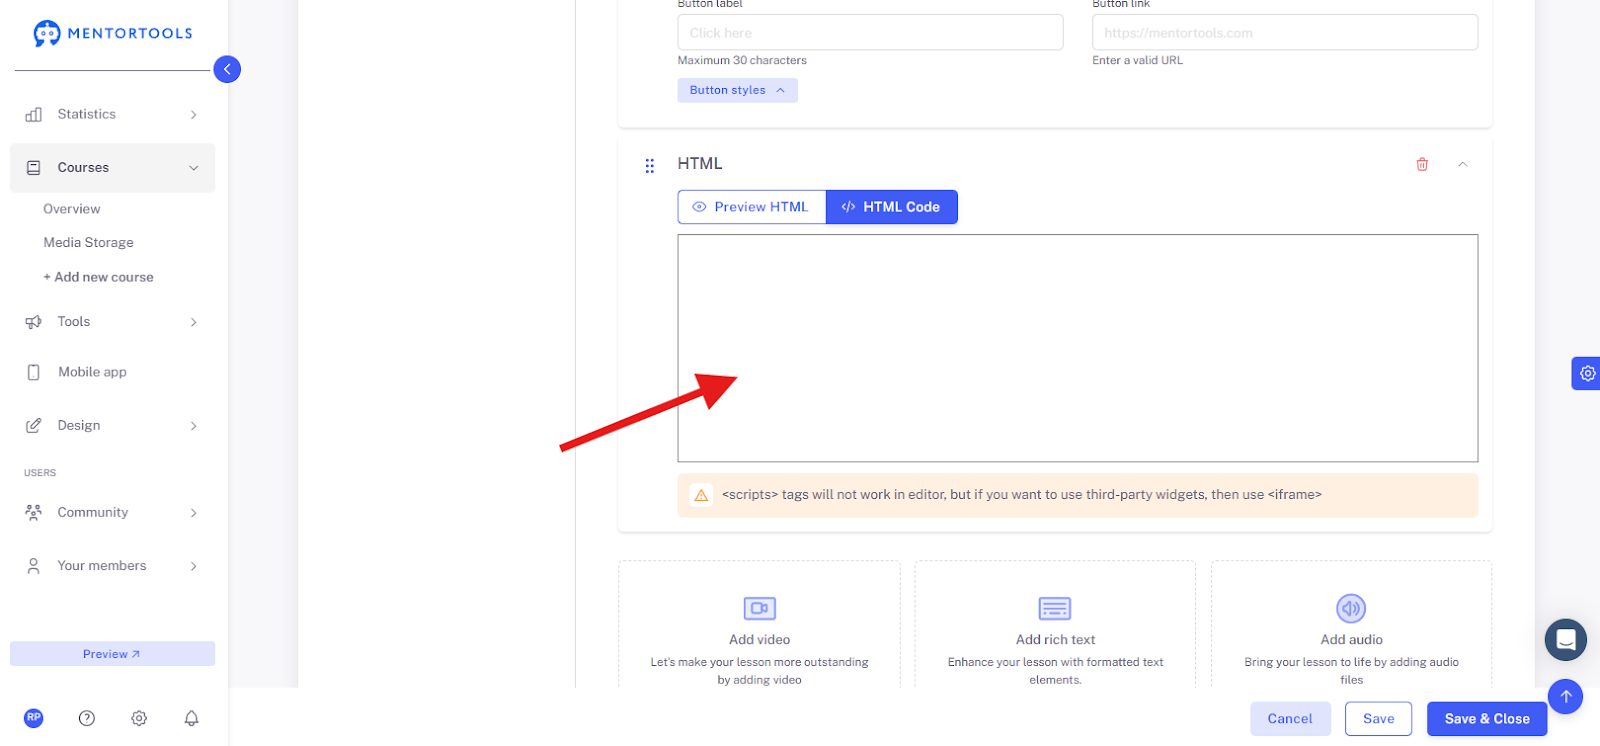
Add HTML code
After you click on the "Add HTML" option, insert the external code into the specified field. For example, you can insert a scheduler, a Google form, or other interactive elements into your lesson.
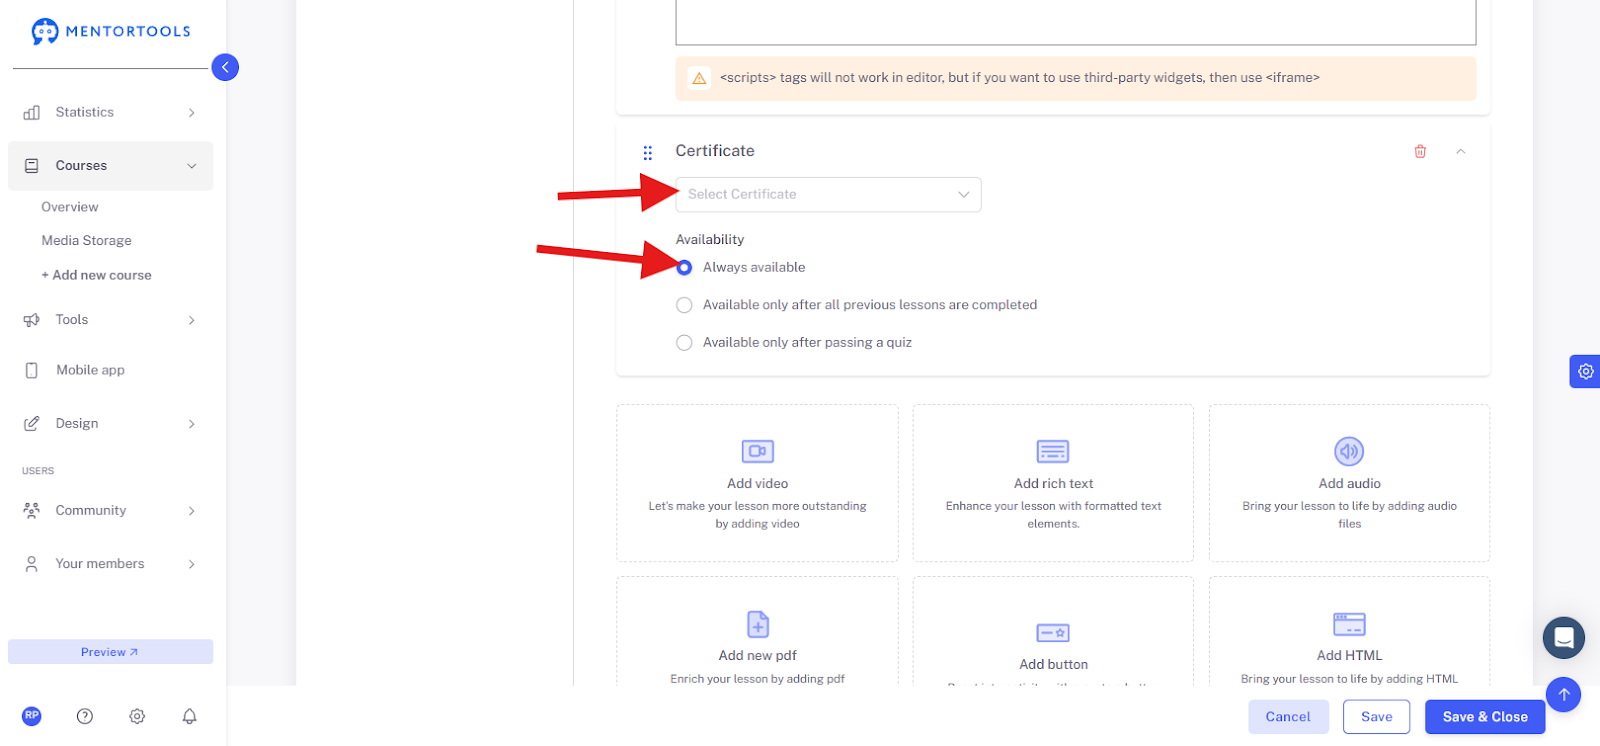
Add a certificate
After you click on the "Certificates" option, you can insert certificates into the lesson for your members. Once you select this option, the certificate settings will be displayed. First, choose which certificate you want to insert into the lesson. Click on "Select certificate" and choose the specific certificate you previously created. A guide on how to create a certificate in your online academy can be found here. Then, set the "Availability" of the certificate—when it will be accessible to your members. You can choose from the following options:
Always available – The certificate is always available to members in this lesson.
Only available when all previous lessons are completed – The certificate is only available to members if they have completed all the lessons in the course that come before this lesson with the certificate.
Only available when a quiz has been completed – The certificate is only available to members if they successfully pass the selected quiz (here you must select which quiz the members must successfully complete). After you have saved the lesson with the certificate, your members will receive the certificate in this specific lesson according to your settings.
8. Change the order of the contents
With the "drag & drop" function, you can change the order of the individual contents (files) within the lesson at any time. If you want to change the order of the contents (files), simply click on the symbol on the far left (three dots) of the respective content, drag it, and release it in the desired place. This way, you can adjust the order of the contents (files) in the lesson.
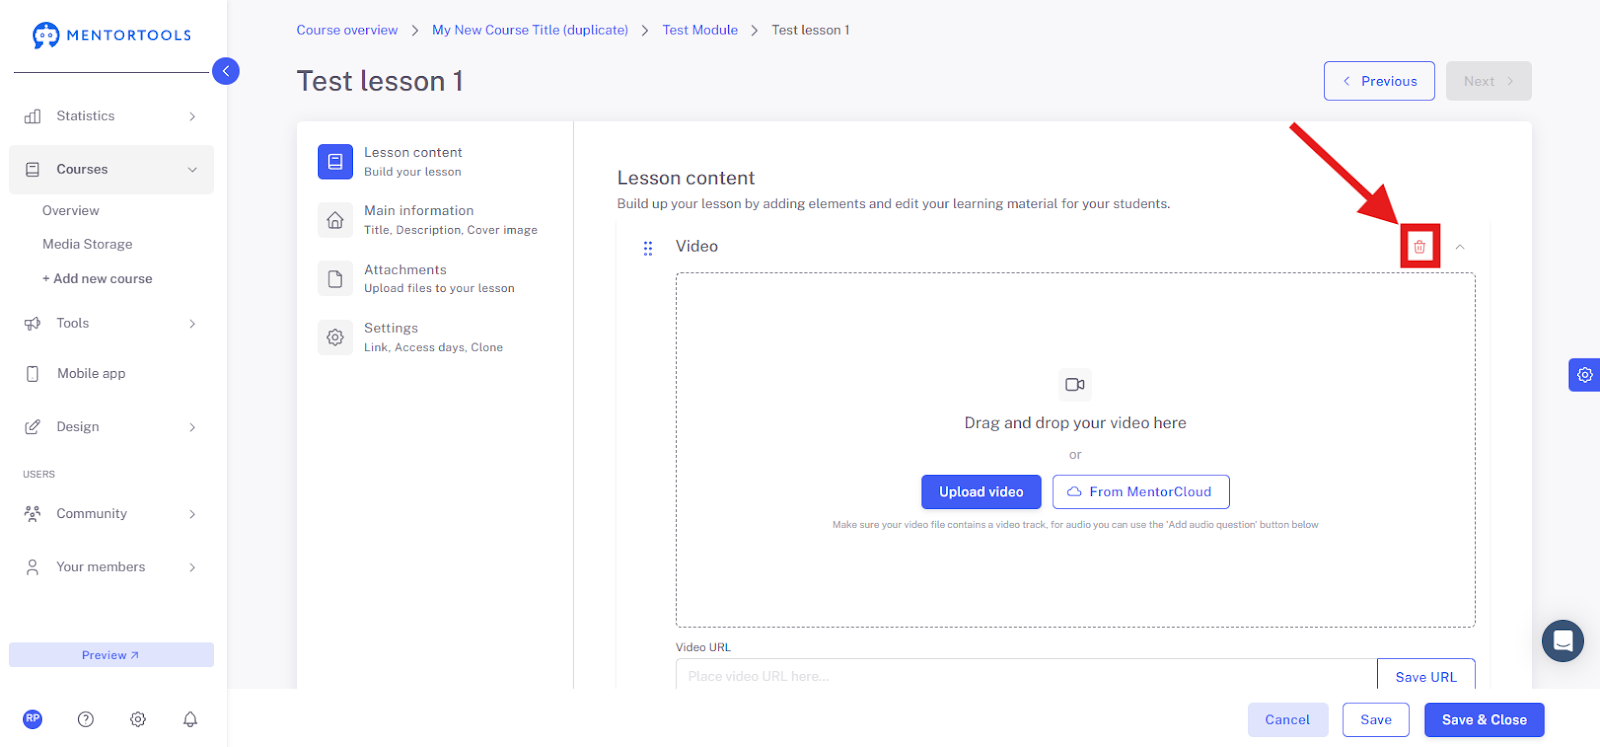
9. Remove content
If you want to remove a piece of content (a file), simply click on the red trash can icon, and the file will be removed from the lesson.
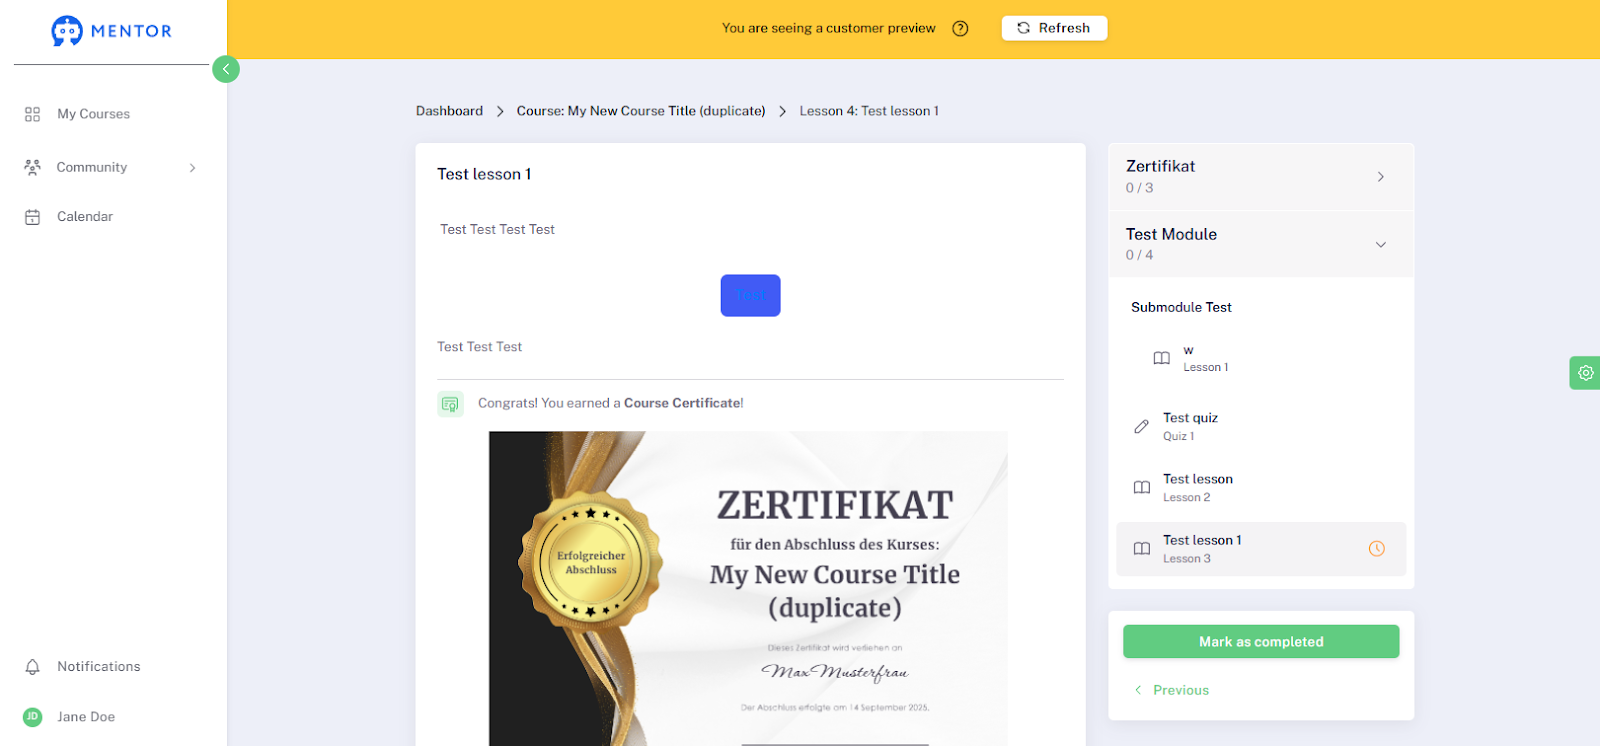
10. Preview the lesson
In the preview, you can see how the lesson will be displayed to your participants.
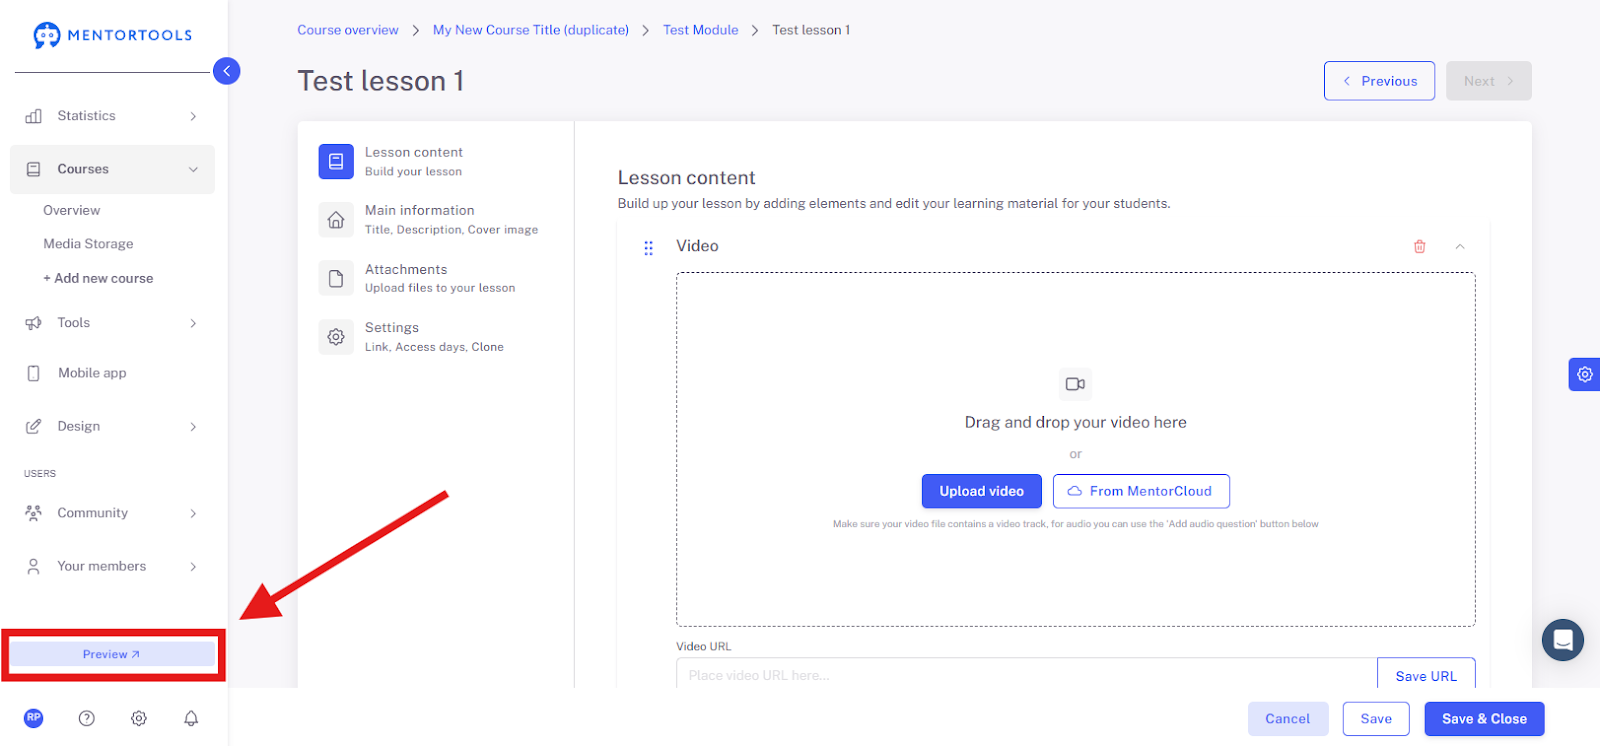
After you click on "Preview," the customer view will open in a new browser window. This way, while editing the lesson, you can always check how the lesson will be displayed to your participants. If you make new changes, click on "Update" so that the preview is updated with the latest changes.
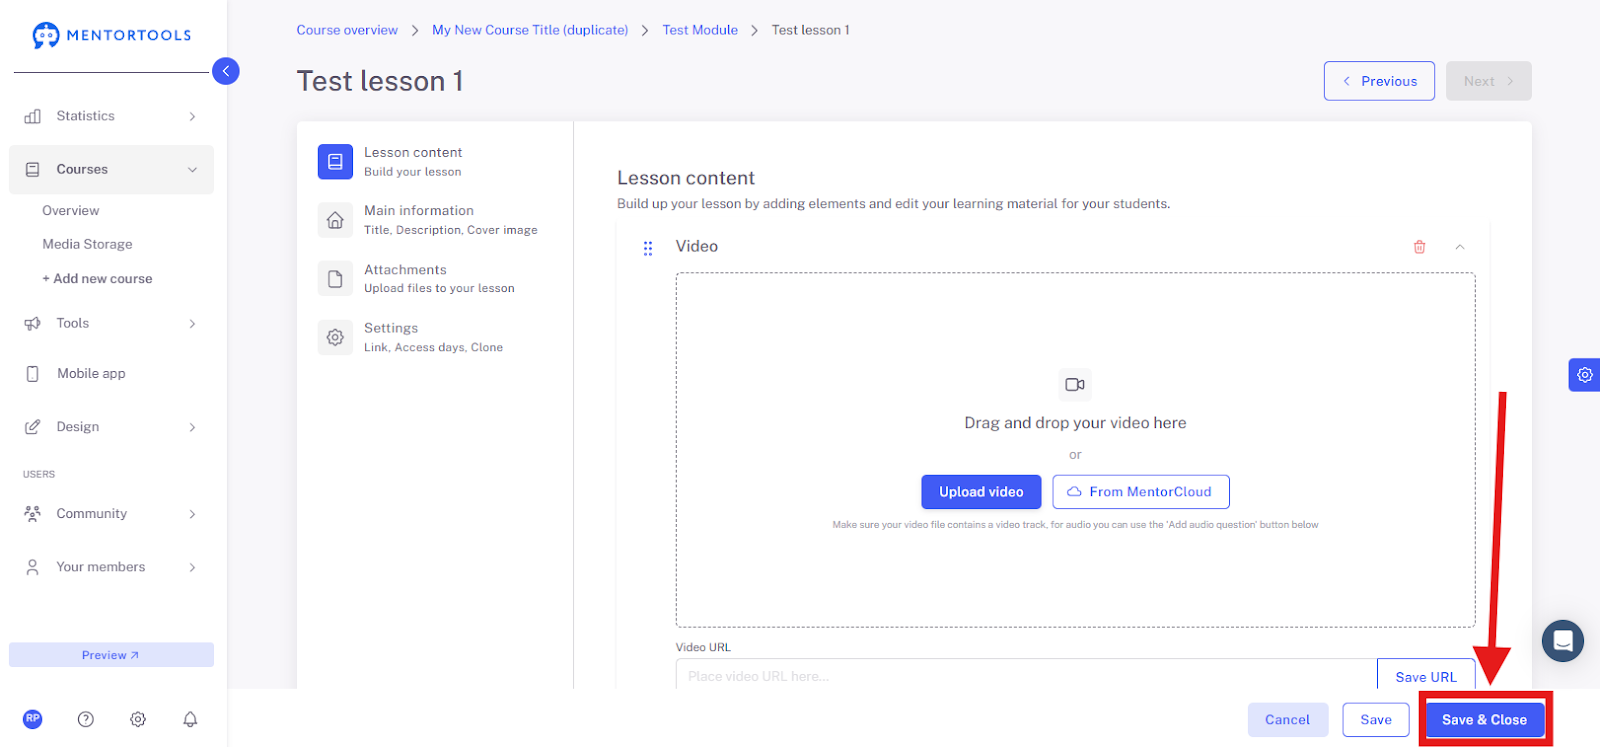
11. Save changes
After you have inserted content into your lesson, don't forget to save the changes you have made by clicking on the "Save" or "Save and close" button.
With these steps, you can create and edit your lesson according to your ideas. Make sure that the content is arranged logically and understandably.