Course – Settings
With the course settings in Mentortools, you can individually adapt your courses to your needs. Here, you'll learn about the important settings you can make to optimally control and manage your courses.
Last updated 10 months ago
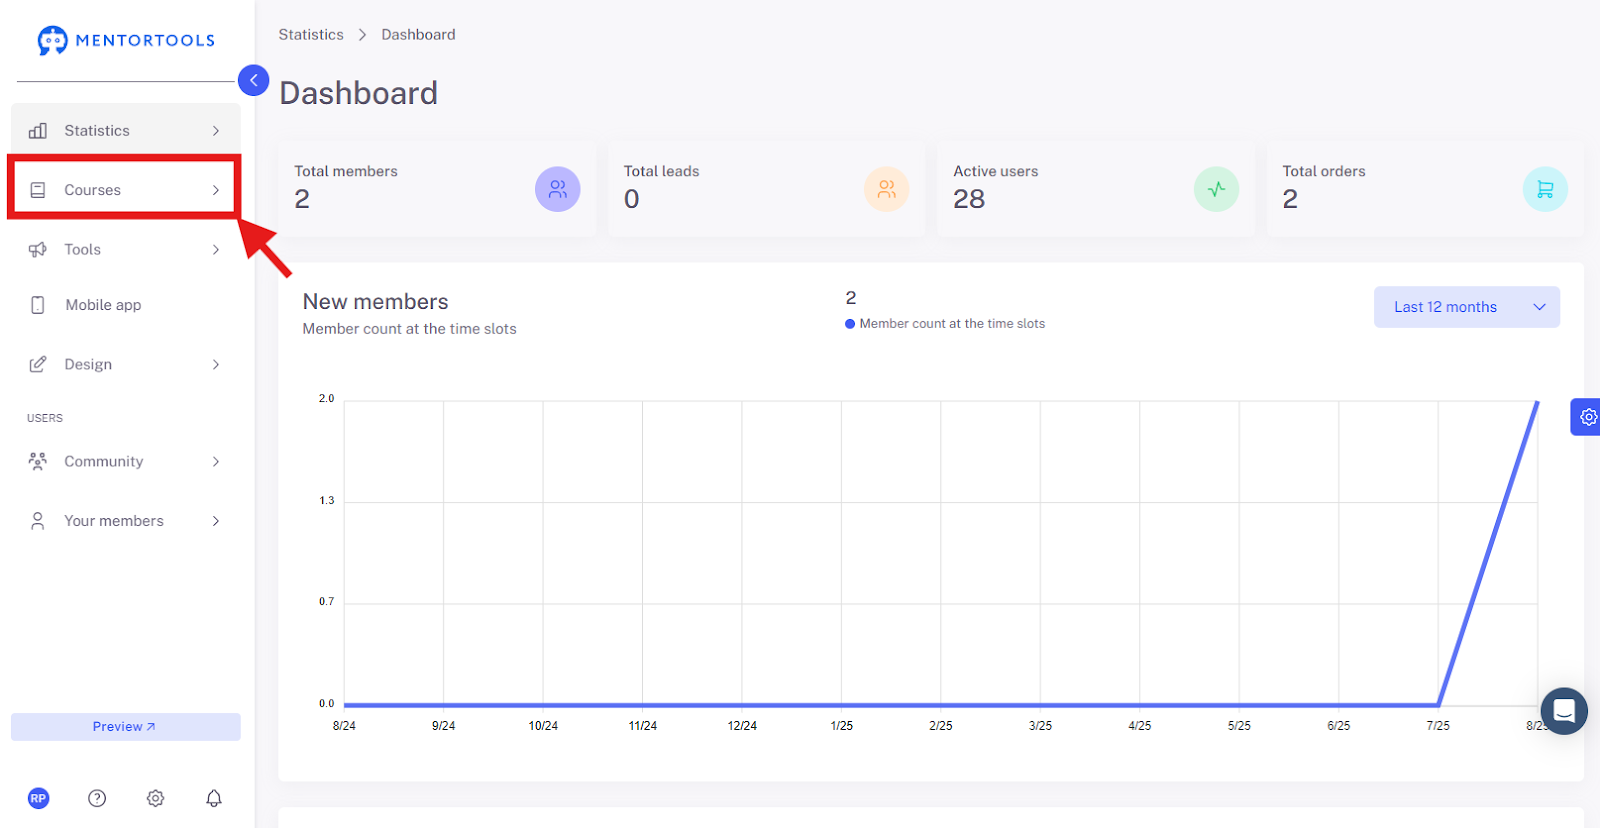
1. Click on "Courses"
In your online academy, go to "Courses" in the side panel.
2. Go to "Overview"
To display the list of all your courses, then go to "Overview".

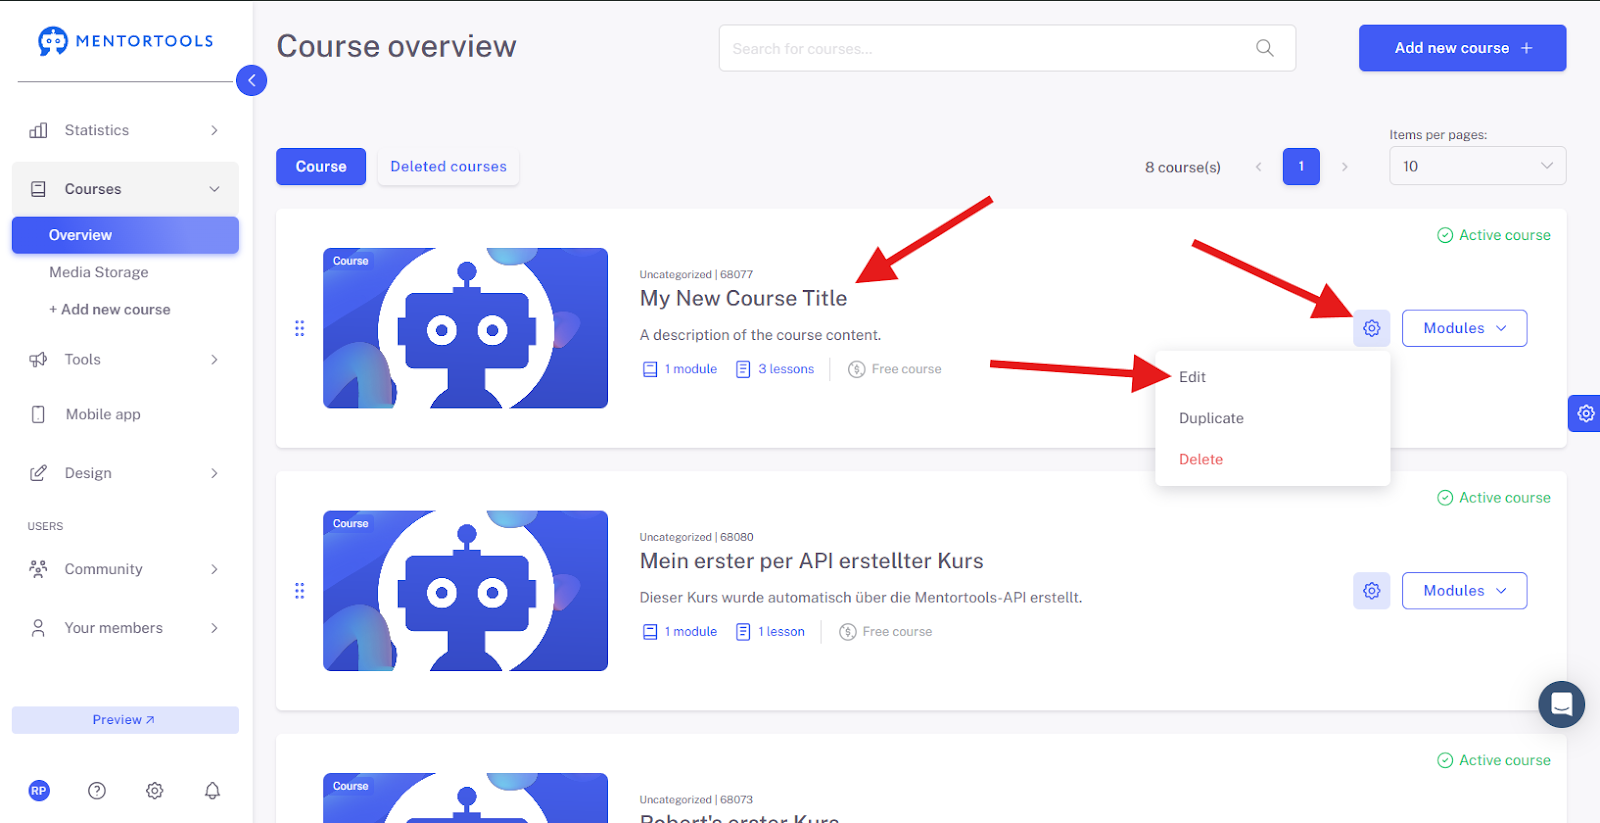
3. Select a Specific Course
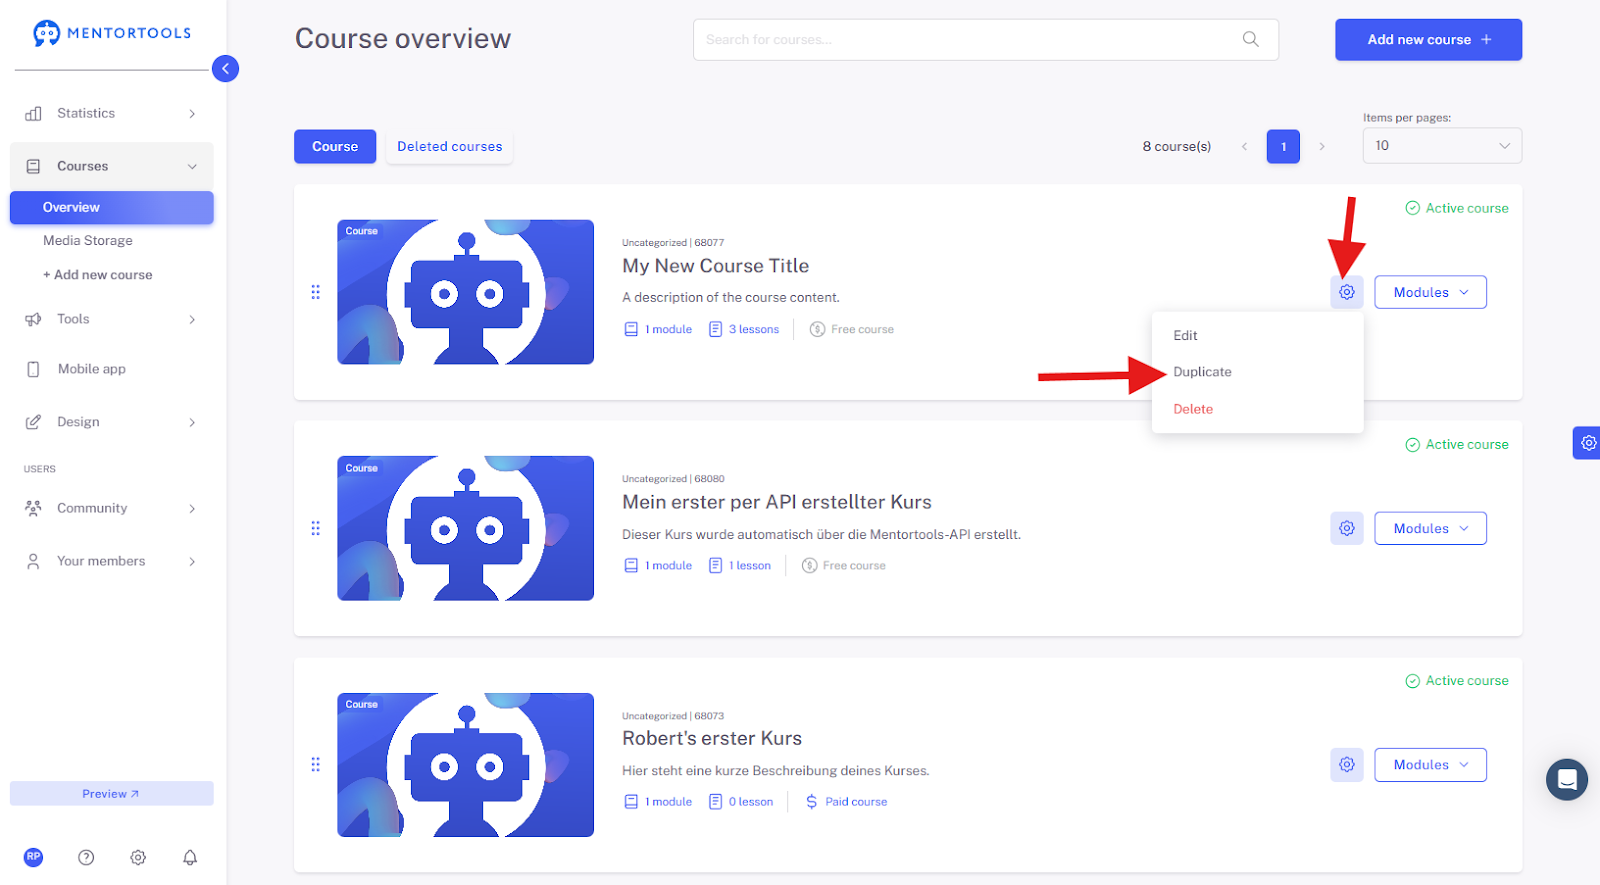
To view the settings for a specific course, click on the title of one of the courses in your list. (Or click on the gear icon next to the course title and then select the "Edit" option.)
4. General Settings
The individual settings for this online course will then be displayed. The general course settings are shown last.

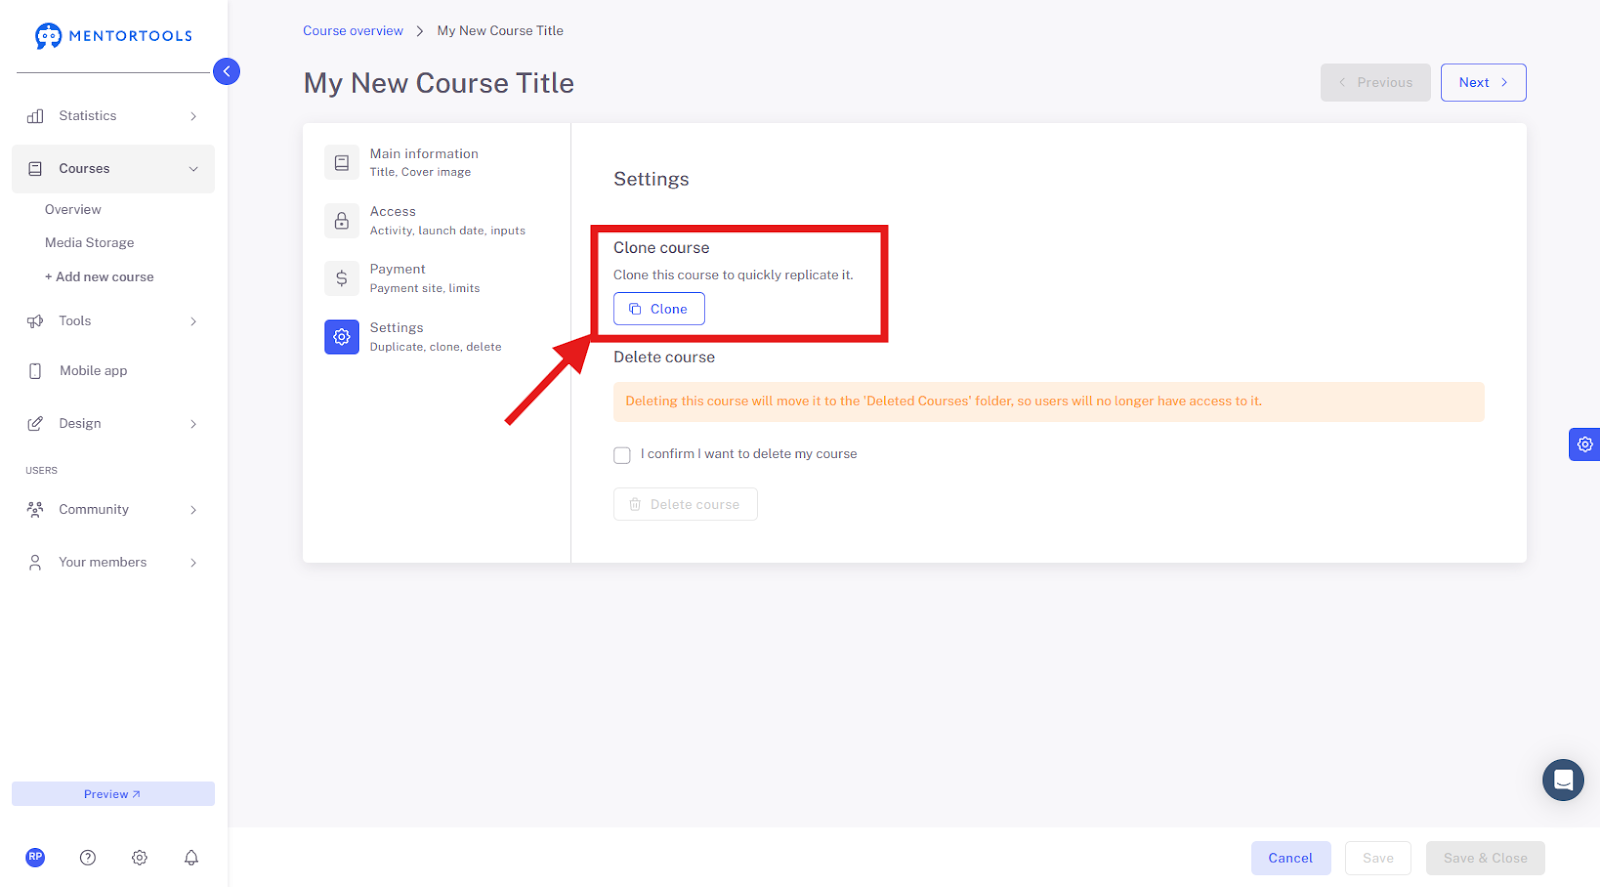
5. Clone Course
If you want to duplicate your course (create an identical copy), click on the "Clone" option. After duplicating, the new course will be displayed at the end of the course list.
You can also duplicate your course by clicking on the gear icon next to the course name in the course directory and then selecting the "Clone" option.
6. Delete Course
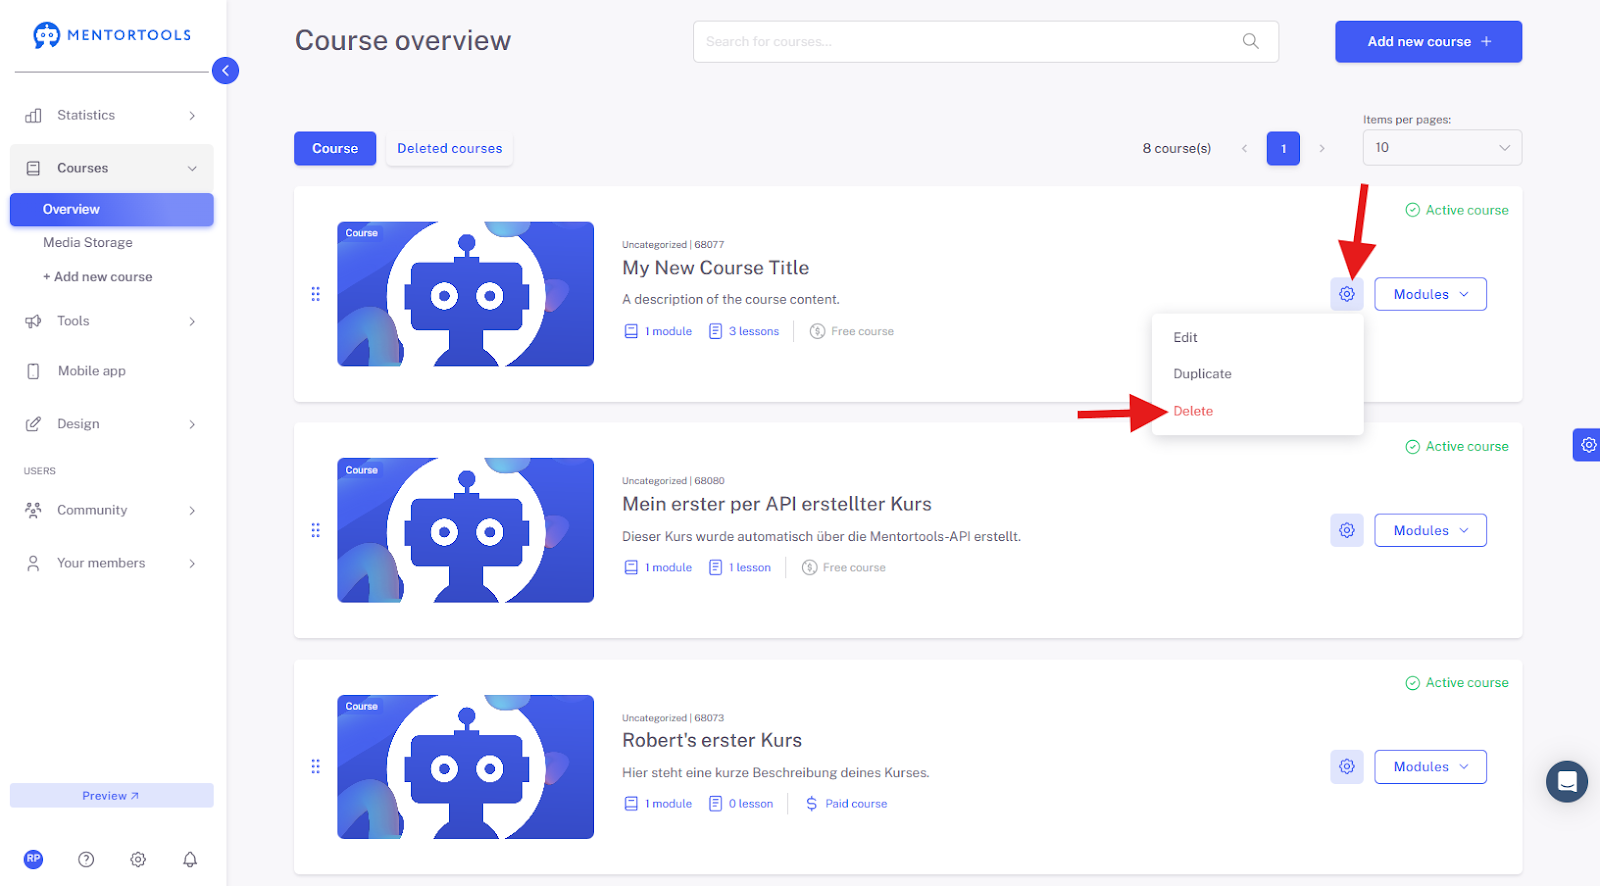
If you want to delete your course, first confirm the deletion by checking the "I confirm that I want to delete my course" checkbox, and then click on the "Delete course" option.
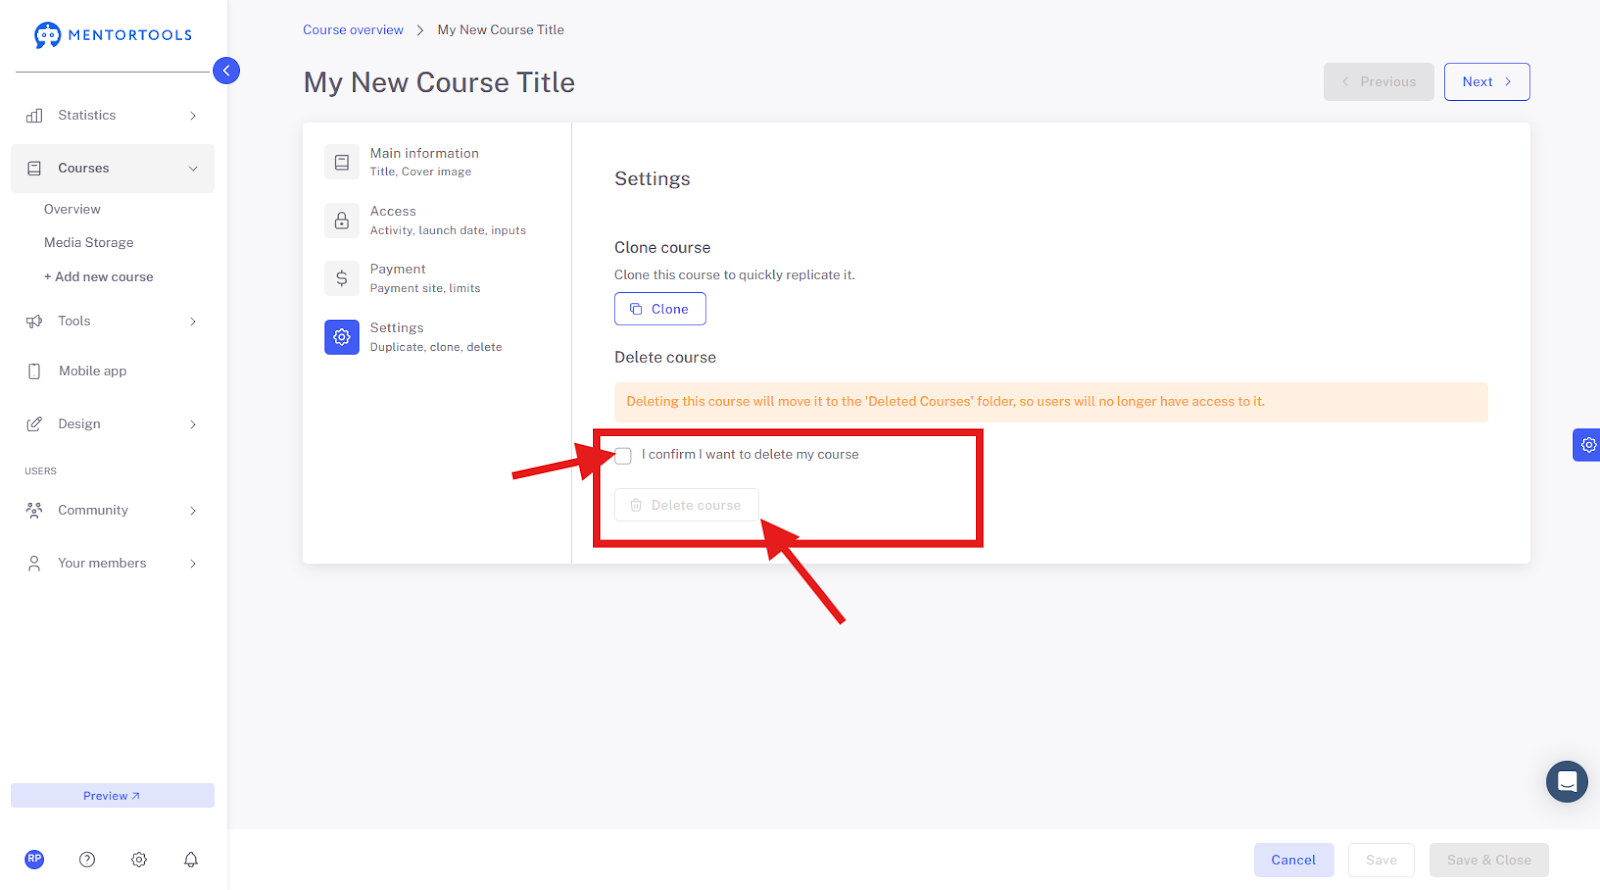
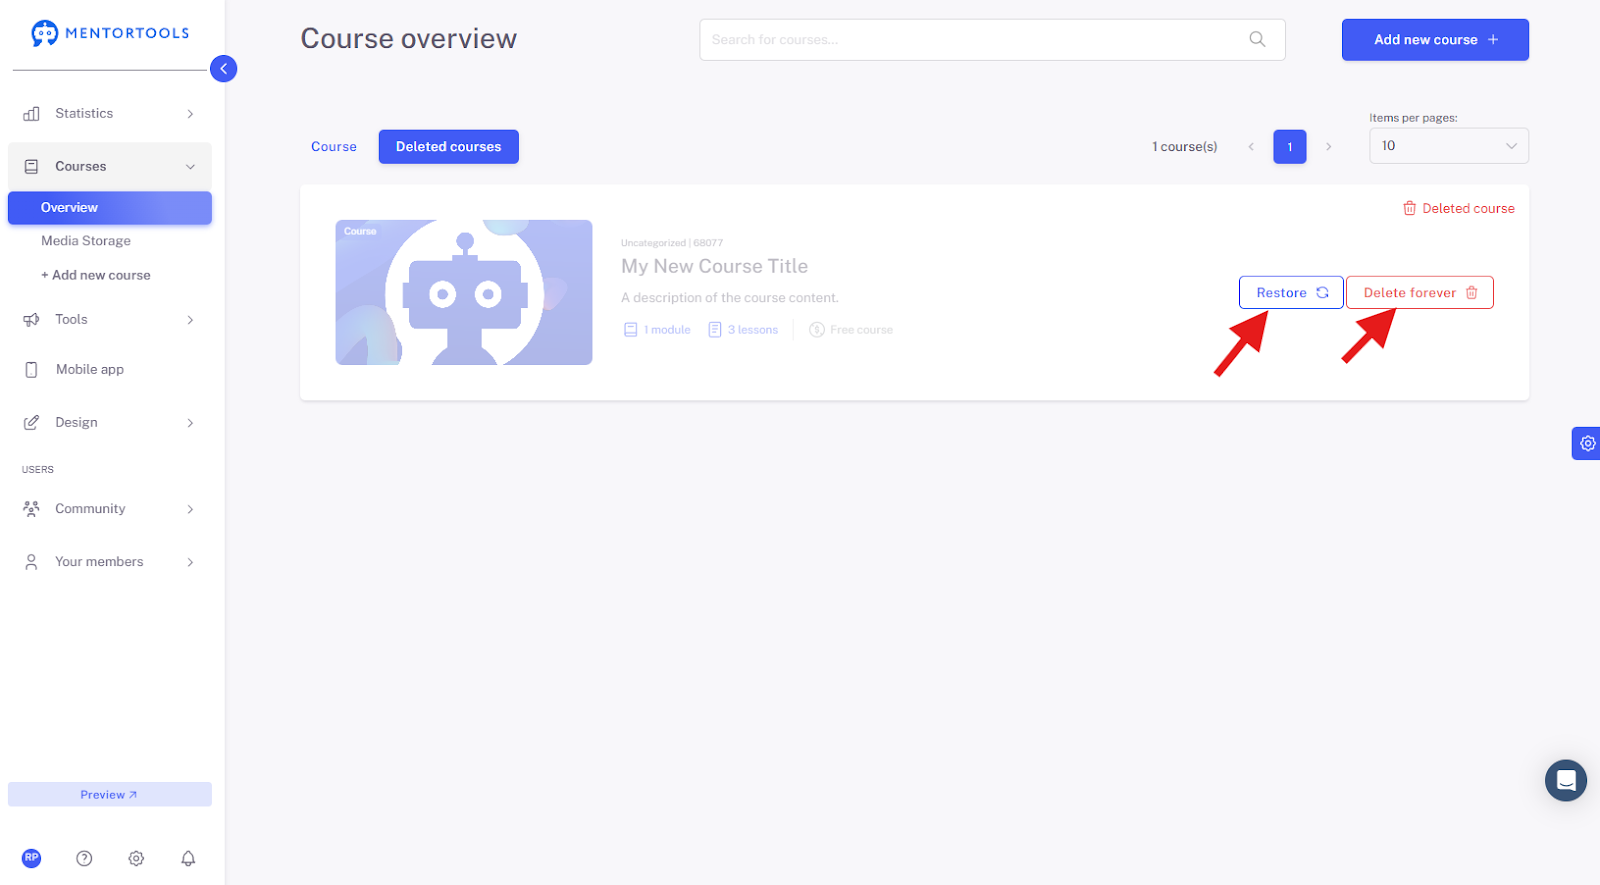
After deletion, the course is moved to the "Deleted Courses" folder, which you can find at the beginning of the course overview. The deleted course will then no longer be displayed to your customers in the course overview.

When you go to the "Deleted Courses" folder, you will find a list of all the courses you have deleted. You can either restore these individual courses (the course is moved back to the course list) or “delete forever” them (the course is permanently removed).
You can also delete your course by clicking on the gear icon next to the course name in the course directory and then selecting the "Delete" option. Then confirm the deletion, and the course will be moved to the "Deleted Courses" folder.