Create and Edit a Module
In this guide, you will learn how to create and edit a module in Mentortools, add cover images, and configure settings such as drip release.
Last updated 10 months ago
Prerequisites
You need an existing course or must create a new one.
Modules structure the content of your course thematically.
Each module can contain multiple lessons.
Step-by-Step Guide
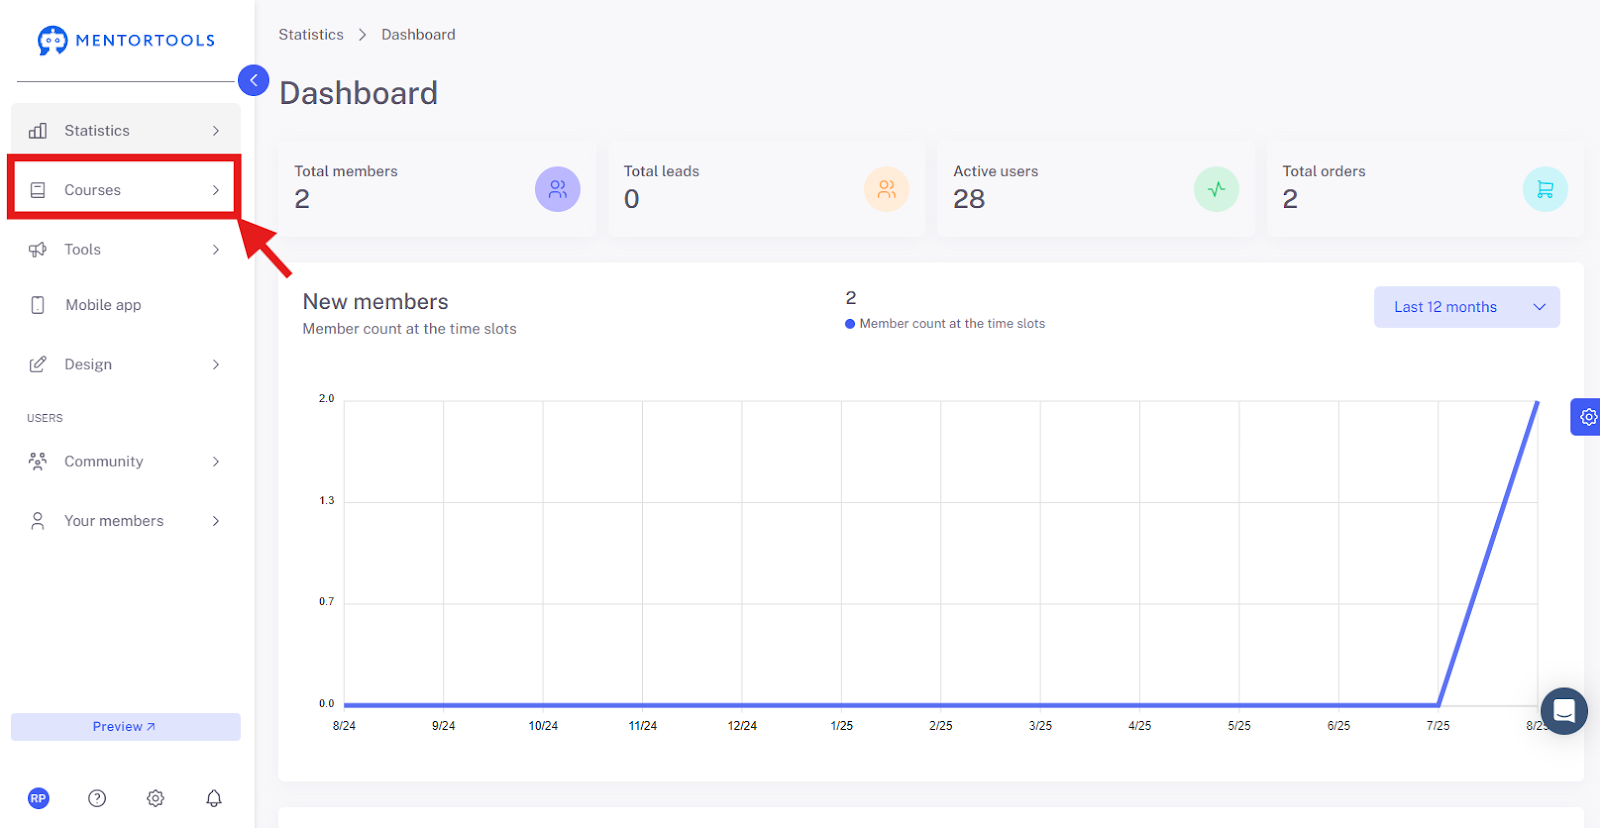
Navigate to "Courses"
Log in to your Mentortools dashboard and click on "Courses" in the main menu.
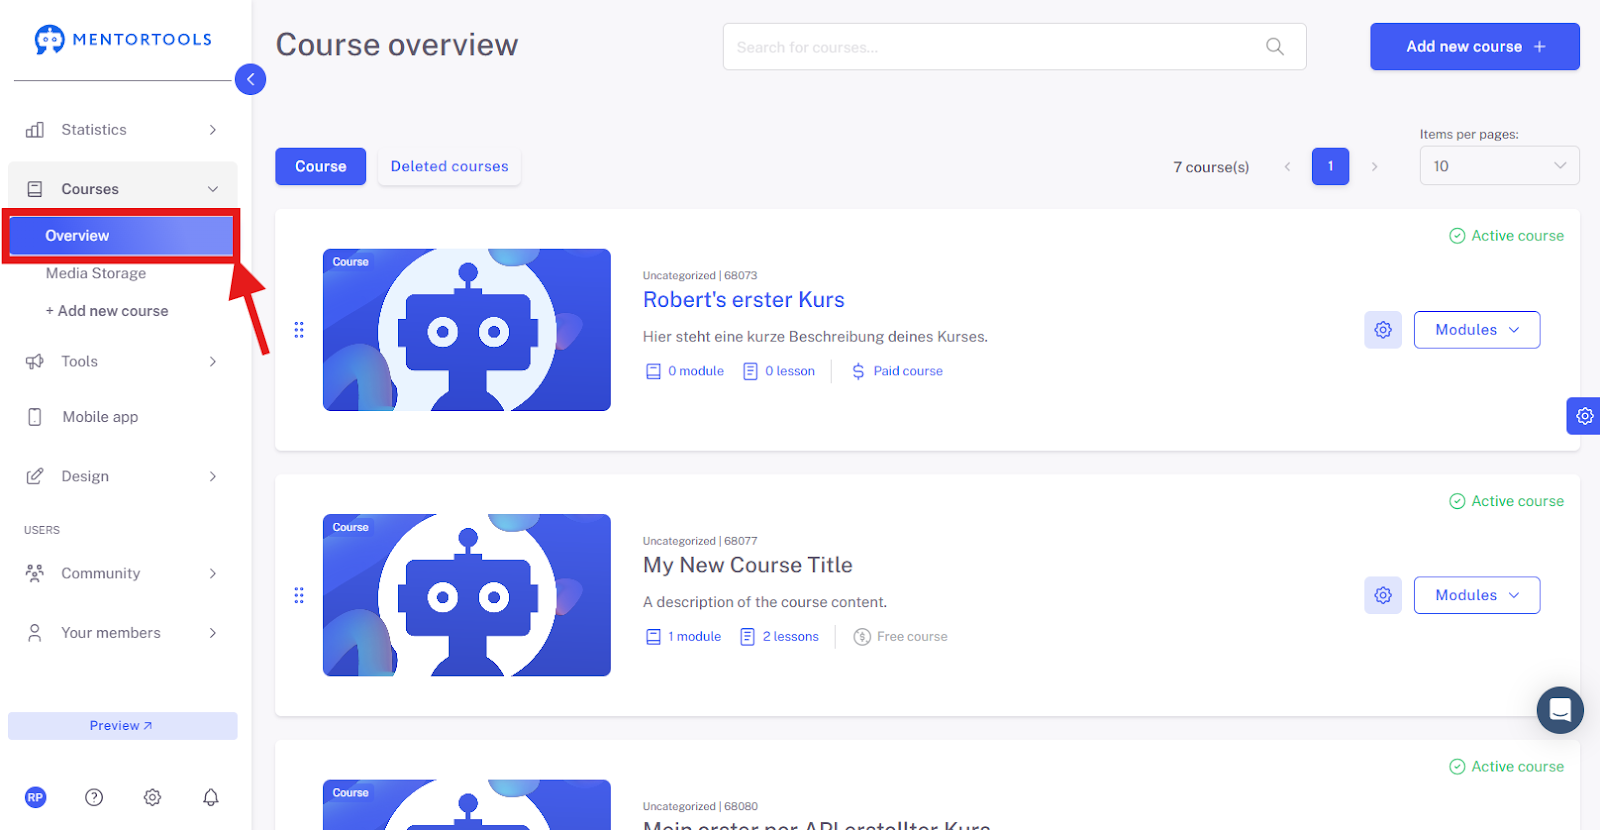
Click on "Overview"
Select the desired course and click on the "Overview" tab.
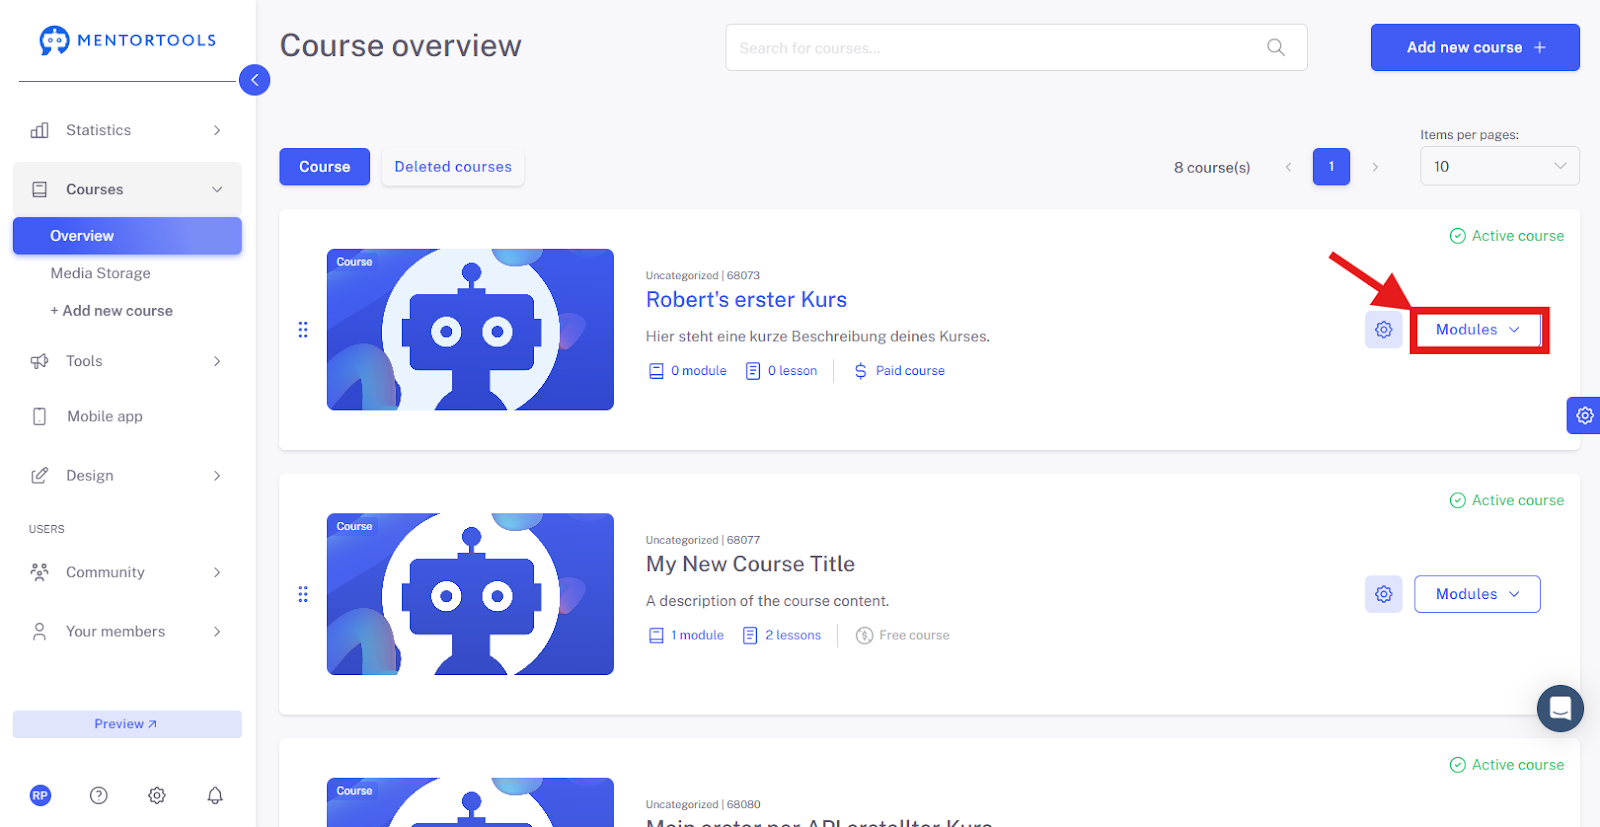
Select a Specific Course
Choose a specific course in which you want to create a new module. Clicking on "Modules" will display all existing modules in that course.
Add a New Module
At the end of the module list, you'll find the "Add Module +" option.
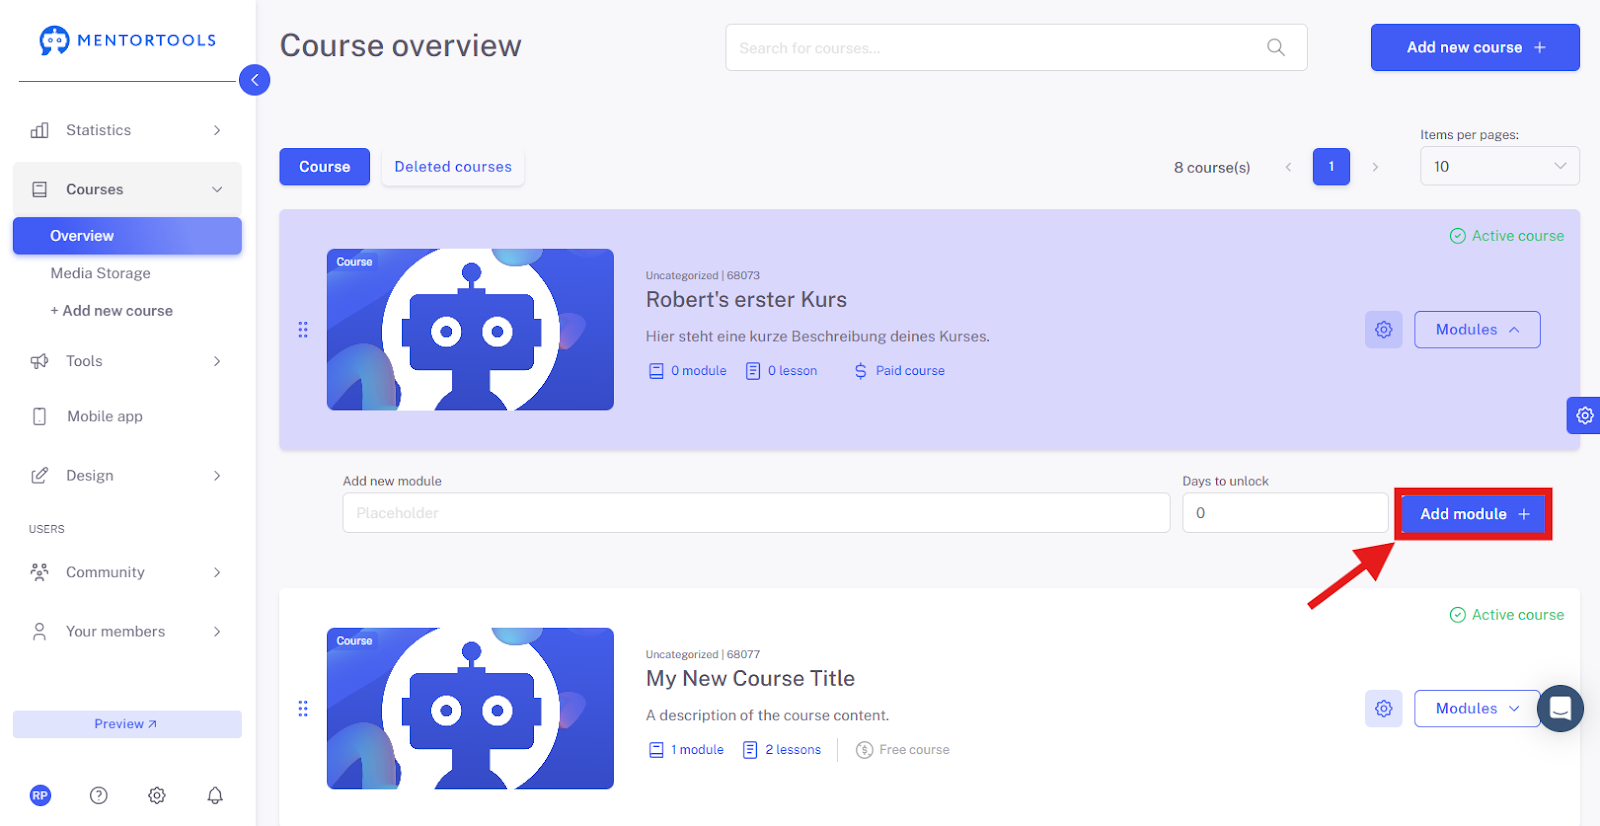
Enter Module Information
First, you need to enter the name of your new module.

Add Module
Then, add the new module by clicking on the "Add Module +" button. The new module will be added to the end of the module list in the respective course.
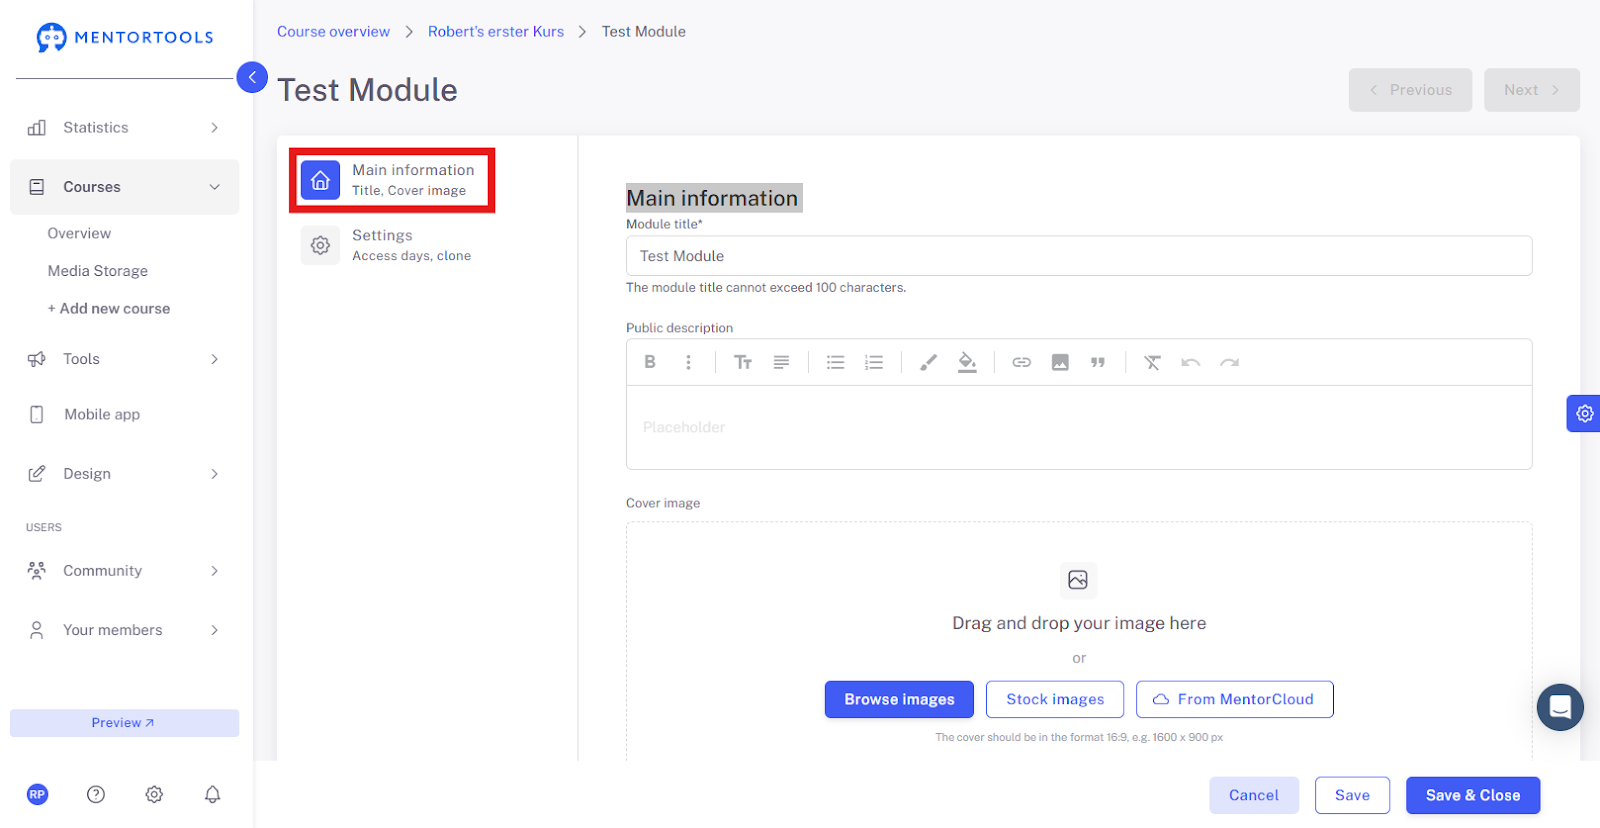
Main information
When you click on the module name, you will be taken to the settings. Under "Key Data," you can edit the module name, add a description, and also set a cover image. Choose an image from your computer, use image templates, or select an image from the media library. The recommended format is 1600x900 px.
Configure Settings
Clicking on "Settings" displays additional options for module configuration.
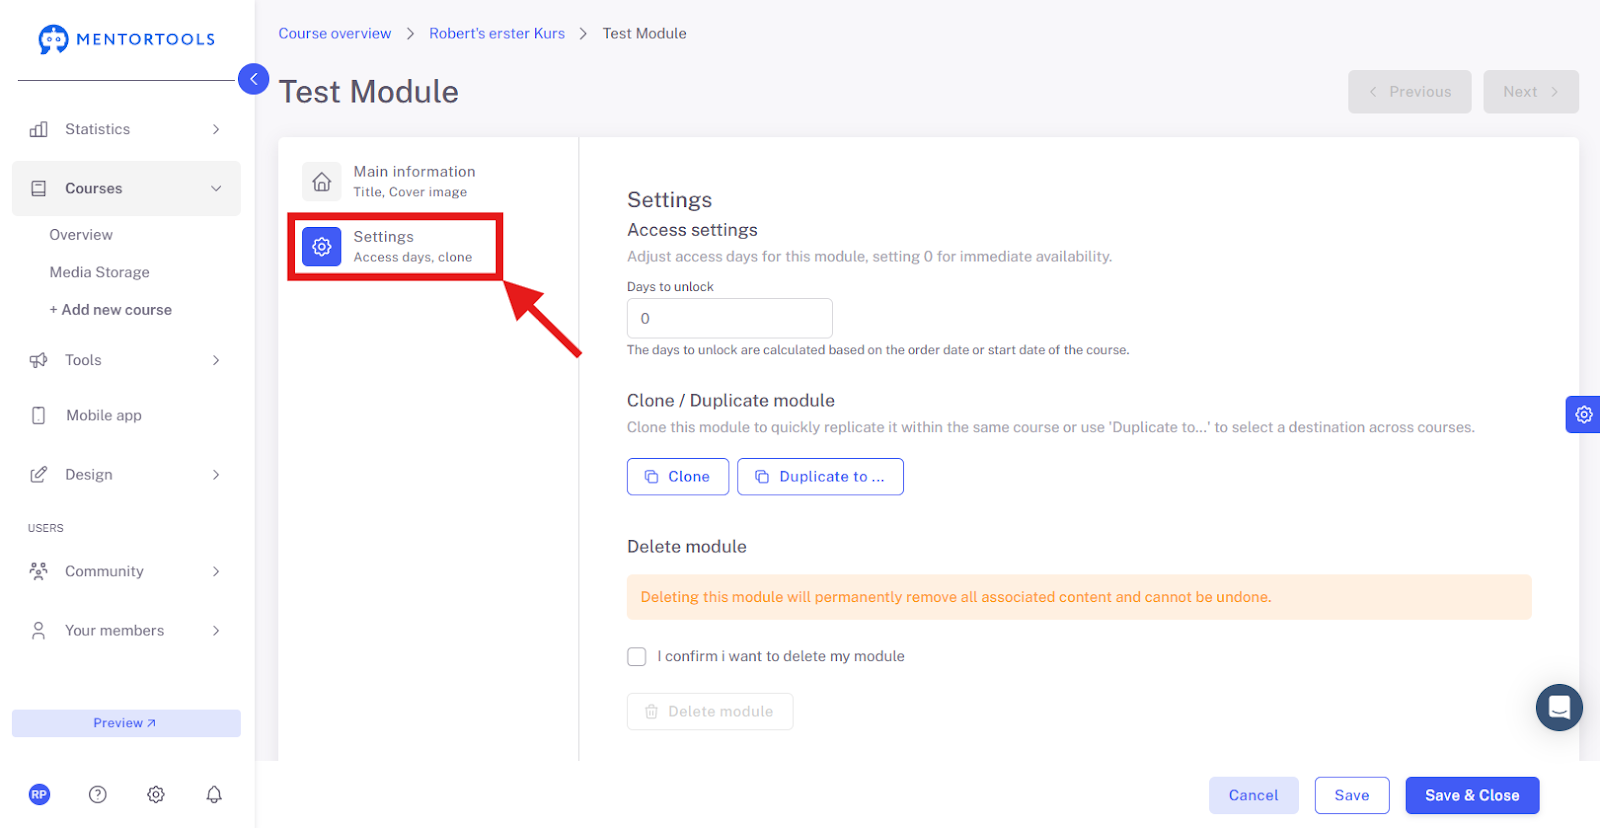
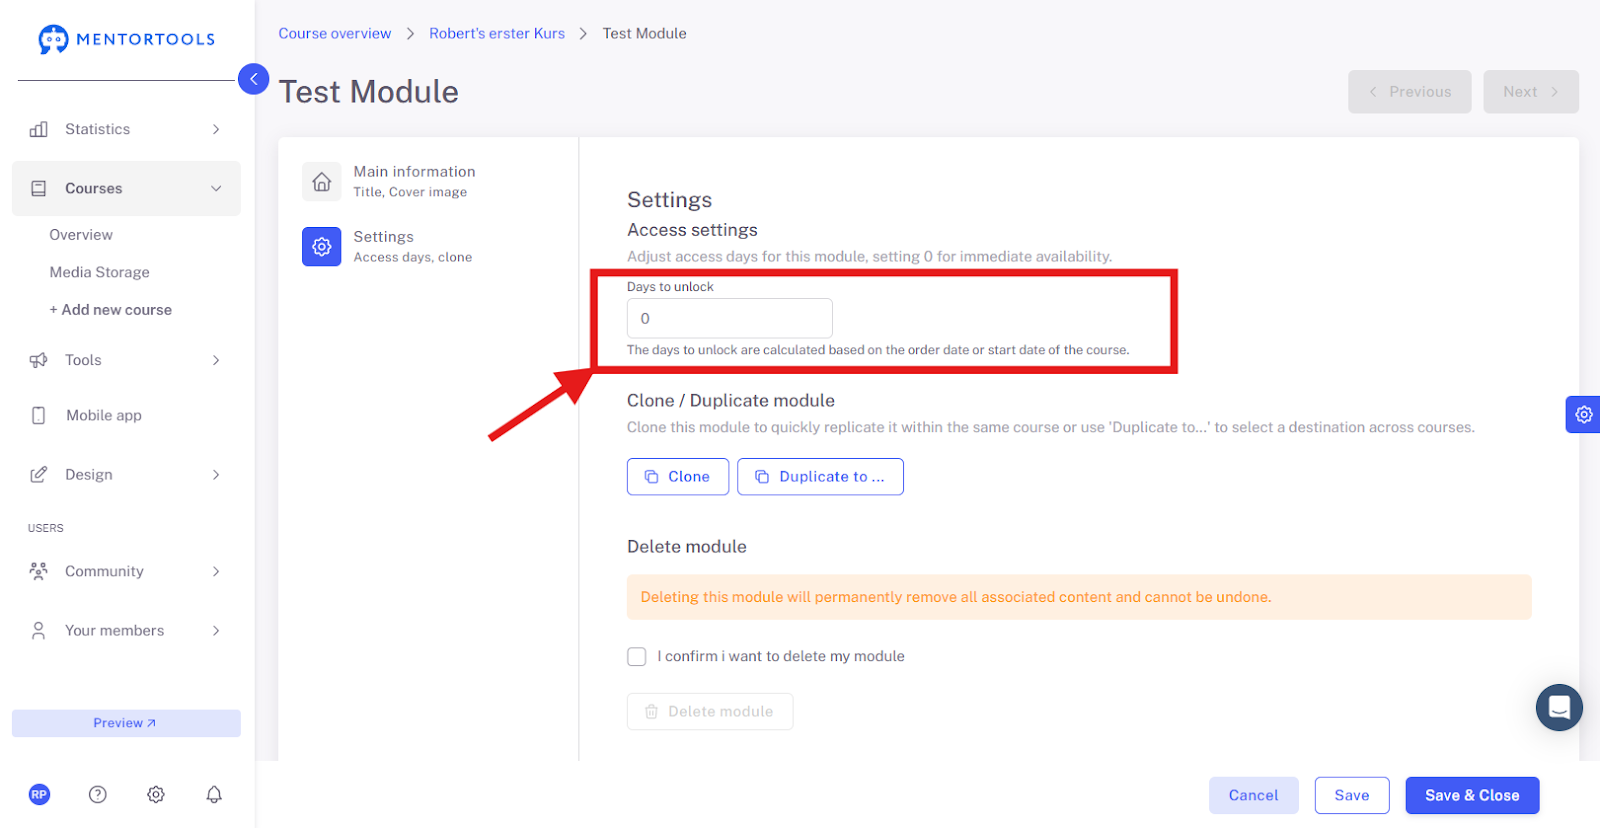
Access Setting (Days Until Release)
In each module, you can set the number of days until its release. This means how many days after course access the module will be available to your customers. For example, if you set 10 days until the module is released, this module will be accessible to your customer 10 days after the course starts / they purchase the course / their registration in your membership area. If you leave a zero ("0") here, the module is immediately accessible.
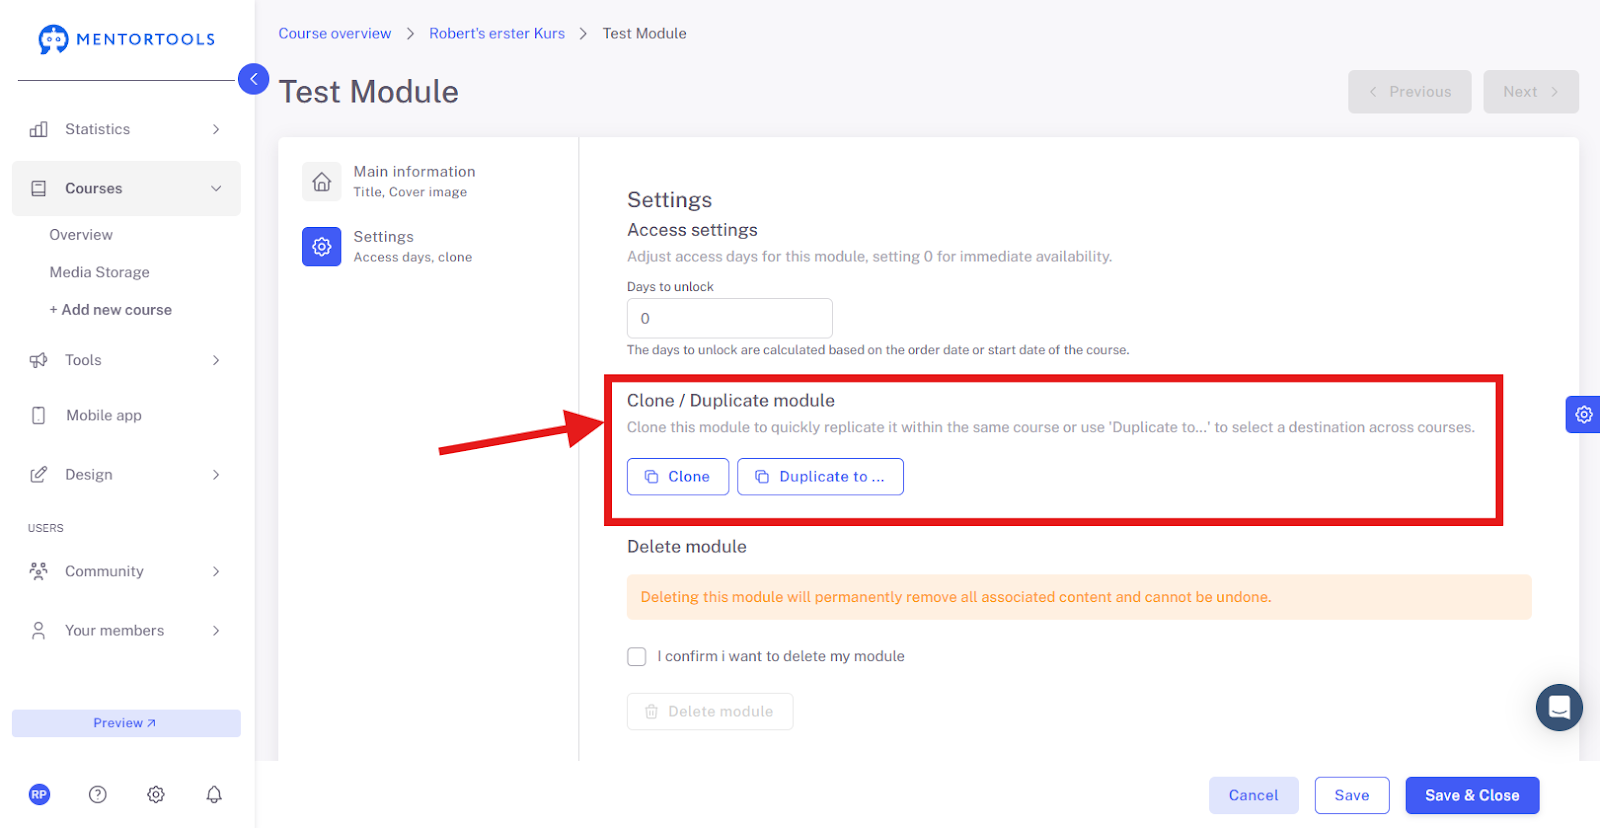
Duplicate Module
The "Duplicate" function allows you to copy an existing module within the current course. The "Duplicate to..." function allows you to copy the module to another course in your membership area.
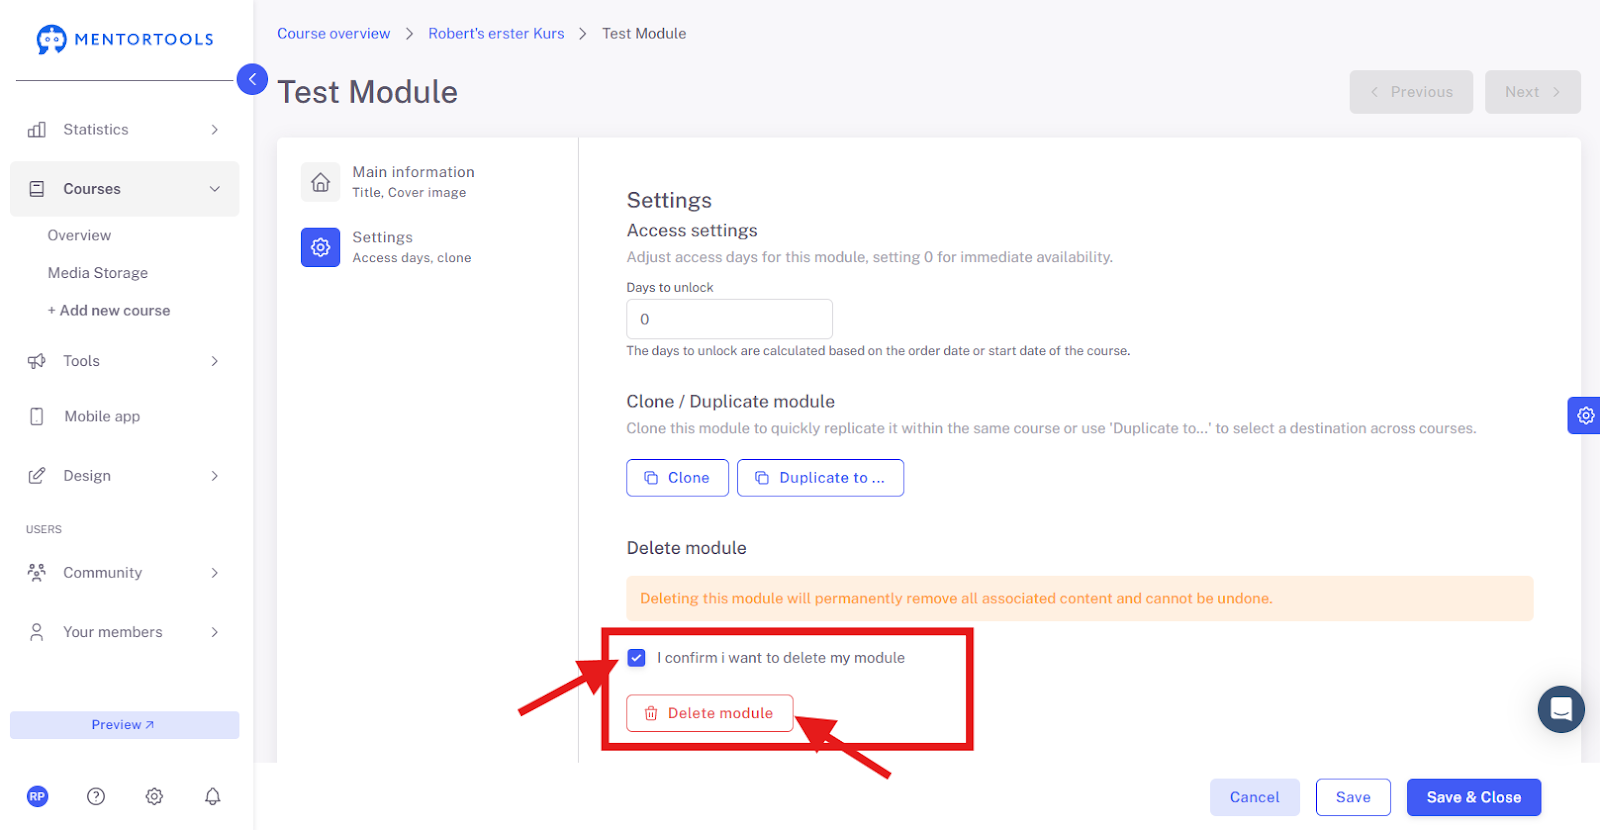
Delete Module
By clicking on "I confirm that I want to delete the module" and then on "Delete module", you will remove the module from your course.
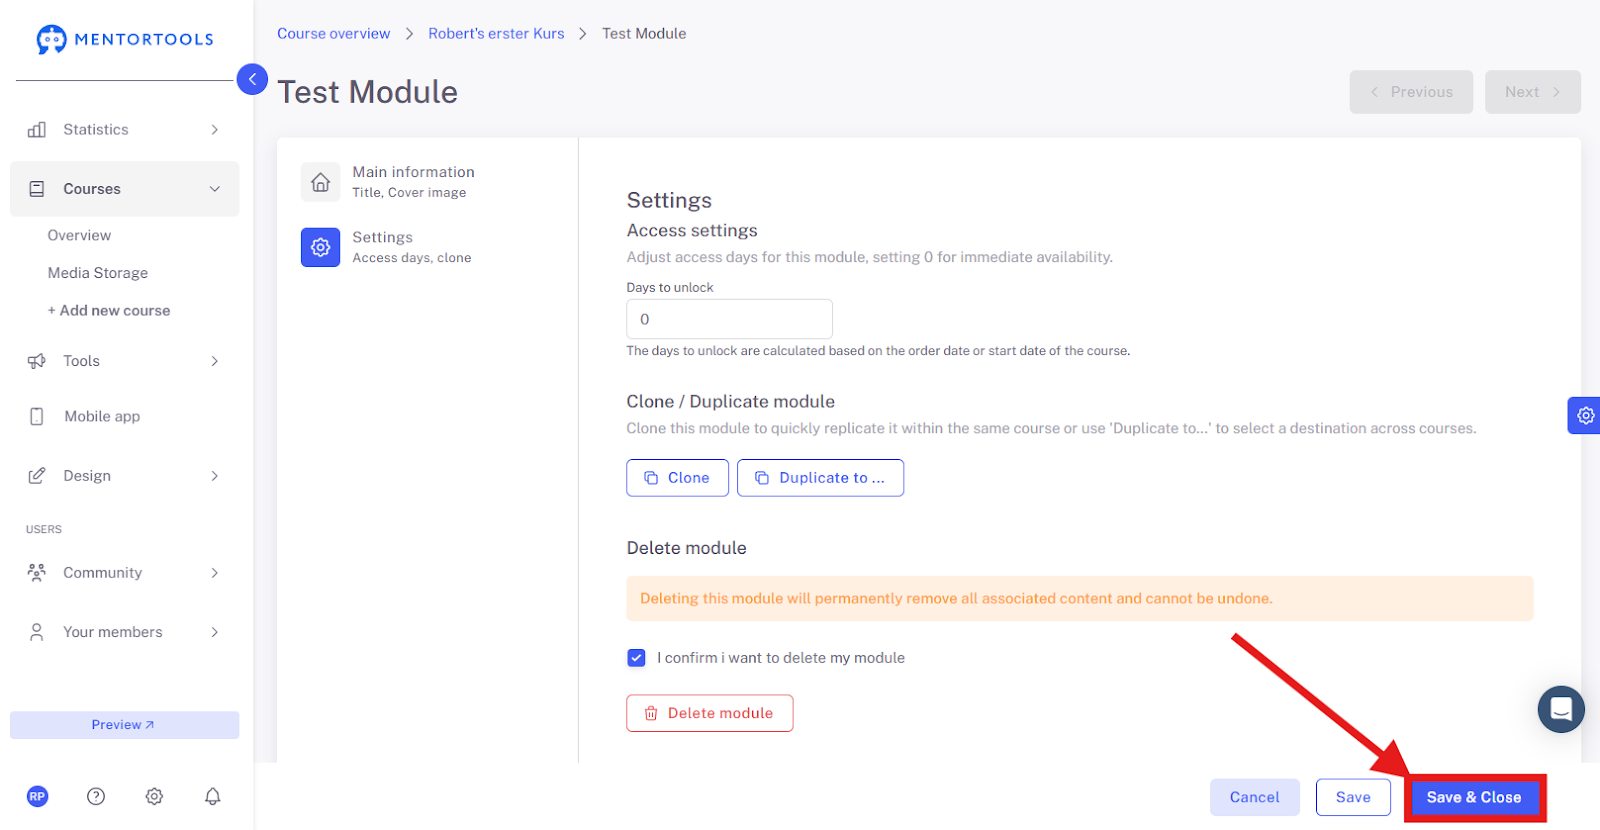
Save and Close
Save your changes by clicking on "Save and close" at the bottom.
With these steps, you have successfully created, edited, and published a new module in Mentortools. You can always add more modules or adjust existing ones.
Quick Module Editing
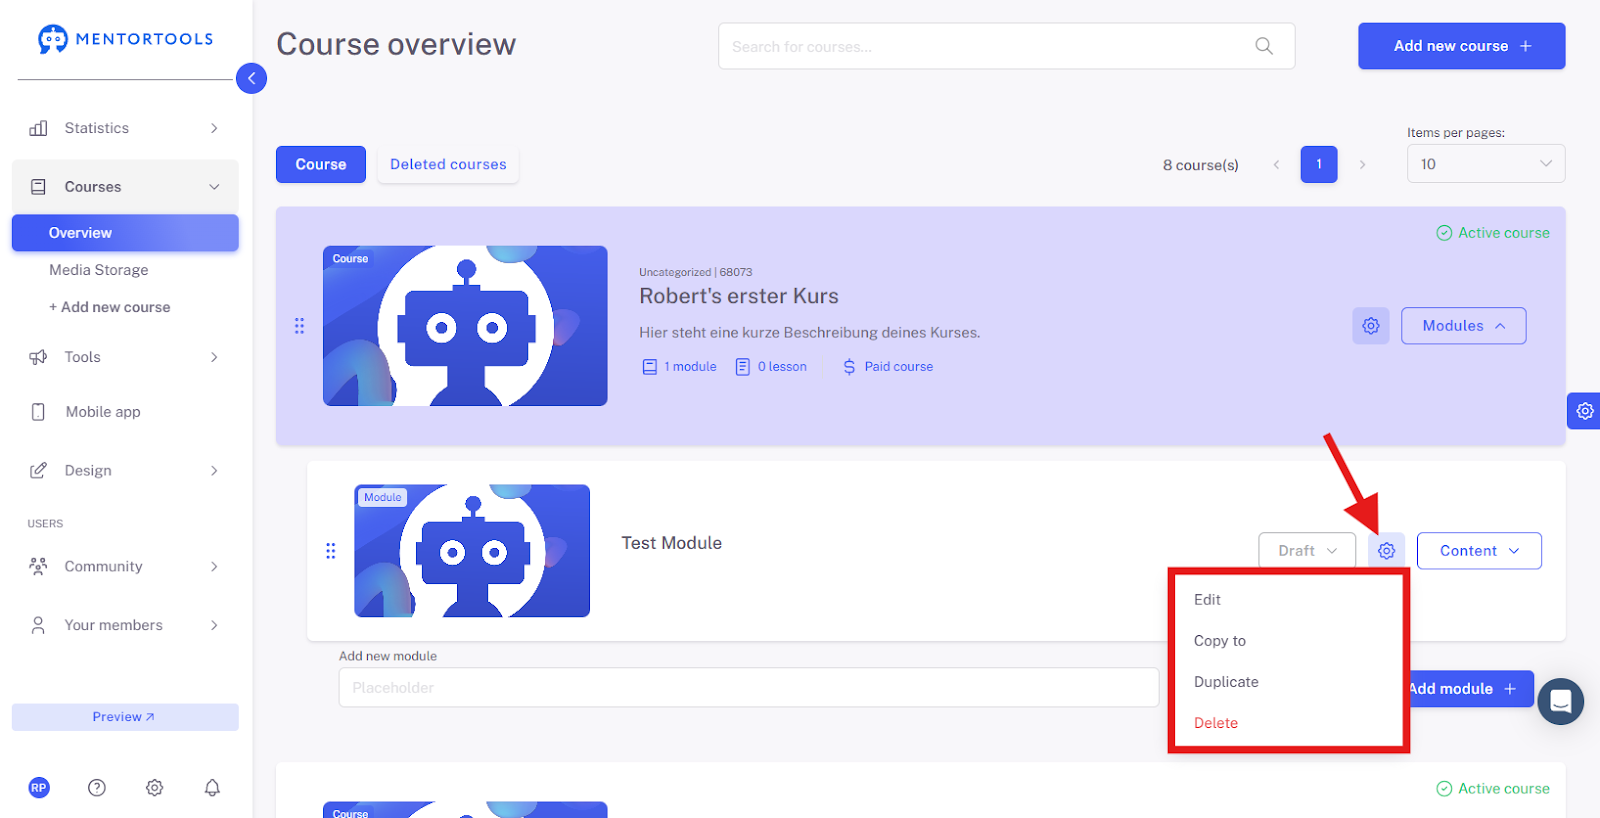
Look for the desired module in the module list. Click the gear icon next to the module name. The following options will be displayed:
Edit - Clicking this option takes you to the module's settings.
Copy - If you select this option, you can copy the module to another course. A list of courses will then be displayed, from which you can select the course(s) you want to copy the module to.
Duplicate - If you select this option, a copy of the module will be created within the same course.
Delete - To delete the module, confirm your selection in the next step, and the module will be removed.
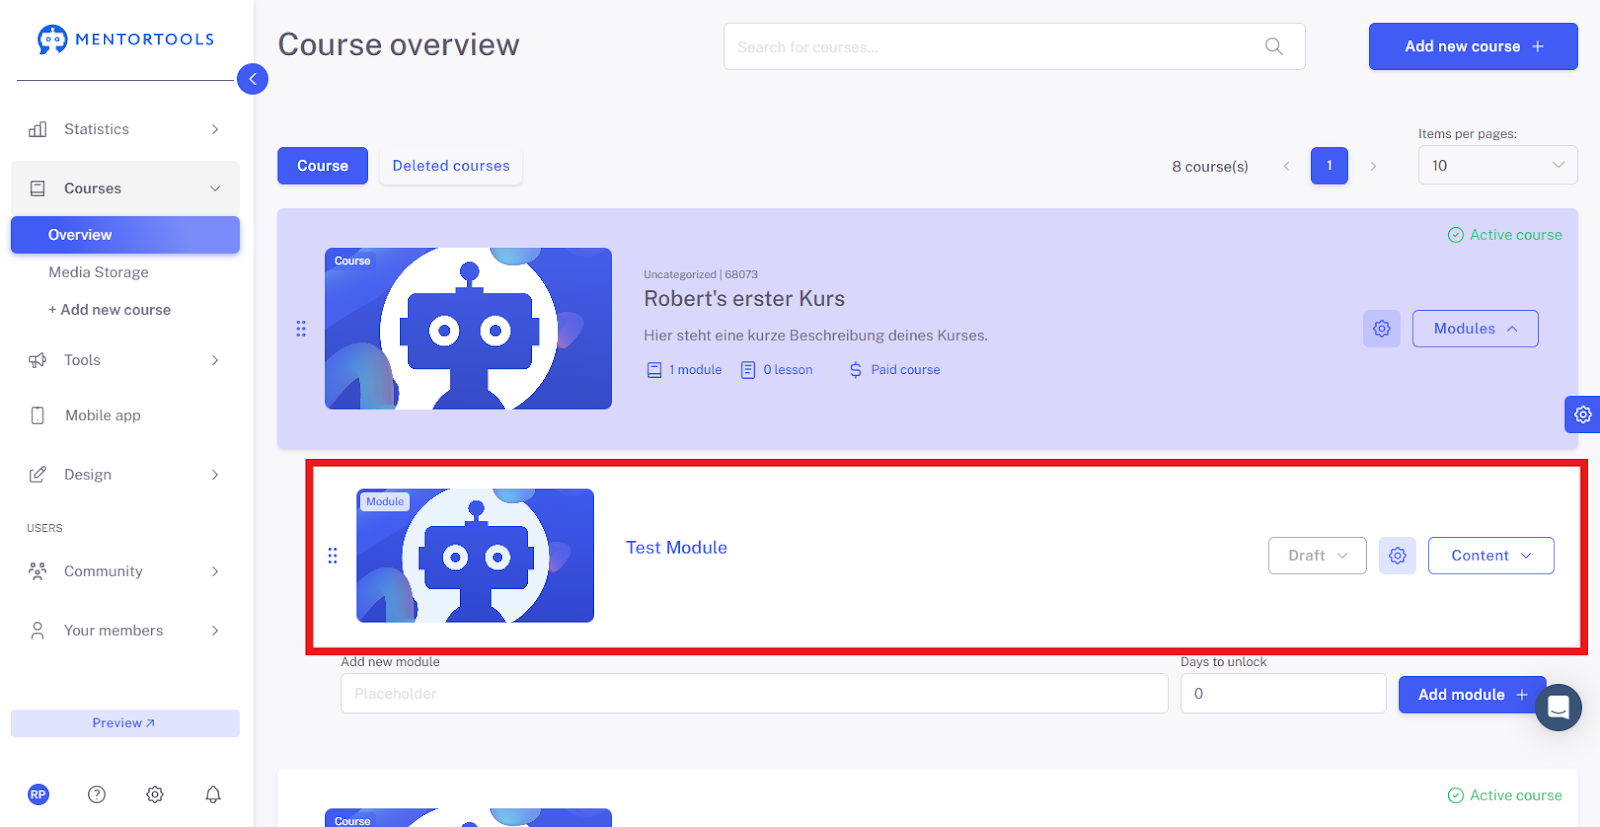
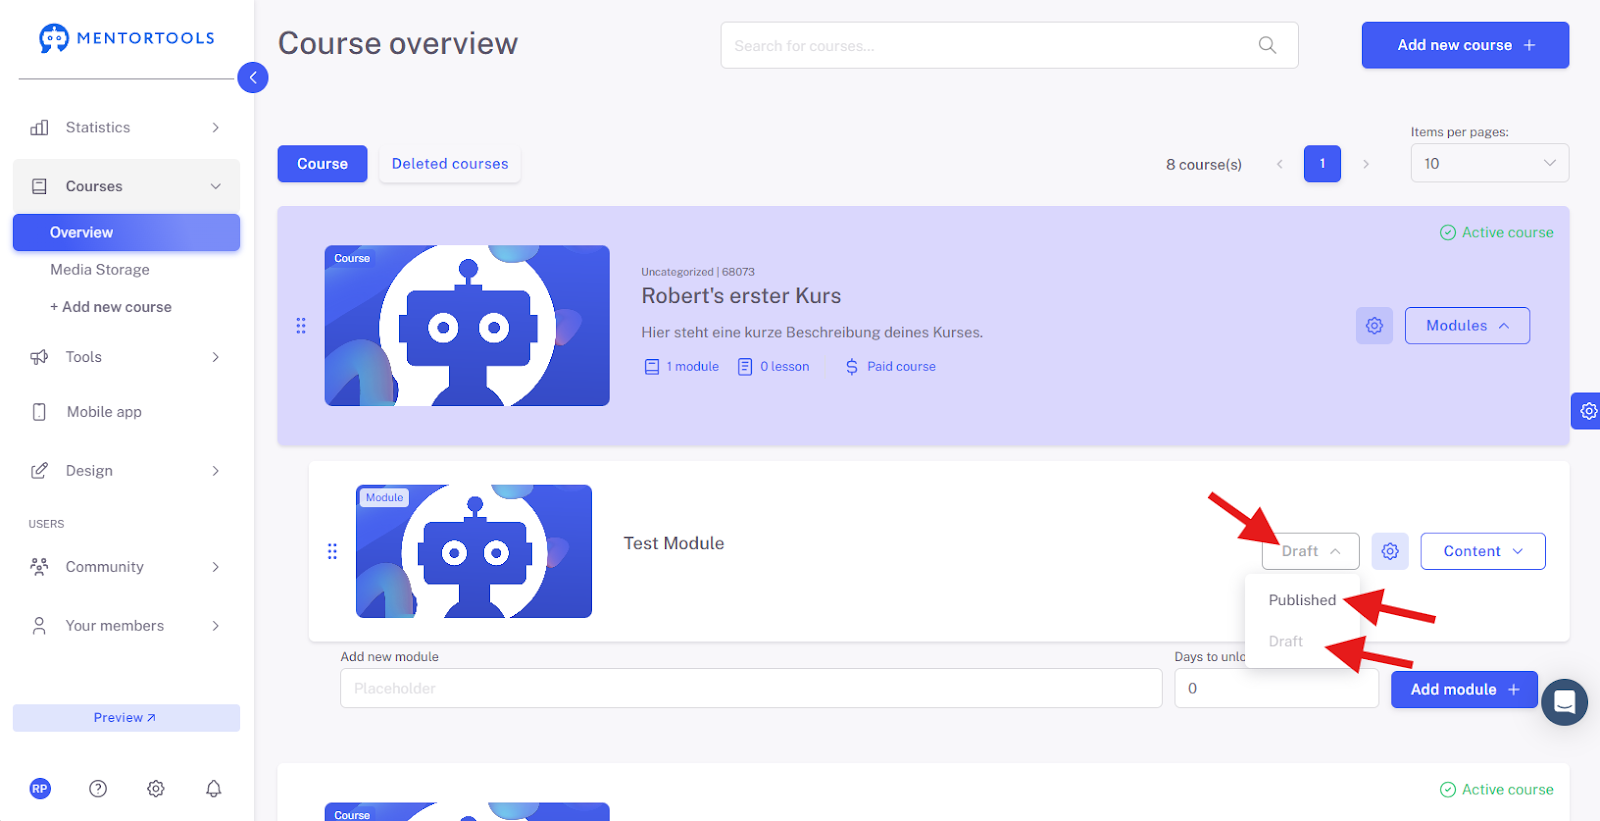
Module Visibility Setting
After you have created a new module, set its visibility for your customers. If you leave the module as "Draft" (the default setting), the module will not be displayed to your customers in your online course. You can mark a module as a draft if, for example, you are still working on it and it shouldn't be visible to your customers yet. If you want the module to be visible to your customers in the respective course, set the module to "Published." (This setting is located directly next to the module name in the module list.)
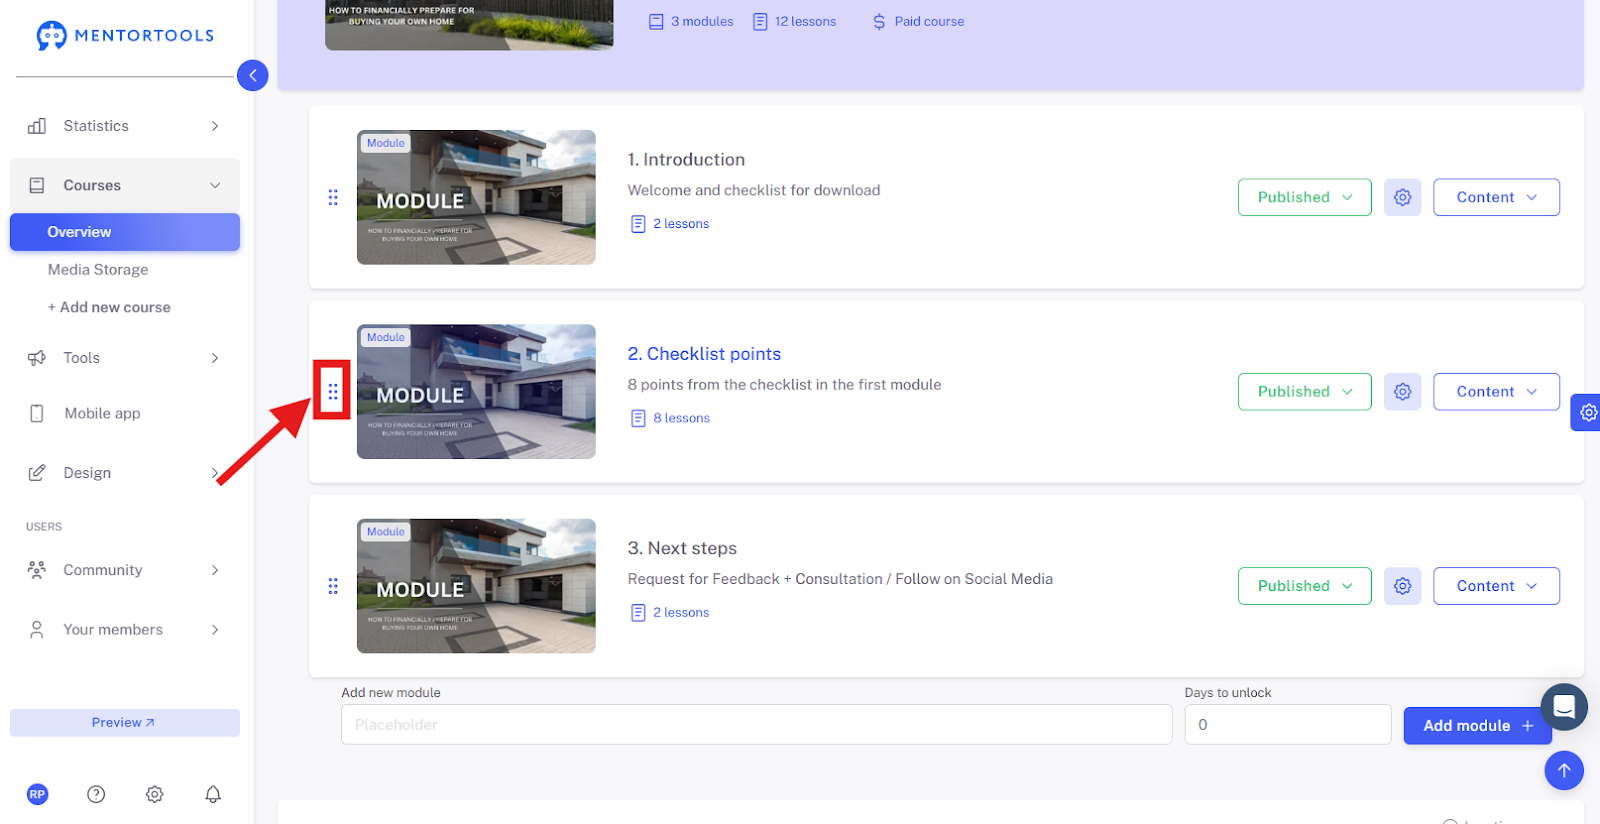
Change the Order of Modules
With the "drag & drop" function, you can change the order of the modules in your online course at any time. If you want to change the order of the modules, hold the module on the far left by the three dots, drag it to the desired position, and release. This way, you can rearrange the modules.