Course – Access
Last updated 10 months ago
In Mentortools, you can individually and flexibly determine who gets access to your courses and how long the content is available. Here, you'll learn about the access settings you can make for your online courses.
1. Set Course Access Individually
In Mentortools, you can flexibly control course access:
Automatic access: Participants automatically get access after successful payment (for a paid course) or after registration (for a free course).
Manual order: You can manually provide courses to individual participants or user groups through a manual order.
Time-limited access: The content is automatically released at fixed time intervals to effectively manage the learning process.
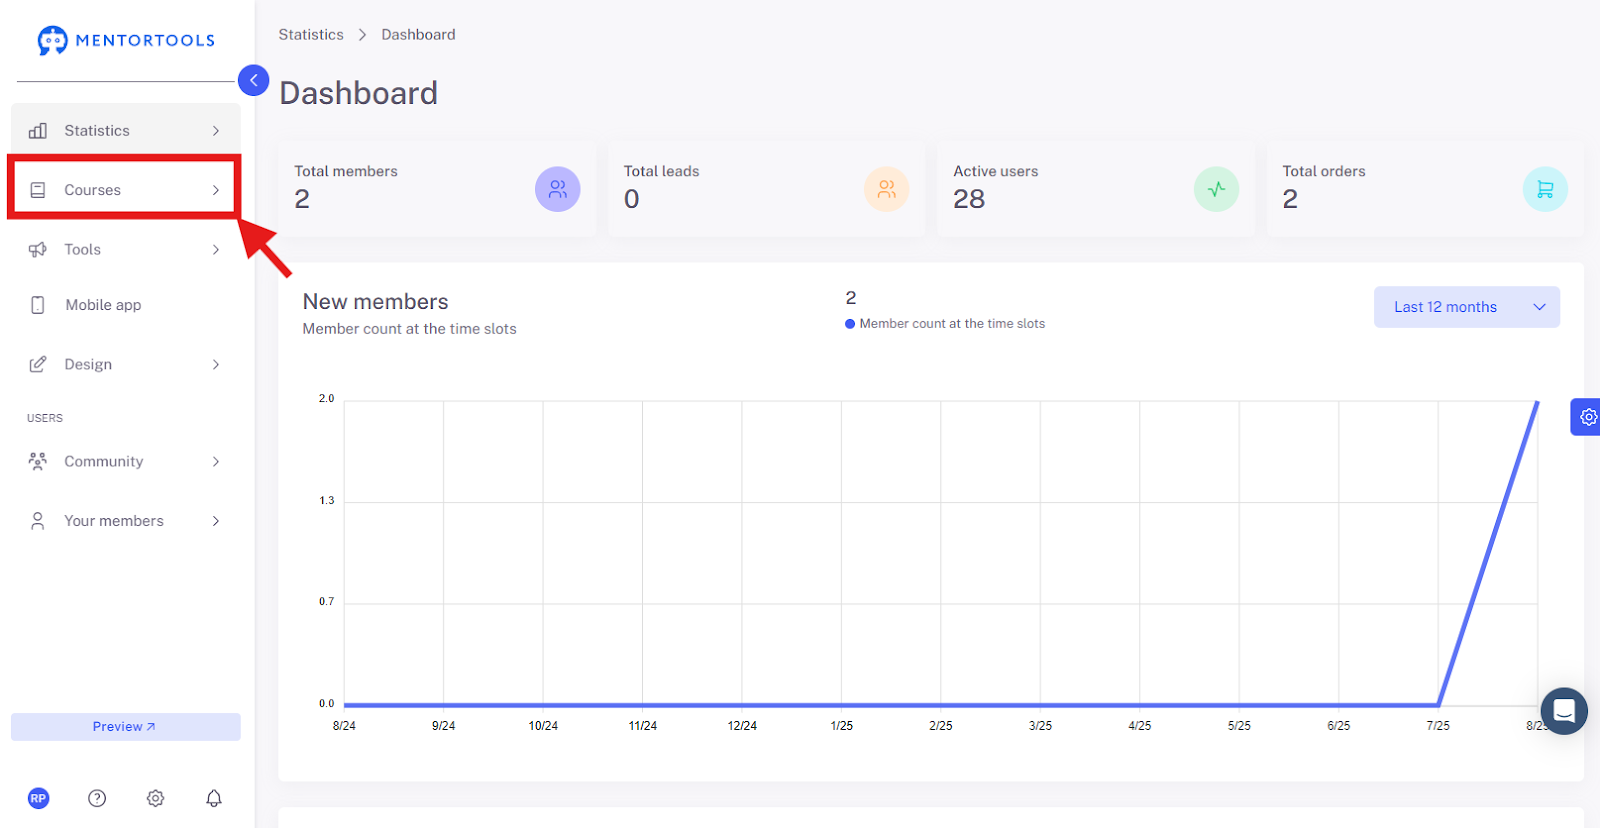
2. Click on "Courses"
In your online academy, go to "Courses" in the side panel.
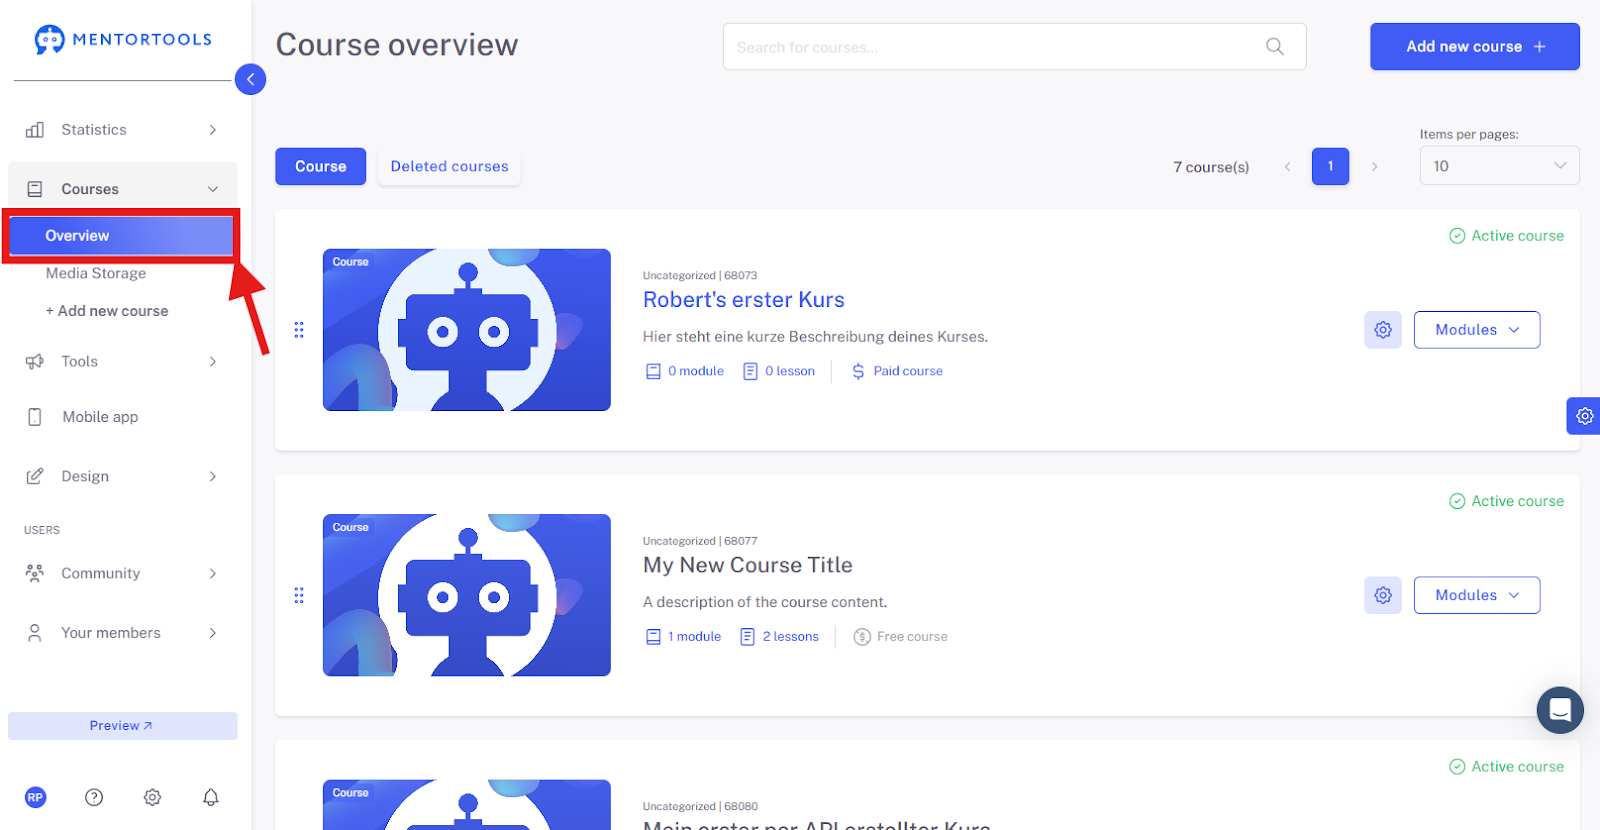
3. Go to "Overview"
To display the list of all your courses, then go to "Overview".
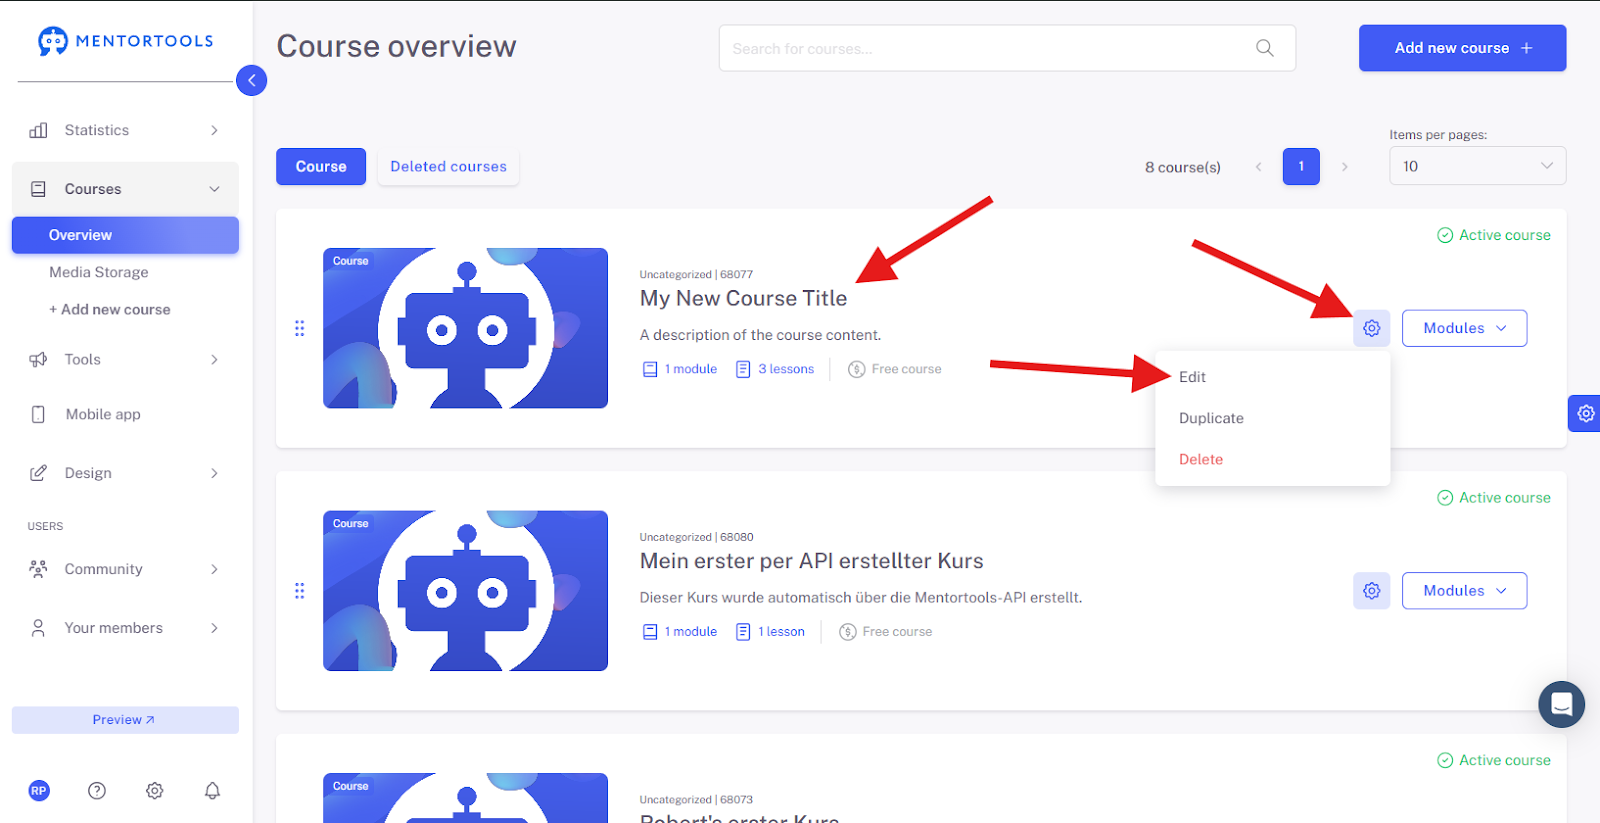
4. Select a Specific Course
To view the settings for a specific course, click on the title of one of the courses in your list. (Or click on the gear icon next to the course title and then select the "Edit" option.)
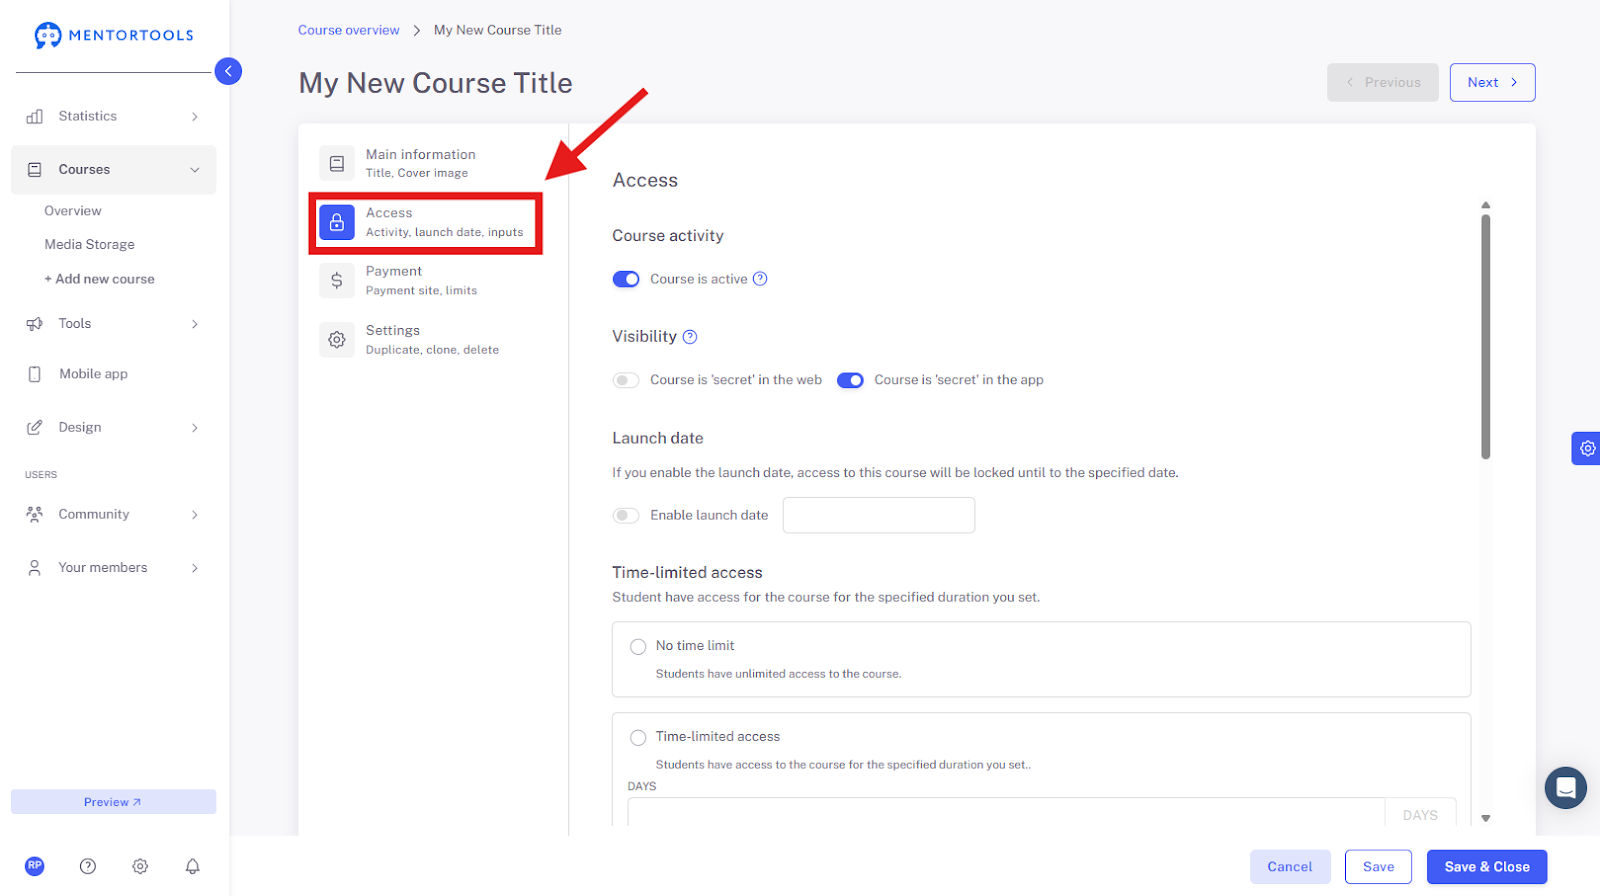
5. Access Settings
The individual settings for this online course will then be displayed. Next, the settings for "Access" are shown.
6. Activate Course
You can set your course as active or inactive. If the course is set to "active," it will be seen by all customers in your membership area in the course list. If the course is free, customers can immediately access the content in the membership area. If the course is paid, only customers who have purchased the course will have access to the content.
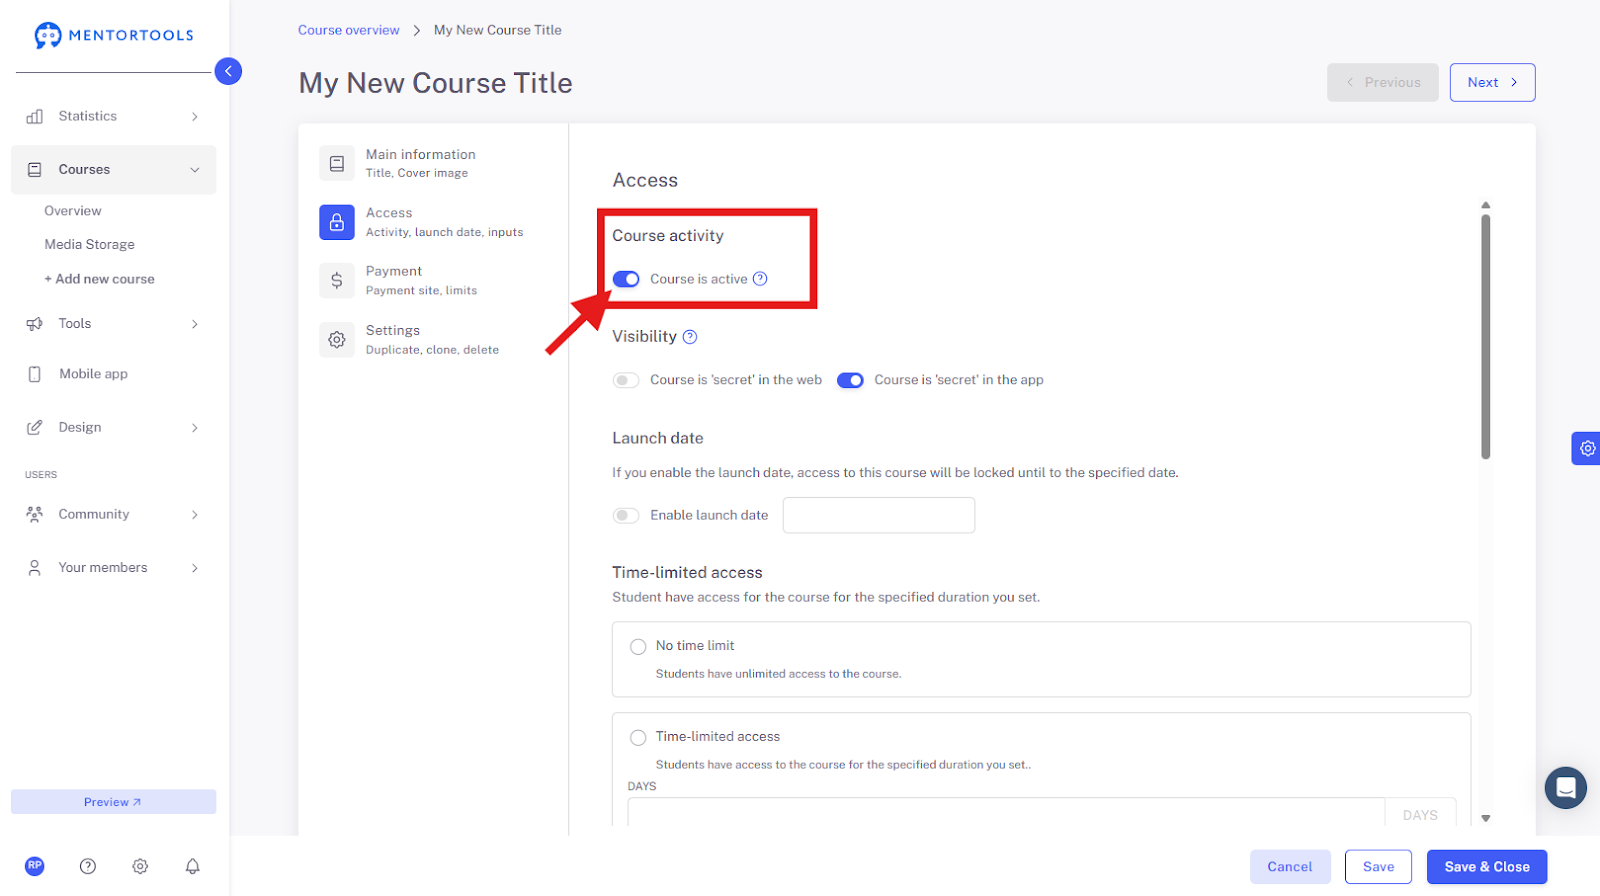
If the course is still being created, or you are editing or updating it, you can set it as "inactive" (deactivate the switch) so that your customers don't see the unfinished and incomplete course.

7. Course Visibility
If you don't want your course to be publicly visible—meaning displayed in the course directory (on the website or in the app)—you can set it as "secret". A course set this way is not visible in the course directory for all users of your membership area. The course can only be viewed by customers who have been granted access—either through purchasing the course or through a direct link to a free course. A public course is visible in the course directory for all users of your membership area.

If you have also set up a mobile app for your online academy, you can determine here whether the course should also be visible or secret to your customers in the app.
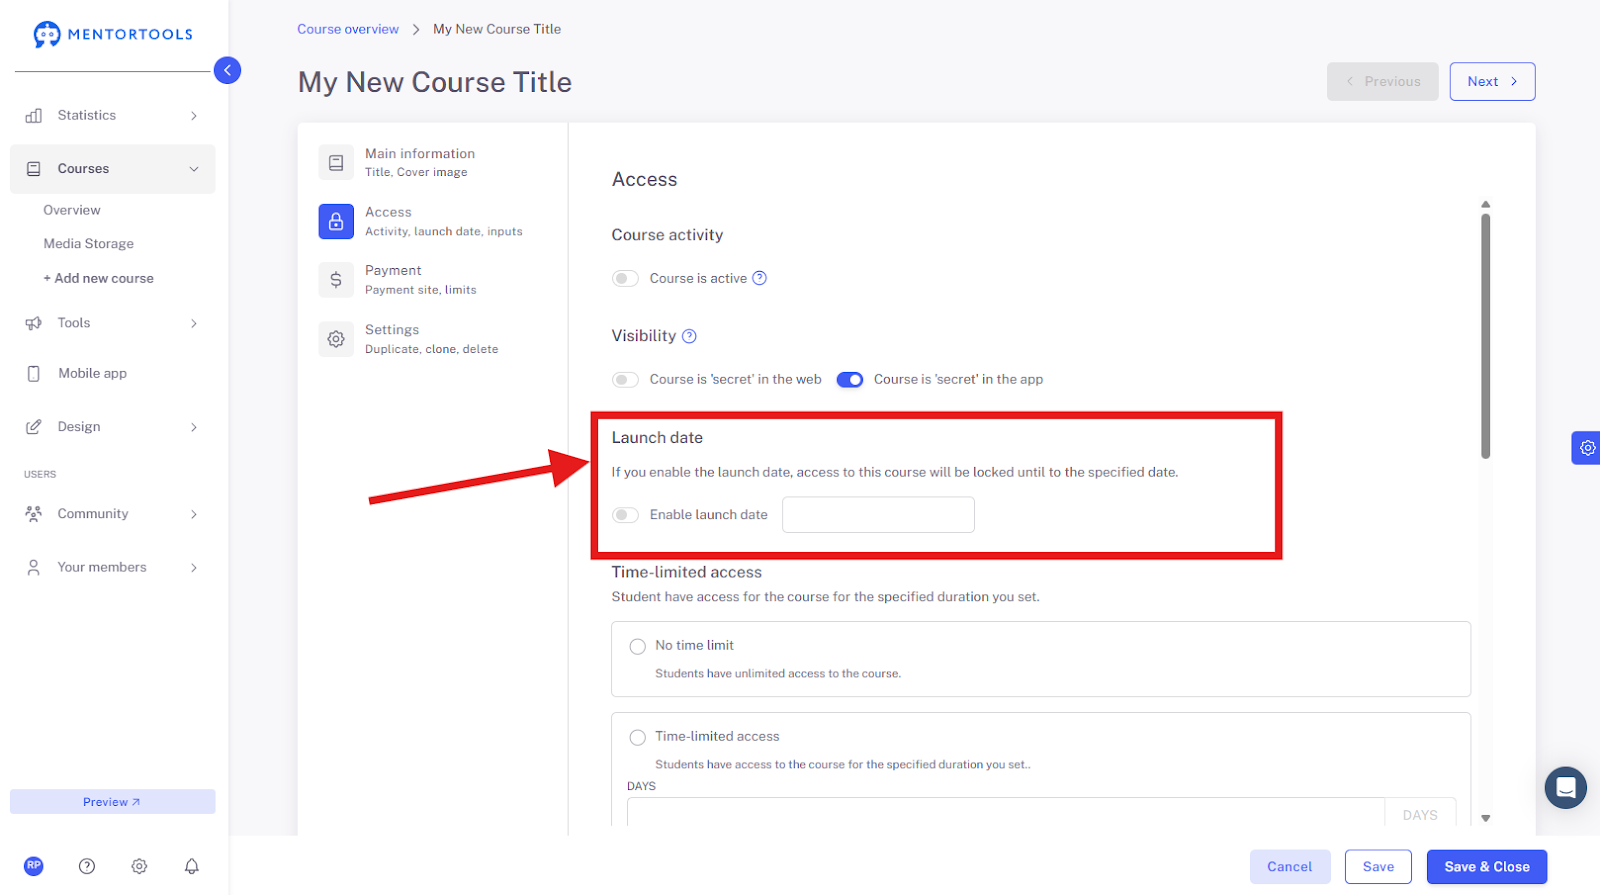
8. Launch Date
If you activate the launch release date, the course will be available to all your customers from the specified date. If you activate this option, a calendar will be displayed where you can set the exact release date for your online course.
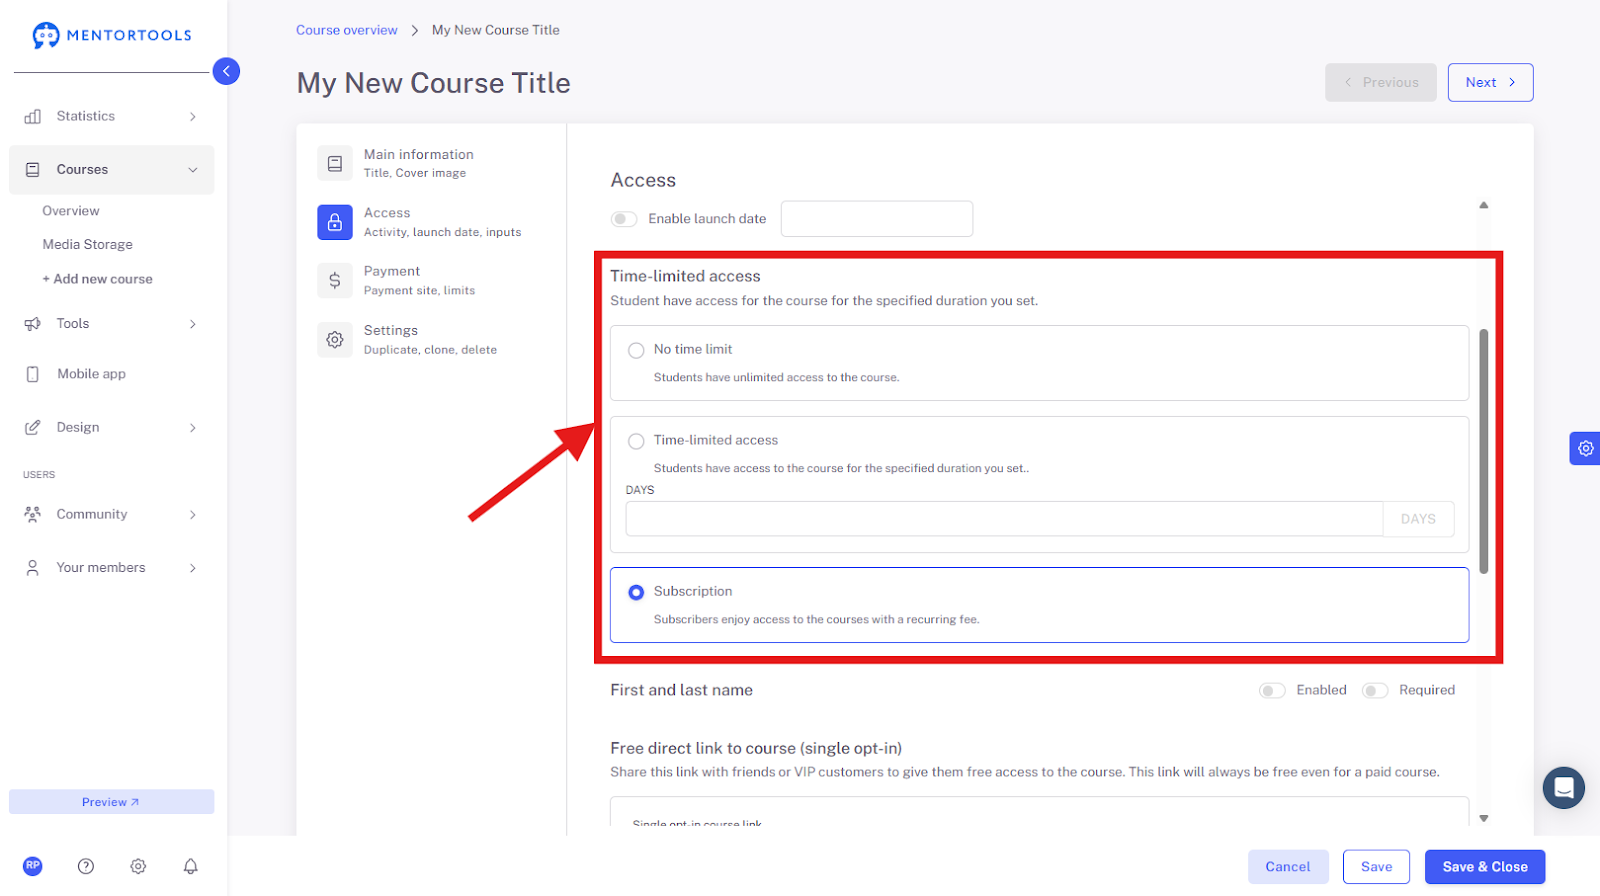
9. Time-Limited Access
You can limit your customers' access to your course. There are several options to choose from:
No time limit: Customers have unlimited access to your course.
Time-limited access: In this case, you must choose the number of days for which your customers have access to the course. After the date expires, they lose access to this course.
Subscription: You choose this option if you are selling the course as a subscription. In this case, the customer has access to the course as long as the subscription is valid.
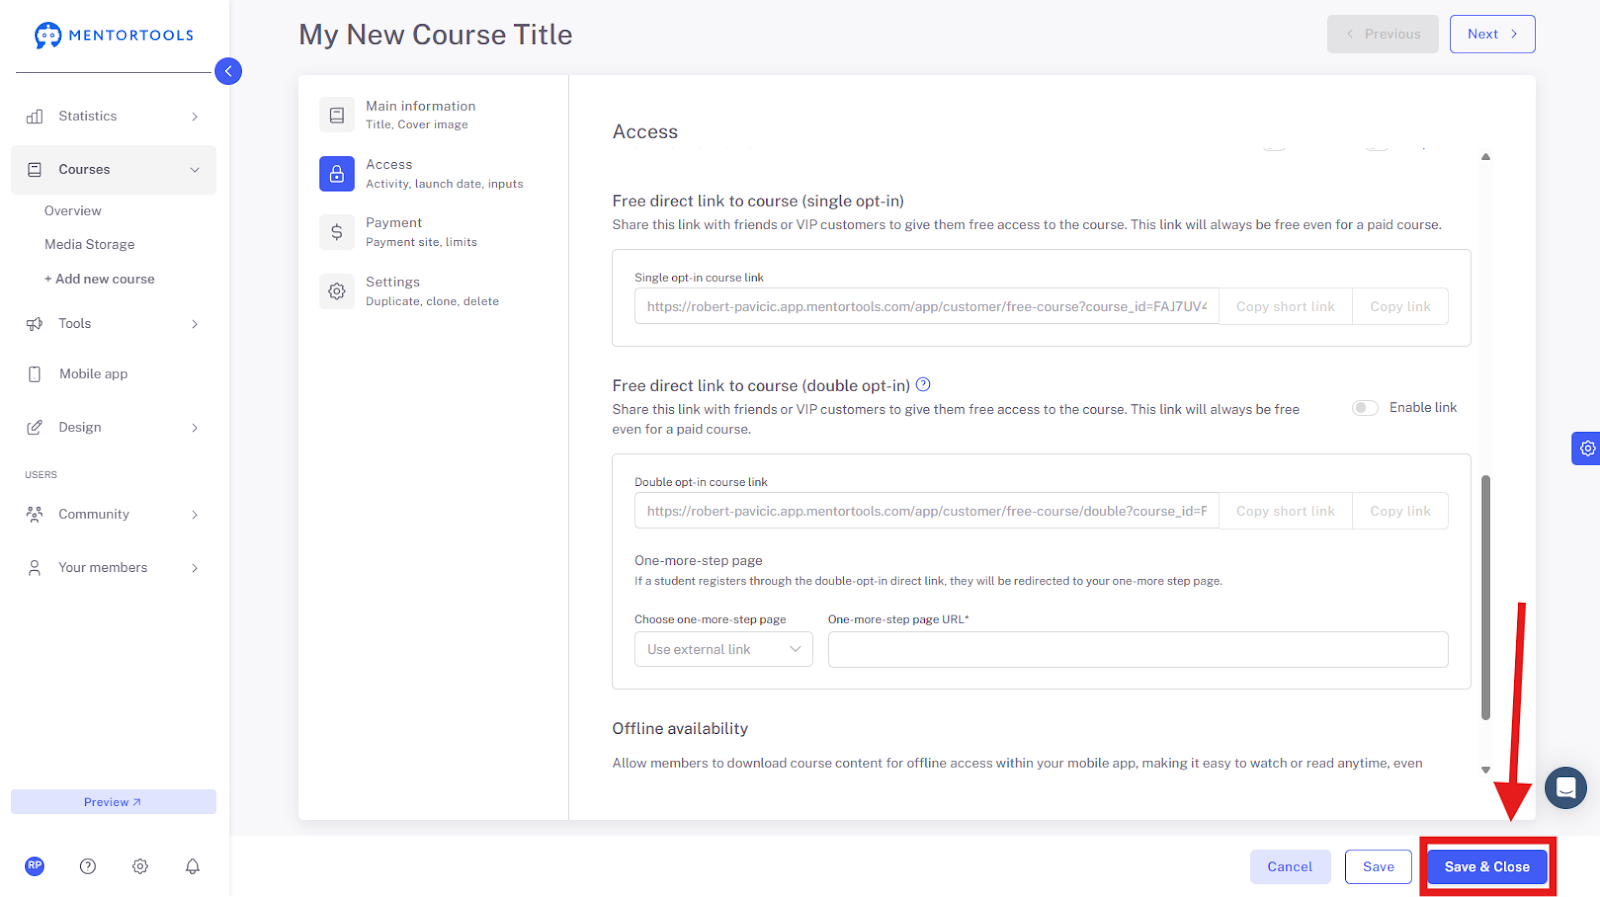
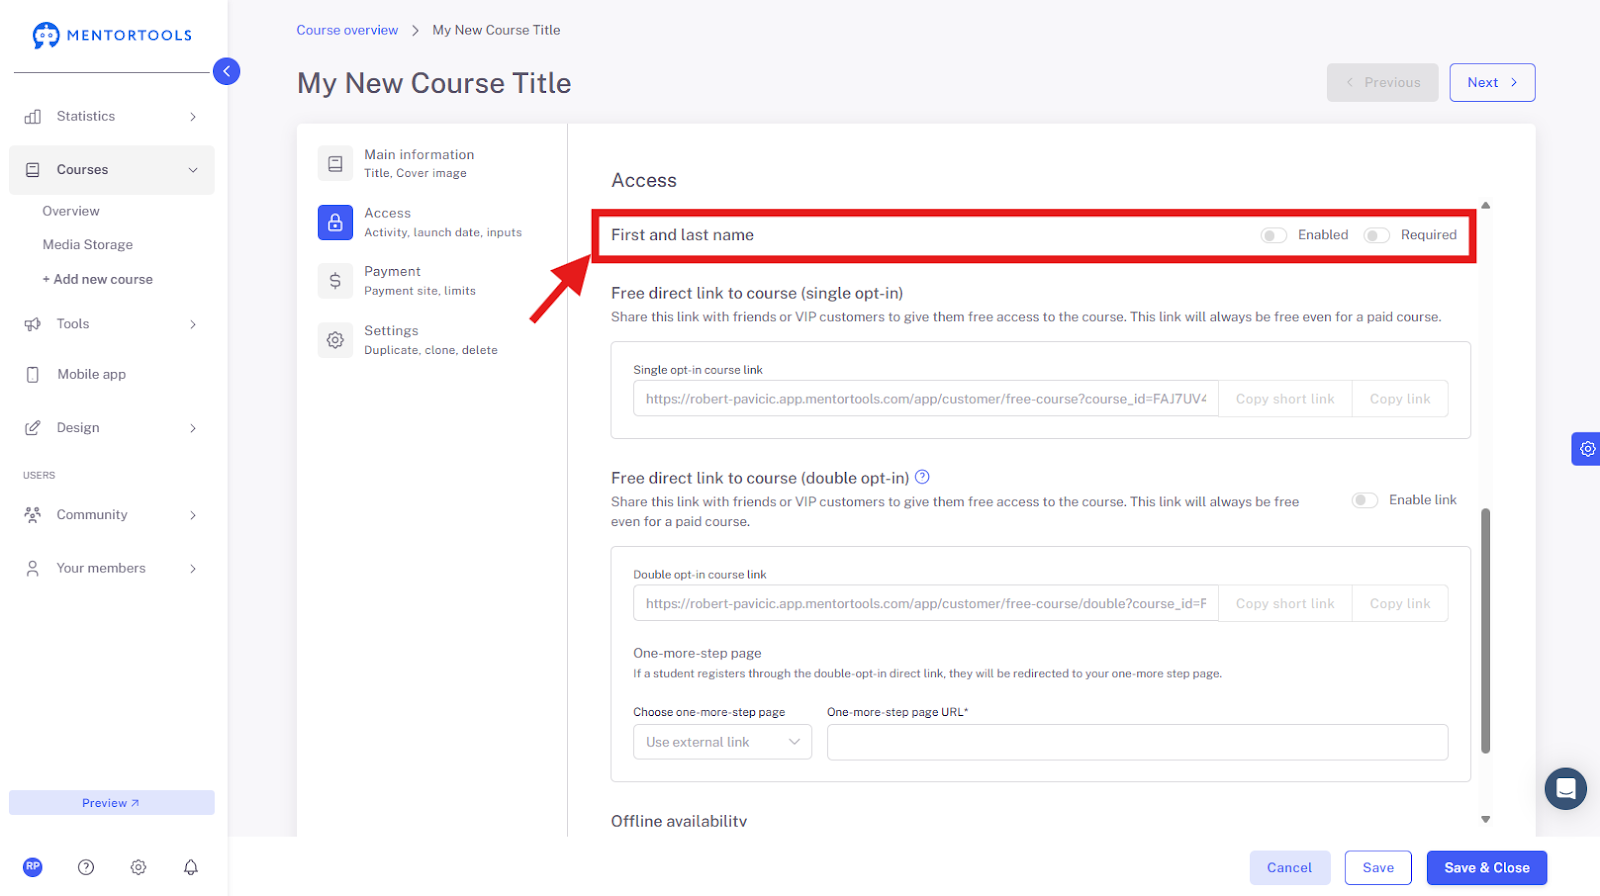
10. Fill in First and Last Name
Here you can decide whether your customers should also provide their first and last name when registering for the course via the direct link.
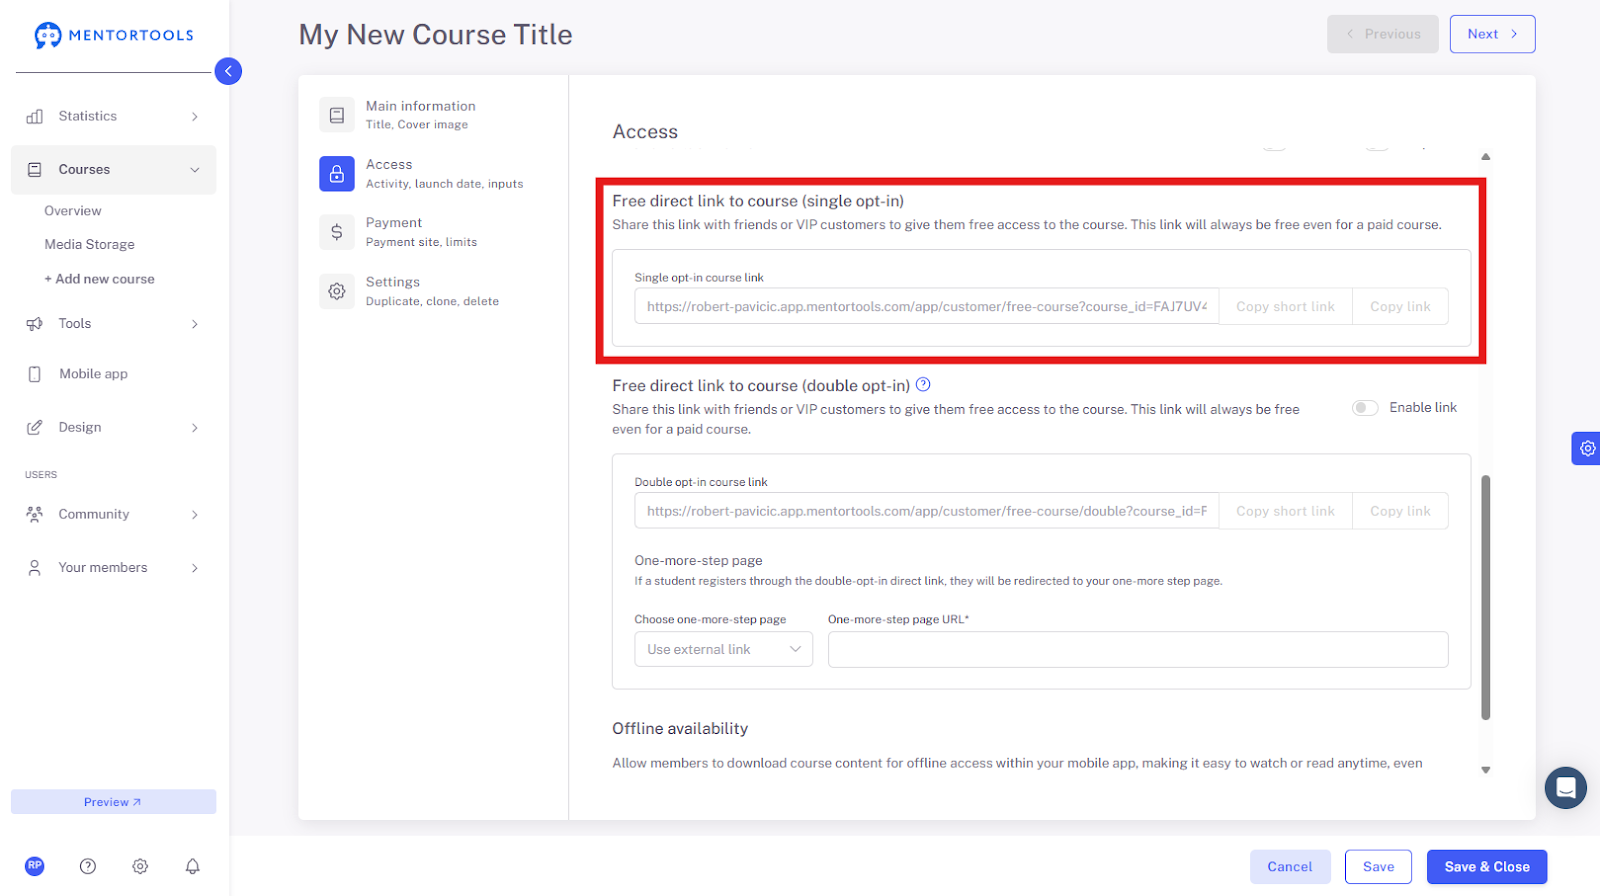
11. Direct Links to the Course
Through a direct link, your customers get free access to your course.
Free direct link to the course (Single Opt-in): If you send this direct link (Single Opt-in) to the customer, they only have to enter their email address on the registration page and immediately get access to your course in the online academy.
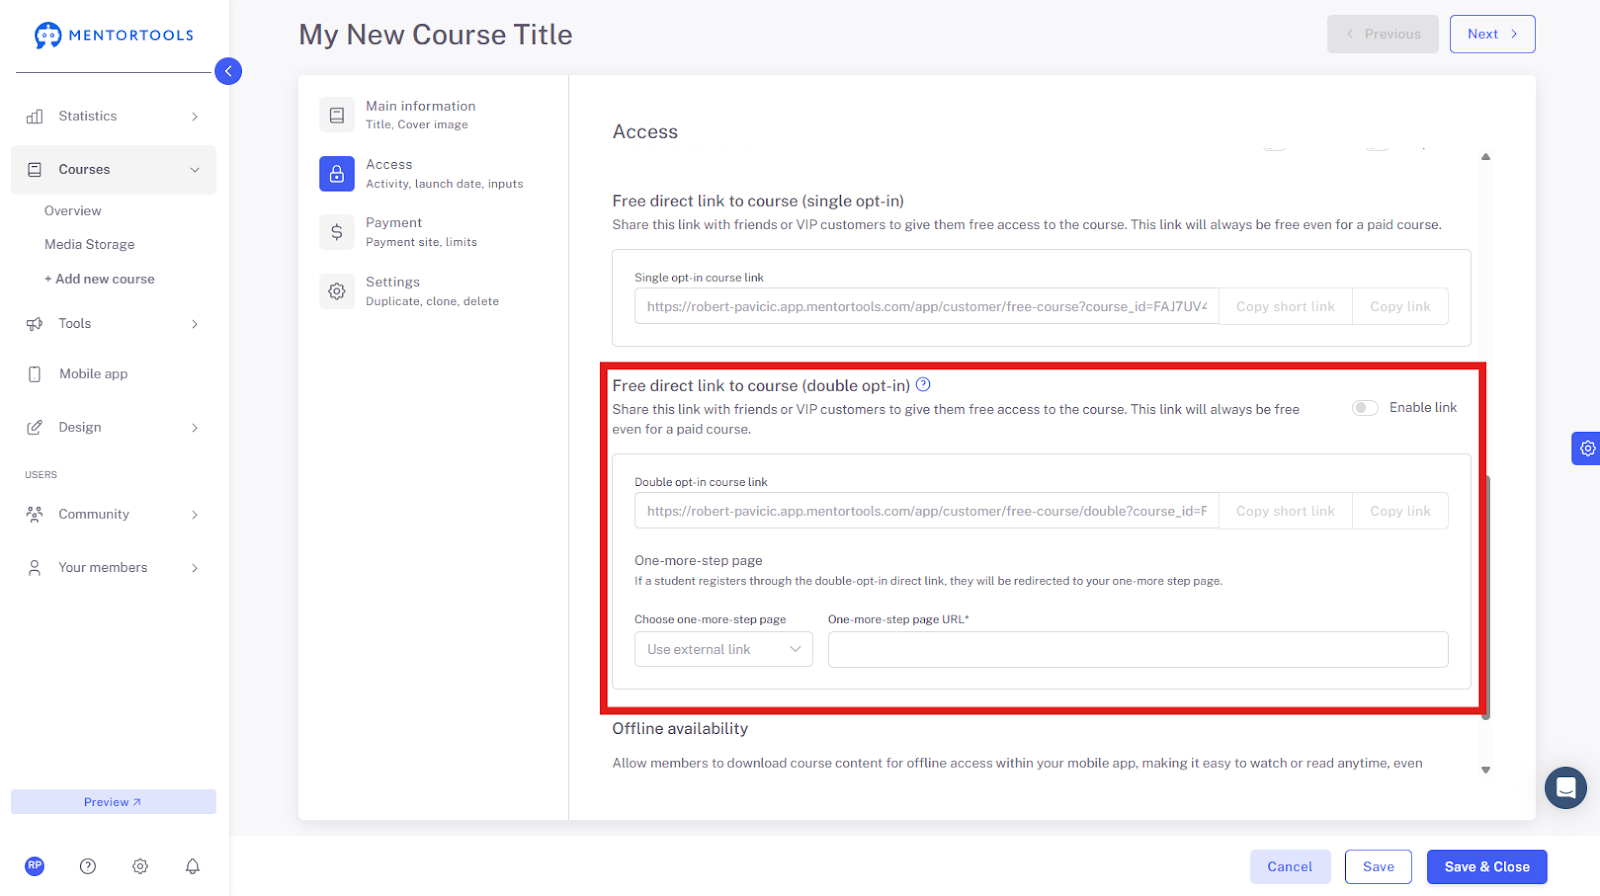
Free direct link to the course (Double Opt-in): If you send this direct link (Double Opt-in) to the customer, they enter their email address on the registration page. They are then redirected to the "One more step" page, where they are asked to verify their email address. Only after email verification does the customer get access to your course in the online academy.
In this case, you must also set up the "One more step" landing page to which the customer is redirected after registration. On the "One more step" page, the customer is informed that they must check their email inbox to verify or confirm their email address.
Every course has its own direct link. Through the "Direct Link to the Course," you can grant someone free access to your course.
If the course is set as active and paid and you give someone the direct link to the course, that person gets free access to the paid course.
12. Save and Close
After you have set all the necessary information for your course, don't forget to save these changes by clicking on the "Save" or "Save and close" button in the bottom right corner.